If you are unfamiliar with the Basketweave stitch there is a great description of it here: Basketweave . I have used Tent or Continental stitch for the border and have found that basketweave is a nice stitch to do when covering larger areas of stitching in the same color. It also helps keep my rug more square after I have blocked it.
0 Comments
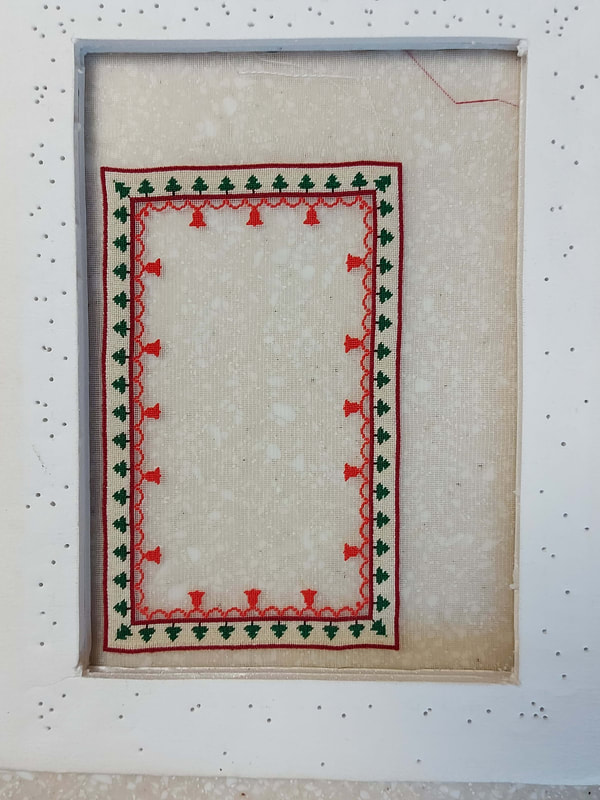
nears completion I start obsessing (that is the best work I can think of to describe my feeling) over what pattern I will do next. I have so many that I wish to do that I often have a hard time deciding which one. I once read a post from Bill Robertson (a fabulous Miniature Artist) where he was asked which his favorite piece was that he had made. He replied "the one I am working on now". He said it is always the project he is doing currently because there are always new elements of design that he challenges himself with. That is how I feel about my petit point designs. My newest design always becomes my favorite and this makes it difficult to choose any one pattern. By the time I have finished my current project, I may have designed a couple more, thus the choice becomes so difficult. I do have one design that keeps calling to me so I imagine that will be what I choose next. That choice is a long way off at the moment though, so I can relax and enjoy stitching this one. I am very much looking forward to working on the Christmas tree and presents in the center.
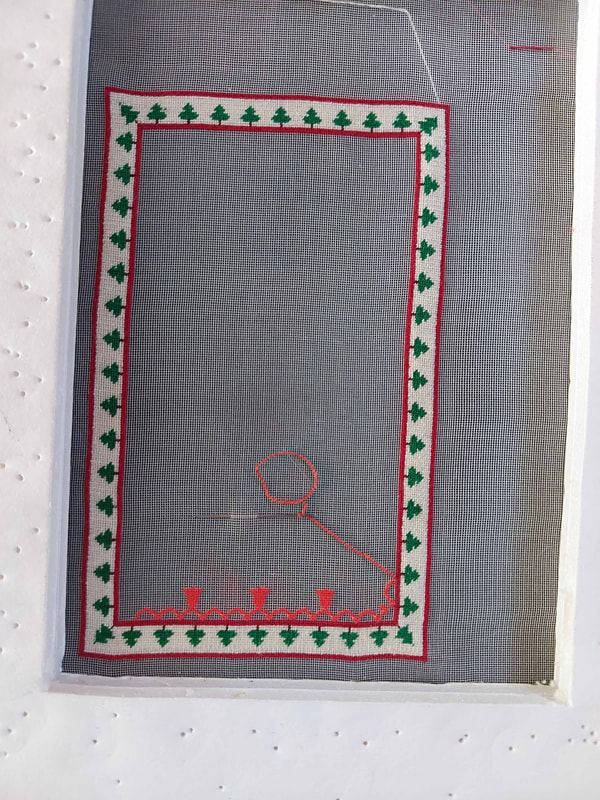
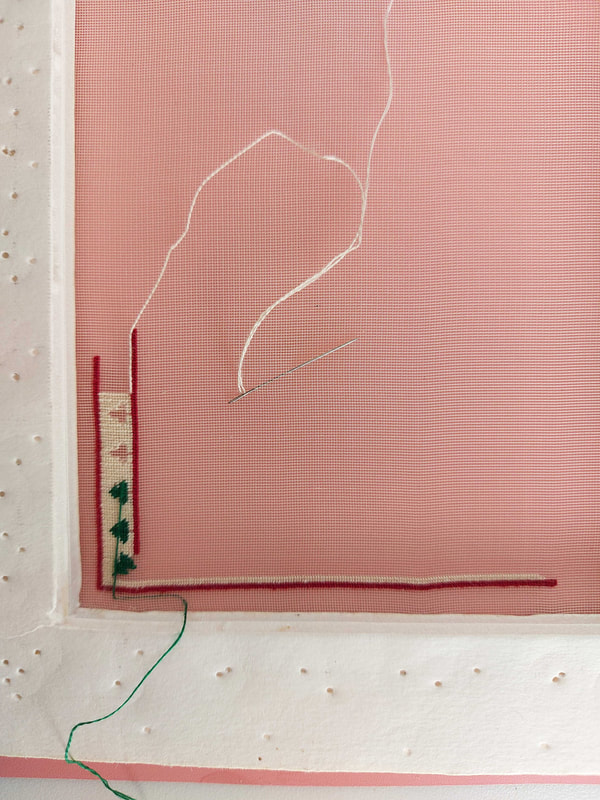
mistake in the first place. Luckily for me I don't have any counts of gauze smaller than 40 count so I couldn't accidentally mount one of the lower counts. This would have been disastrous as the rug would not have fit and I would have had to start over. Therefore, lesson learned - always count my gauze first and don't assume that I have the right one. I do have all of my gauze labelled but this piece had been mounted in the frame for several months and I must have mounted it thinking of doing one of my rugs designed for 48 count then picked it up for my Christmas rug. I think if I mount a gauze that I will not be using right away in the future, I will pencil the count onto the frame so that I can't forget.
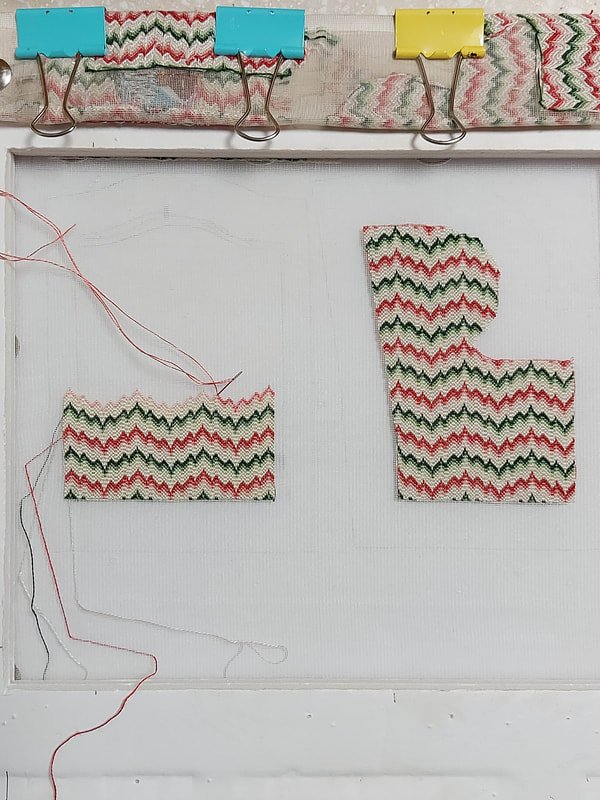
Once I figured out my mistake, I had to frog out the extra stitching. As you can see, I still have some frogging to do but decided to stitch the corner so that I would know how far to take out the rest of the stitching. My finished size for the rug will now be approximately 3 5/16" x 5" (8.4 cm x 12.7 cm). I am stitching it to go into my Santa's Cottage. The little cottage is quite small but still 1/12th scale. It only has one room upstairs and one downstairs. I will be creating two room areas on each level so they will be small compared to the rooms in my Beachfront Mansion. Therefore, it may be a blessing in disguise that I have stitched this on 48 count instead of 40. This rug obviously will not take up the whole of the gauze, so I am planning to stitch some of my 48 count Christmas stocking designs and 48 count pillow designs around it before I take the rug off of the frame. In this way I will use up much more of the canvas and will just block everything at the same time when finished. It will be interesting to see how many designs I will be able to stitch around it...
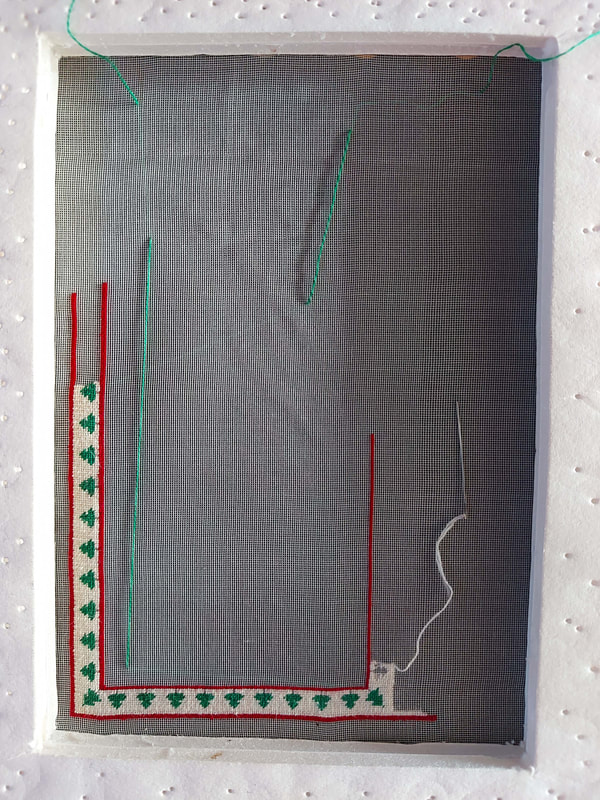
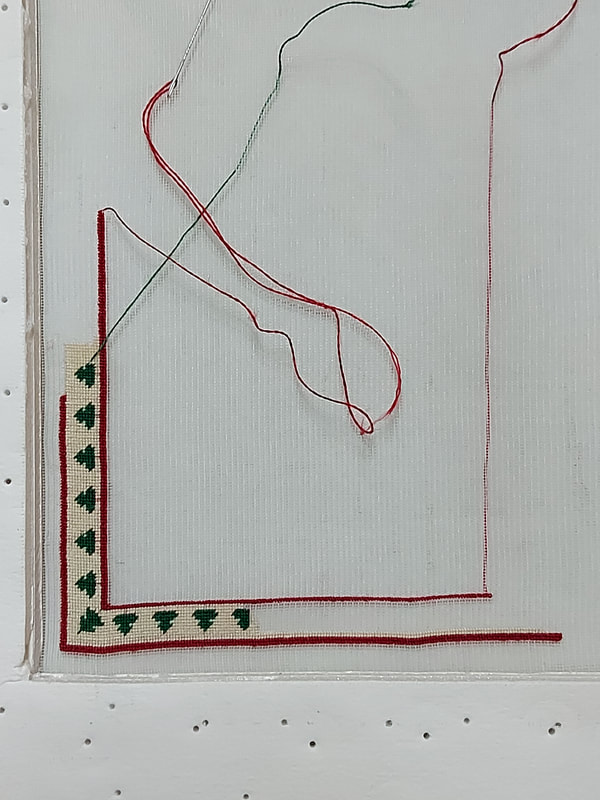
the next before stitching the light color. It doesn't show through if you stitch the light color first and carry the dark thread across. However, just in case it did show through, I have stitched the light background first then started stitching the inner red line before I started the trees. I placed the tree in the corner first and did not run my starting thread under the light background. Once the tree was complete, I ran the green thread under the red stitching at the base of the tree then over the light stitches (not under them) to the next tree above it. In this way, I don't carry the thread over the light color very much and it doesn't show through. I am working my way up the left side of the rug in this fashion, first stitching the background, then the tree.
As you can also see, I once again, have not started in the middle of the pattern. This is simply my preference and your rugs can be started in the middle if you prefer that. When starting in a corner, I simply make sure my gauze is big enough to fit the frame and I choose a frame that has an opening that the rug will fit inside. I have the inside measurements of the frame opening written on the top of each frame so that I may choose the correct one for my project. This one is 1/2" larger in both directions so that I know it will fit. I start in a bottom corner and work my way outwards. Since I work my rugs this way, I do not have to make sure the center of my gauze is in the center of the fame opening. My rug will always fit and I won't have to re-position my gauze if I started in the middle and made a mistake finding the center. To reduce counting, I work partway across and up then begin the background and motifs of the border. This way, I work my way up and across using my motifs to count my way. The largest stretch that I have to count in the border of this rug is 5 rows - a very easy number to follow. Once I have made my way to the top left corner and the bottom right corner, I begin working across the top and up the right side until they meet at the top right corner. As long as I have made no mistakes when counting out the border, everything should match up easily and the inner section of the rug will be easy to stitch.
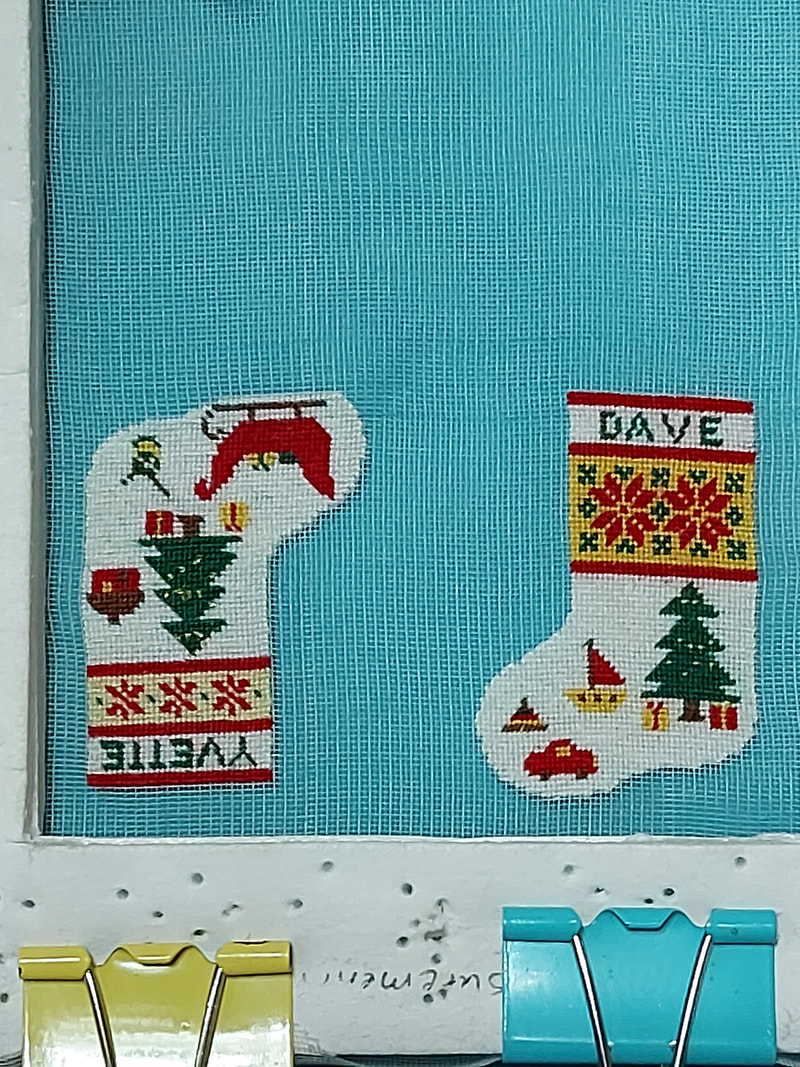
This little stocking hasn't taken very long to stitch this far - this is one weekend's worth of intermittent stitching. For the little decoration on the tree I have used 1 strand of Krenik blending Filament (gold) stitched with French knots. It has given the little tree some glitter but unfortunately, the glitter doesn't show very well in the photo. I am going to try and finish this little stocking this weekend so that I may post the pattern for you. This one is on 48 count fabric. So far, I have designed 7 different stockings but will not be stitching them in order. Stay tuned for more stockings being stitched. I do have one pattern posted ready for you designed for 60 count fabric based on my Bargello chair in case you like to work on that fabric size. You may find it Here.
stitching some little Christmas stockings that I have designed so that I can offer the patterns for sale on the website. Stay tuned for more Christmas projects coming up!
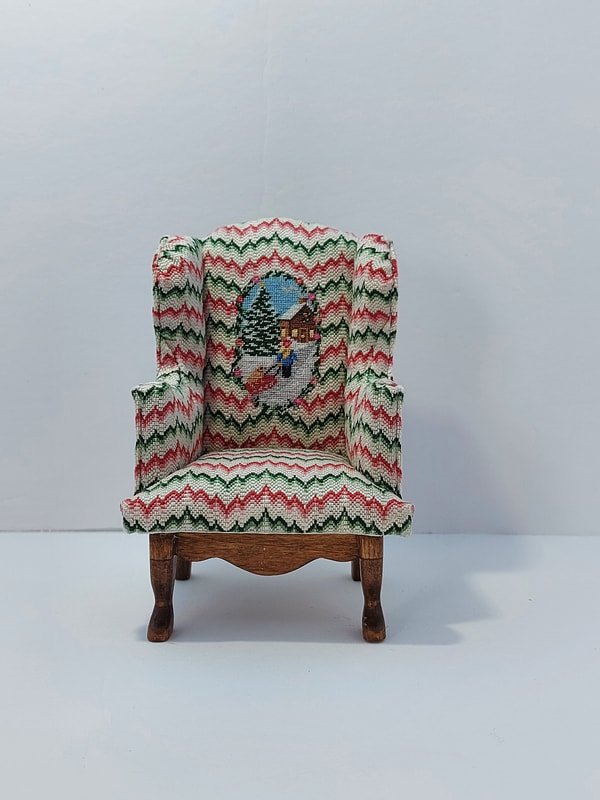
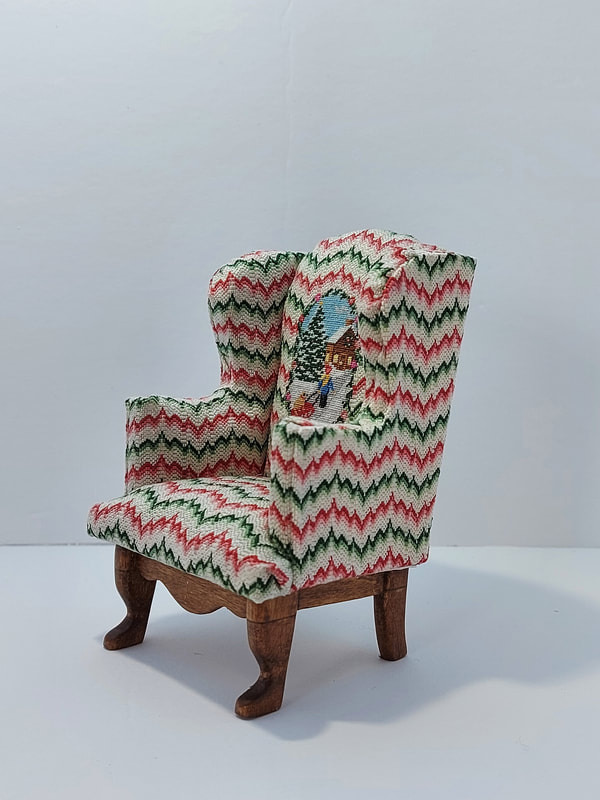
 This morning I finished stitching all of the pieces for the miniature chair I am making. As promised, here is a photo of all of the pieces together. Now, to begin piecing the chair together. Wish me luck!
I will post a photo of the chair once finished. I have also just added two new items to our shop inspired by the little picture I designed for the back of this chair. You may find these patterns here.
|

AuthorMy name is Yvette, and I will be writing this blog to tell you about the creative process that has gone into the creation of my Petitpoint patterns along with showing the stitching I have done of some of the rugs. Archives
April 2024
Categories
All
|


 RSS Feed
|
Thank you so much for visiting our site. We hope you come back soon!
|
We promise not to spam you with emails and will only send out the occasional email. We promise not to share your email address with anyone and it will only be used by Double the Fun Crafts for the purpose of promoting our products or letting you know of a sale.
|