of un-picking it all over again, so I took a scary plunge and carefully cut off the top half of the left black border and added a patch of gauze. The patch overlapped the red section (underneath before the upper half of the red was stitched) along with about 1/4" of the black border and allowed me a clean slate to stitch it again without taking the risk of putting holes in the gauze if I un-picked again. I tack-stitched it into place and stitched the red part of the border in one and a half inch increments and the black border in the same increments afterwards. To make the transition of the black border seamless near the center, I un-picked about 1/4" of the black border, then re-stitched it to catch the patch in it as well. As I completed parts of the red border, I removed the tack stitches so that I wouldn't have to try and stitch over top of them.
This time, the black border went without difficulty and I was able to reach the upper corner. Finally!! The patch that I put in is not visible now that I have stitched it in place with the red and, since it overlaps about 1/2 inch, it is good and strong. In this photo, it is only visible above the left corner, where you can still see the tack stitches. The black stitching across the middle of the red border are to hold the bottom edge of the patch in place so it wouldn't move as I stitched the red border. When I complete the rug and do the overcast stitch at the end, you won't see it at all, either from the front or the back. Doing this patch saved me hours of un-picking and frustration as well as saving me from having to start the rug over again. I still seemed to make mistakes regularly along both sides of the border but was able to catch them very quickly and fix them before I got too far. Once my two upper corners were in place, I was able to work the top red border fairly easily and, miracle of miracles, I didn't make a mistake across the top!! I am hoping the rest of the rug goes smoothly now that I have completed the worst of the borders. Looking back, I have been wondering how I made so many mistakes when I have never done so to such an extent before. Part of it, I think, is that I am using 48 count gauze for the first time after getting used to 40 count. This can make it difficult to see the individual holes. Another part, I think, is that I need new glasses. Luckily, I have an optometrist visit coming up in 3 days so this should be fixed soon. The last part of the problem, I believe, is the fact that my Grandmother died just before I started this rug and I was emotionally and physically exhausted. Note to self: Don't do any complicated patterns when exhausted! I put it aside for a few weeks to work on some less demanding miniature projects and came back to it feeling much better and was able to problem solve and stitch it with much less difficulty. I have learned a lot with the stitching of this rug so far and am now back to loving stitching it.
1 Comment
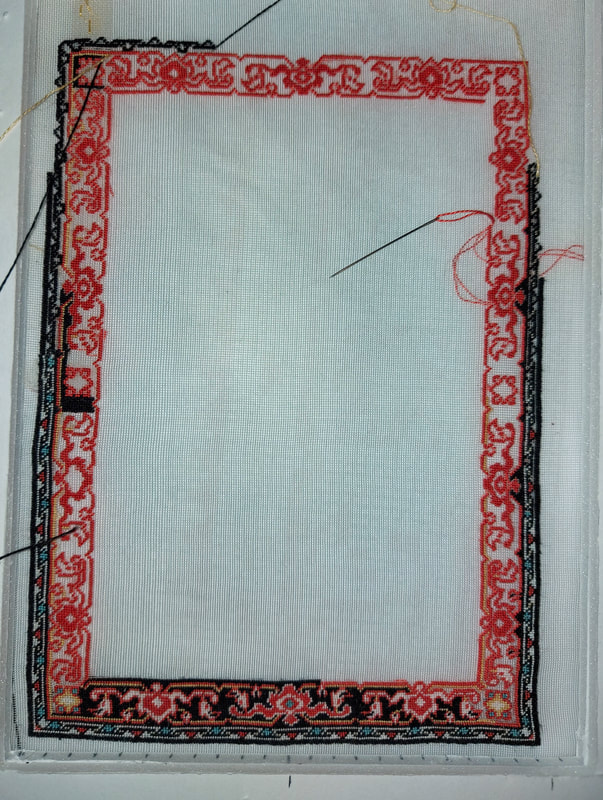
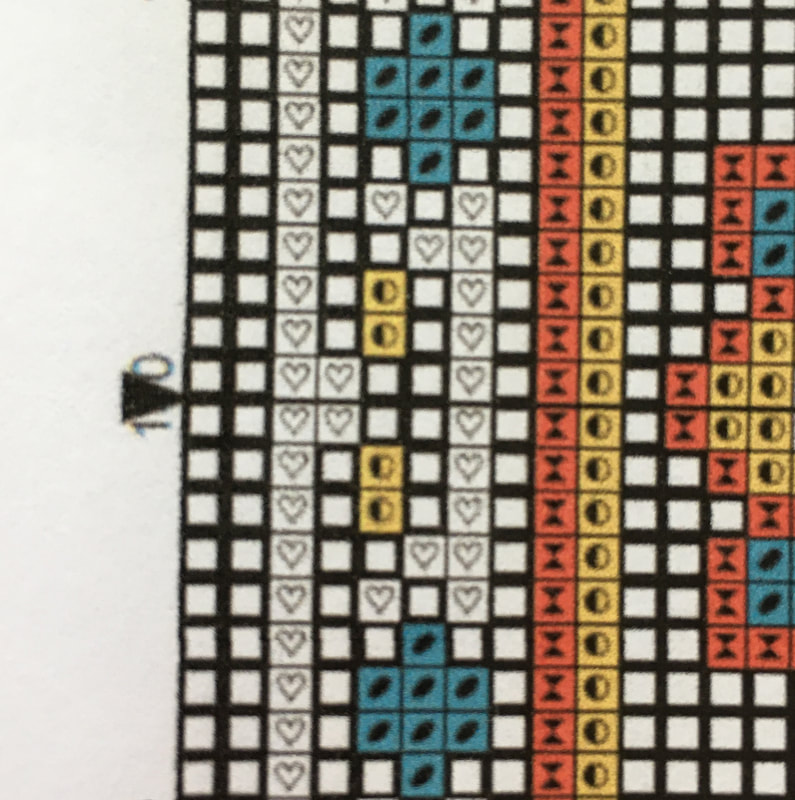
Above left, you can see the section of the outer border in my pattern where the pattern reverses itself. This is a lesson to me to "never assume I know what the pattern is going to be" and to "always look at each pattern page". A lesson hard learned and hopefully, never forgotten.
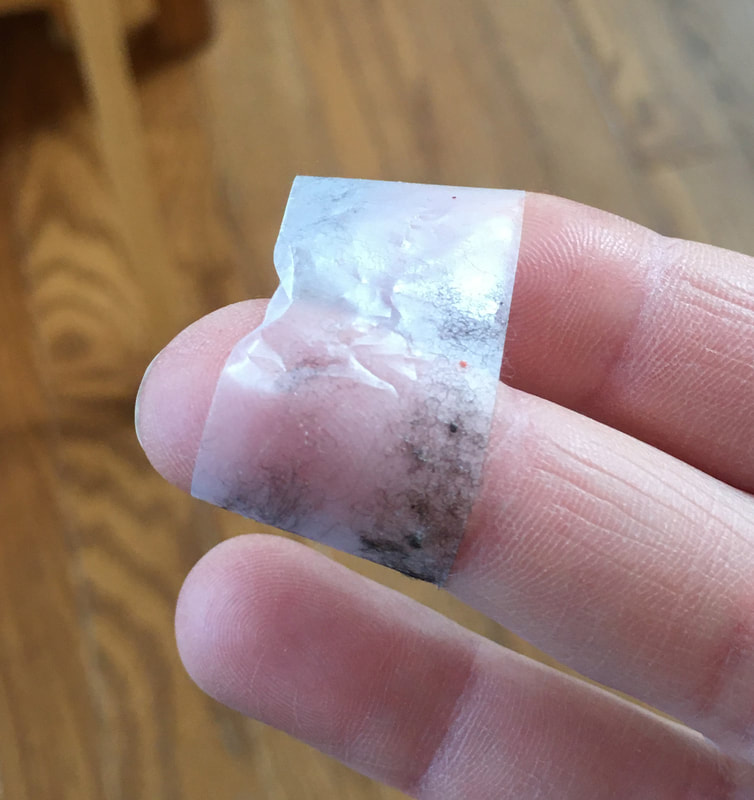
The above right photo is of the fuzz removed from the gauze. It is amazing how much the tape picked up! Hopefully, this is the end of my stitching mistakes for this rug and I can continue to see the rug grow instead of stalling like this week. Fingers crossed! 🤞 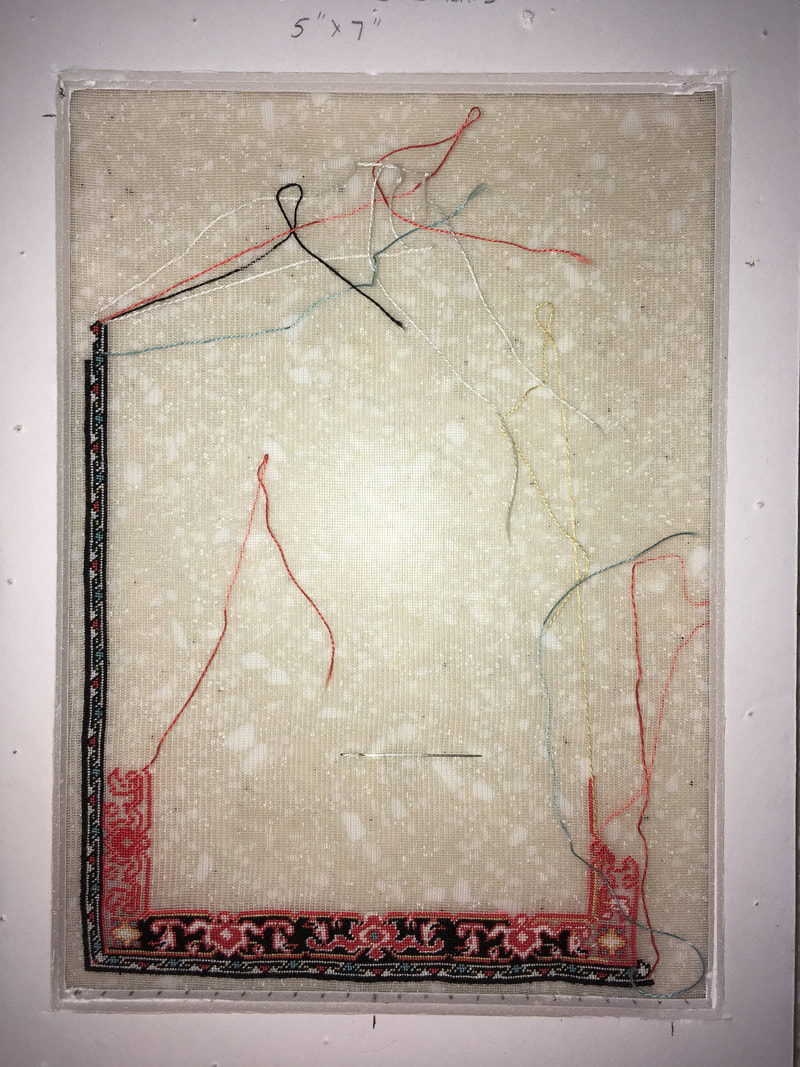 This past week, I made a bit of progress on the middle border but didn't have as much time to stitch as I wanted to. I also spent some time designing two new rugs and have listed them in our Etsy store.
This inner part of the border took a while because I had to unpick some of it several times before I had it right - quite frustrating, but necessary if I wish this rug to look professional. Now, I will begin working up the two sides of the outer border until I get close to the top of the rug. The top should end up close to the pencil mark I made on the top left side of the frame. I won't stitch all the way to the line just in case it is a bit shorter in the end. I will then be stitching the middle border up both side to determine the exact place where I have to turn my outer border to stitch across the top. This will take a while to accomplish but I hope to post progress photos every week to show what I have accomplished. The weather is turning colder, so I will be stitching a lot more than I did in the summer months. Winter hibernation is beginning! 😊 On November 12th, I finished stitching my Ocean runners for the stairs in my dollhouse. That same day I mounted the gauze and began stitching my new project. I decided to stitch my Denise rug as I was looking forward to stitching something with lots of pattern after the monotony of stitching the runners for so long. This project is being stitched on 48 count gauze and will be the first time I have used this count. Below is a photo of my progress to date. 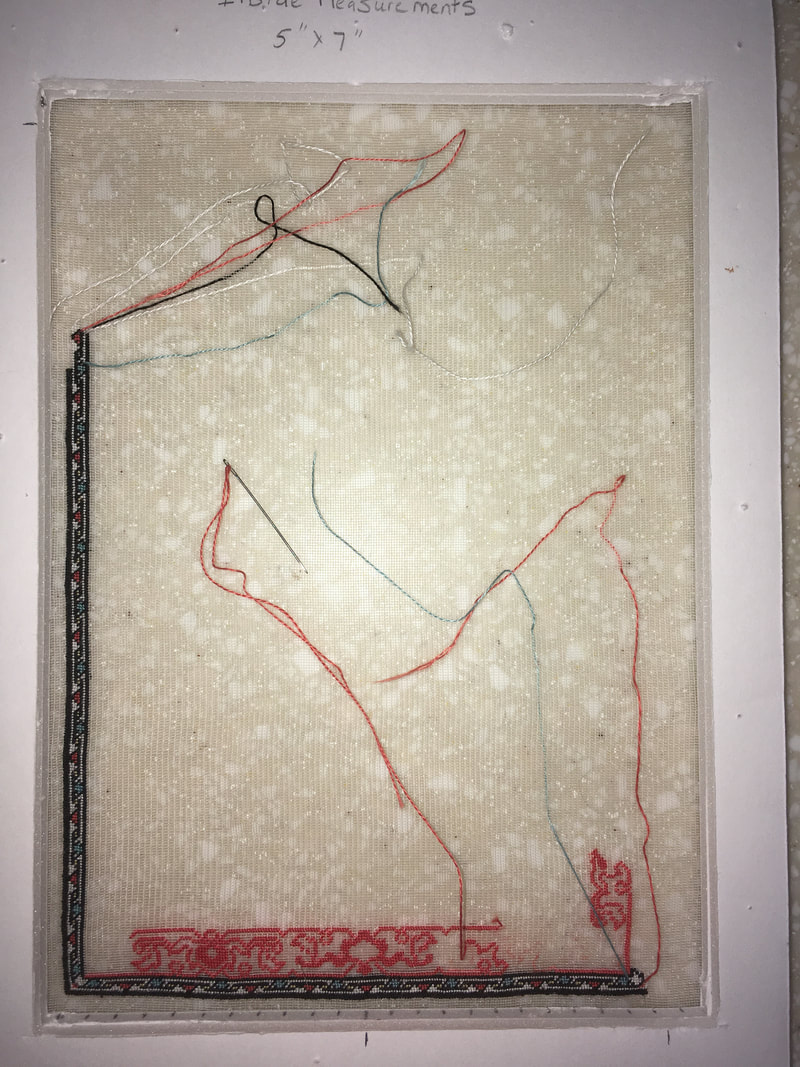 I began my stitching in the bottom left corner as I am left-handed and find this to be an easy place to start for me. I worked across the bottom to fill in the outer border, then worked upwards along the left. I have not completely finished the first border on the left side because I want to work a bit on the next border. The reason I do this is so that I can check my pattern count to make sure I haven't accidentally mis-counted any of it. I find that I can get my borders placed more accurately if I work this way and not try to complete the entire outer border. If I work just the outer border and am off by even one stitch, the border won't line up when I get around the perimeter back to the bottom. Once I have placed the left side and bottom outer borders, I like to work the inner borders across and up until I reach the edges of them. This helps me place the outer top and right borders more accurately. You will see my progression of this more accurately as I post more progress photos.
You will see at the bottom of the photo, that I have a bunch of lines on the inner edge of my frame. I did this because I hadn't worked with 48 count before and wanted a visual reference to show me every 10 stitches across. It helped me to count out the bottom border. I worked the black line almost to the end of the little lines then began to fill in the shapes until I got to the far right corner. I will begin working my way up the right side once I am sure I have counted correctly. Rather than end off a thread that I will still be using, I "park" it by going down through the gauze away from the stitching then back up again. I will pick up each thread again as I need it. You may also notice near the bottom right corner in the red stitched section, that there is a shadow of red in the unstitched area. This is because I stitched the last bottom motif, then found out that I had mis-counted by one stitch when I got to the corner. I had to remove the stitches and begin again. It is so easy to make this kind of error and even very experienced stitchers do it from time to time. I usually find the mistake before I have gone too far then fix it before I have a chance to make more mistakes based on the first one. |

AuthorMy name is Yvette, and I will be writing this blog to tell you about the creative process that has gone into the creation of my Petitpoint patterns along with showing the stitching I have done of some of the rugs. Archives
April 2024
Categories
All
|

 RSS Feed
|
Thank you so much for visiting our site. We hope you come back soon!

|
We promise not to spam you with emails and will only send out the occasional email. We promise not to share your email address with anyone and it will only be used by Double the Fun Crafts for the purpose of promoting our products or letting you know of a sale.
|