|
|
|
We have shown this tutorial in long form for you to read on the site and also have a free downloadable PDF version for you to keep for future reference. Please do not copy, sell or post this tutorial on your own website, but you may mention it and link back to it here if you wish.
Tutorial #4 Finishing a Cushion
Now that you have stitched your pillow front it is time to sew it together and make it into a pillow. This is one way of doing it but by no means the only way.
|
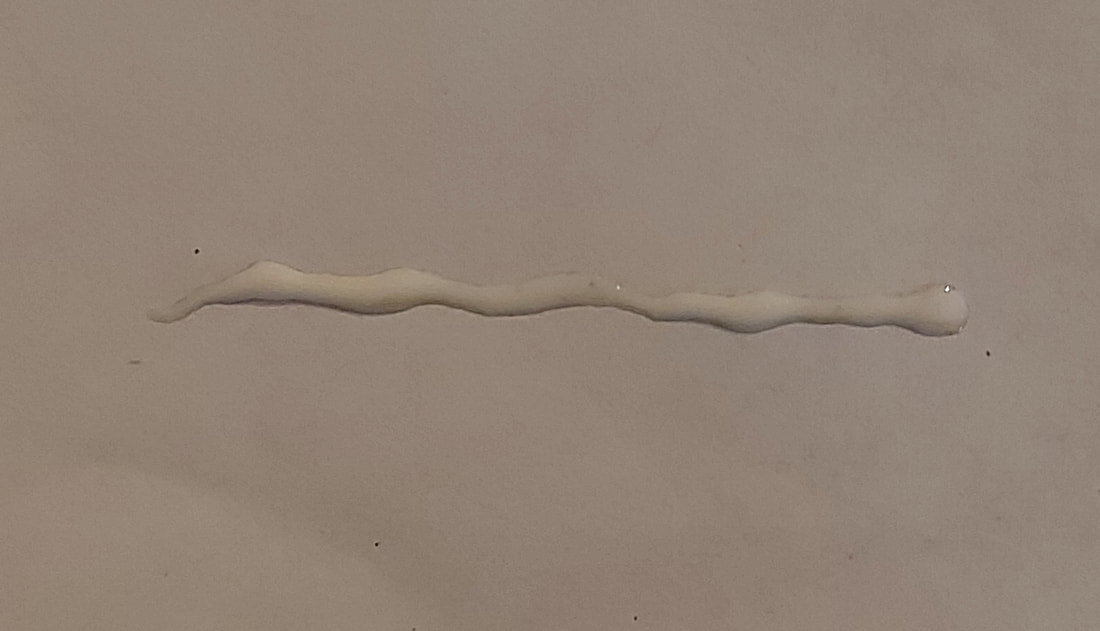
To begin with, I trimmed the edges of my pillow to approximately ¼” (7 mm) width. One of my edges was much less than this, so I decided to stabilize that edge with some clear drying fabric glue. Dispense a small line of glue onto a piece of paper as shown here. You can do this if you feel your edges are too close to your stitching but do not have to do this step if your edges aren’t close. |

|
|
Dip the edge of your fabric into the glue in order to obtain a small line of glue on the very edge of your fabric. It should look like this. Set aside to dry. |
|
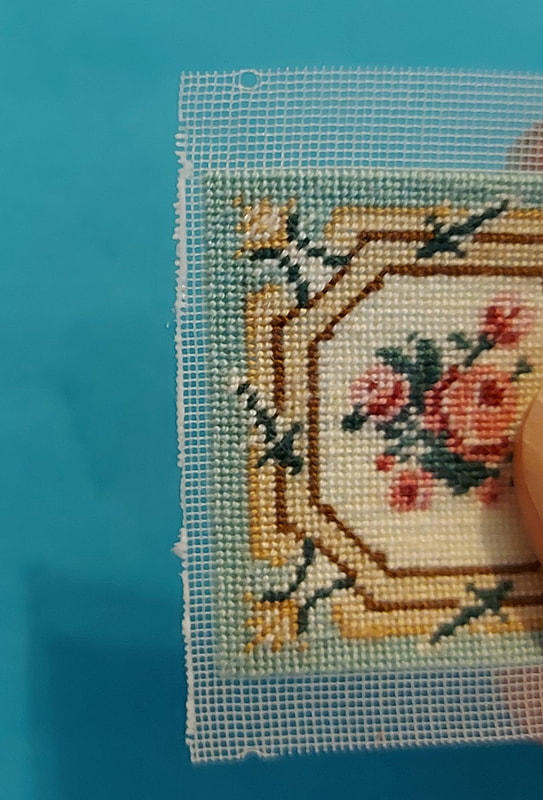
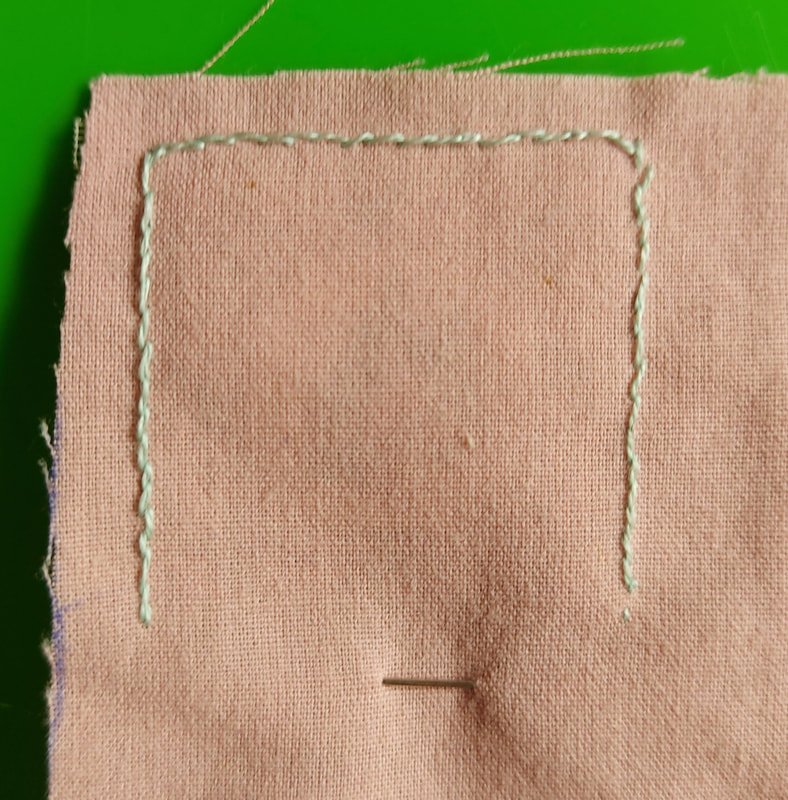
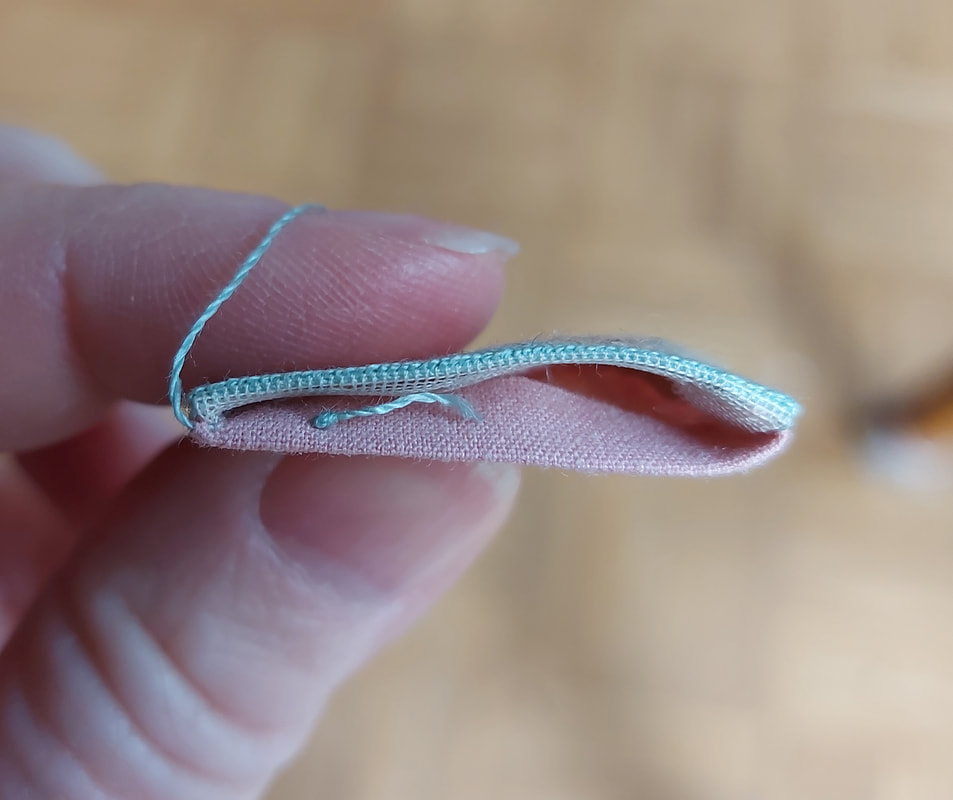
Once it is dry, proceed by placing your pillow wrong side up onto the right side of your backing fabric and place a pin to hold them together on the side you will be leaving open. I do this because I want it to stay on the fabric but do not want the pin to cause any dips in the fabric beside the edges I am stitching together. If you wish, you can place a pin on each side and remove one on the side you are stitching at that time to stabilize it more and prevent shifting of the two fabrics. In this photo, at the top, you can see just how close the edge of the gauze is to my pillow and why I wished to stabilize it with some glue. I don’t recommend cutting it this close but if you are adventurous, it can be done! |
|
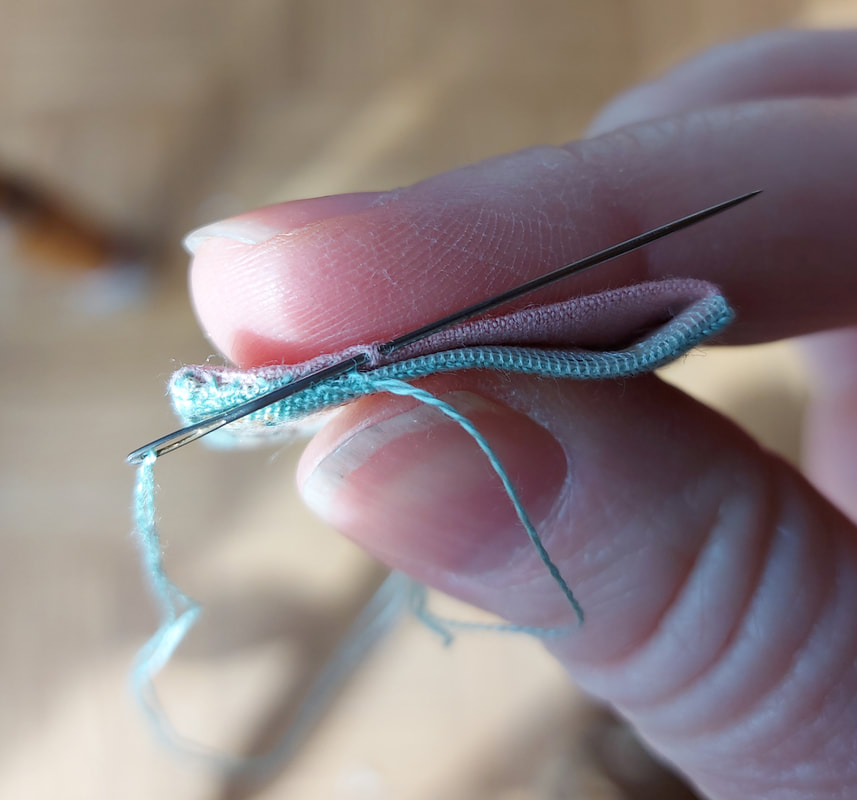
Working with the wrong side of your pillow facing you, as shown above, begin your stitching in the corner of one of your edges, closest to the side you will leave open for turning your pillow. I used a large knot in the thread when starting so that it won’t pull through the fabric, but you can start any way that works for you. The knot will not show once you turn the pillow to the right side. When sewing, I used a very tiny back stitch into the same holes that the last stitches were made in, trying to stay on the outside edge of the hole so it doesn't catch the stitches. Make sure when you reach a corner, you place a stitch in the very corner hole along the first side then stitch the first stitch of your second side into that same corner. This helps you achieve a sharp corner when turning your pillow. It was difficult to get a very sharp photo of this but hopefully you can see it in this photo. |
|
|
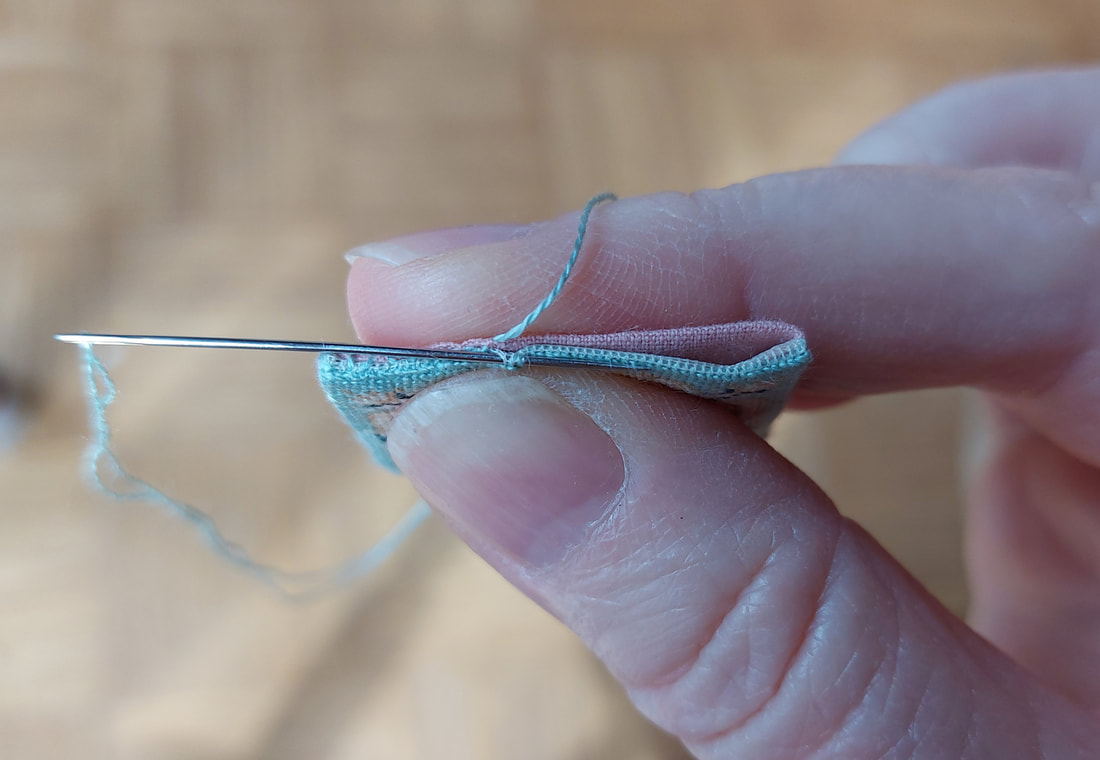
Stitch three sides of your pillow and leave the fourth side open. When done the back of your work should look like this. |
|
Trim the two corners opposite the open edge (farthest away) in a diagonal but not too close to your stitching, and trim all of the fabric back to about 3/16" width. At the open edge, I trimmed only the backing fabric on a diagonal, but left the gauze as you can see in this photo. That way, when turning the pillow, your corners at the open edge won’t pull on the gauze as much. It is always a worry that if you trim your gauze too close to a corner, you could run the risk of your gauze fraying and pulling out of the stitching, so I don’t trim it at the open edge. Carefully turn your pillow so that the right sides are now out, taking care not to pull the fabric too much. |
|
|
Once I had it turned, I carefully worked the corners out using a pin, so they were fairly pointy. Don’t pull too hard of the gauze could fray and pull out of your corner stitching. I then cut a piece of heavy cardstock (I used the back of a greeting card that I was going to throw away) into a rectangle that was as wide as the pillow but longer. Make sure the sides of your rectangle are square. I carefully slid it into the pillow between the backing and the folded backing fabric inside. I did this because if you try to slide it in against the gauze side of your pillow, it tends to catch on the gauze. If both sides of your pillow are of gauze it can still be done, just slide it in more carefully. Gently iron your pillow. |
|
Pull out the card, tuck the last edges in towards the inside and put the card back in as shown here. Gently iron it again. |
|
|
|
|
If filling your pillow with stuffing, put your stuffing into it at this point, then sew across the last side to close it using a running stitch as shown in these photos above and to the left.
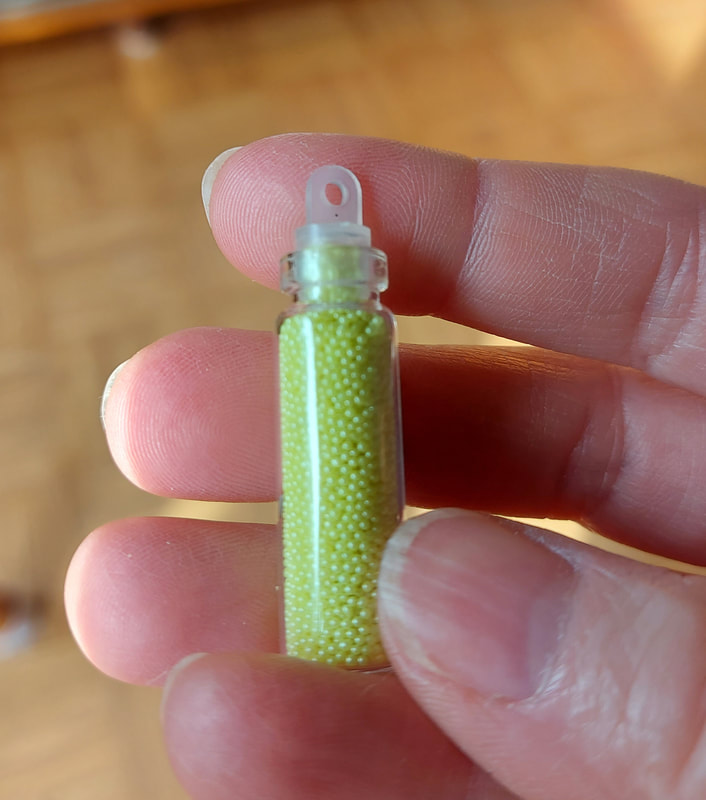
If using no-hole beads, sew almost all the way across using a running stitch. No-hole beads are great for these little pillows as you can then place your pillow in your scene and shape it. The pillow will hold the shape until you move it. You could have your pillow sitting on a chair with an indent to make it look as if some little person just got up and walked away. |
|
|
|
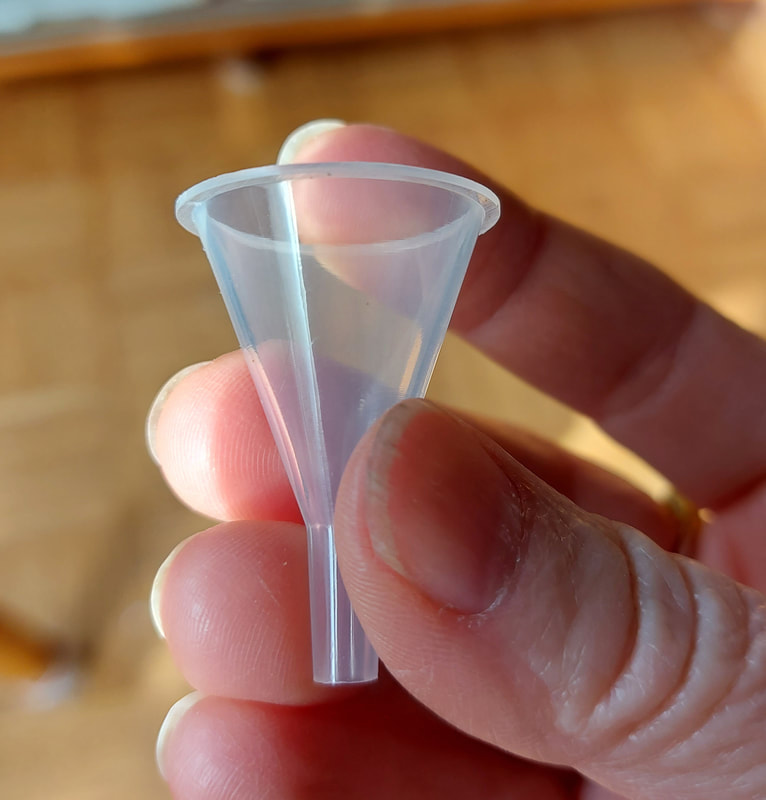
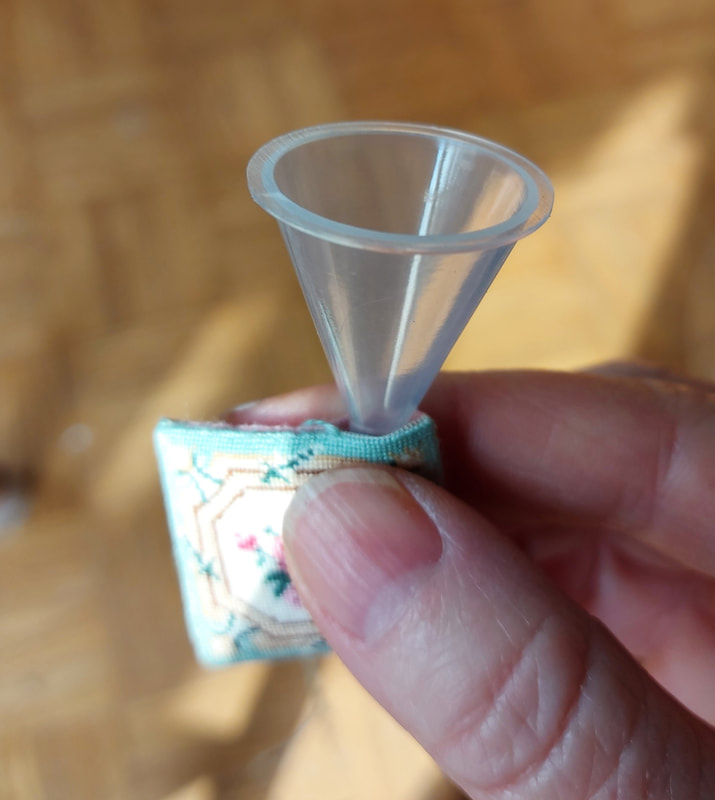
If using no-hole beads it is often useful to use a funnel such as the little one I show here. I found this little funnel in the craft section of my local Dollar Store. It was a package of three funnels of different sizes. This is the smallest one and perfect for stuffing my pillow. I also purchased the no-hole beads at the same store. They came in a package with many different tiny bottles filled with little shapes. There were about 6 different little bottles in this package that were filled with these little no-hole beads in different colors. One bottle was the perfect amount for my pillow.
|
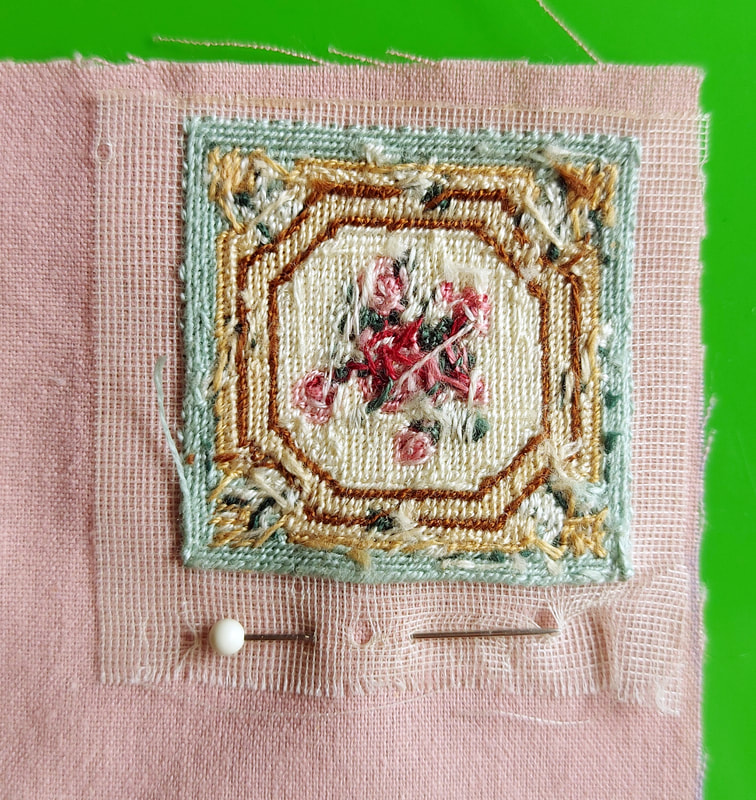
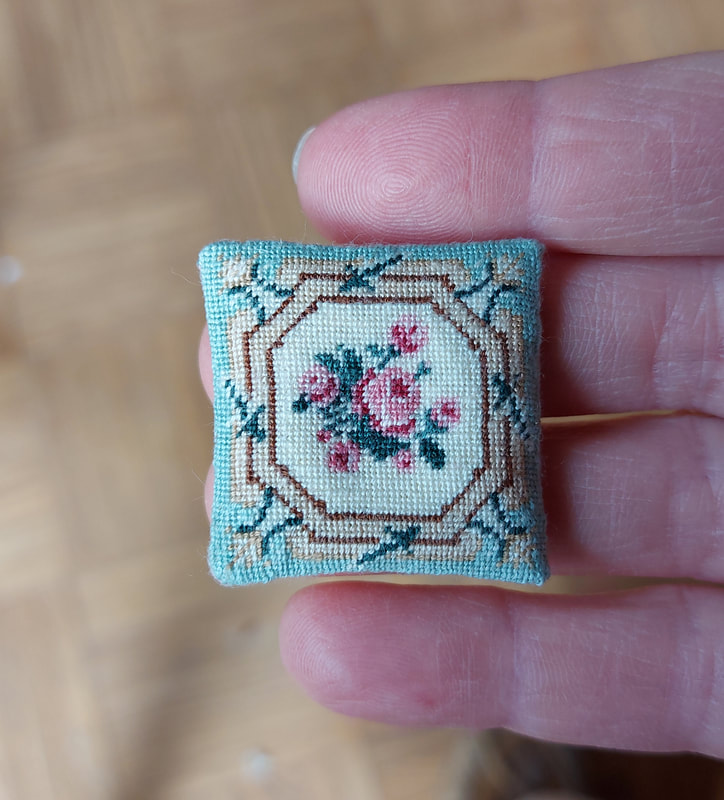
When you have finished filling your pillow with the medium of your choice, stitch the remaining part closed. Your pillow should look like this. The pillow is perfectly fine like this and doesn’t need anything else to complete it, but some like to add a small braid to hide any stitching that may show. I have added my way of making a braid to this tutorial in case you wish to add some and can’t find anything to purchase that is “just right”. |
Making a braid and adding it to your pillow
|
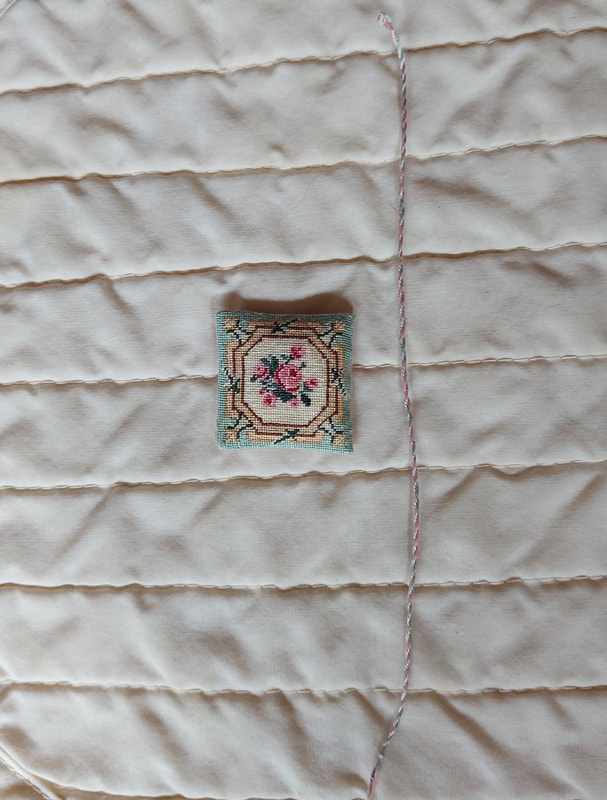
When making a braid, I like to use some of the same threads I used in stitching my project. In order to determine how much thread you need for your project, measure around the outside of your project, add another inch (or two if you wish), then double it. Cut your thread this length then fold it in half.
I used one strand of pale green and one strand of pale pink for this pillow. Once folded in half, you then have two strands of each. Tie a knot close to the open ends of your thread. Holding your knot between the index finger and thumb of one hand, twist the thread using your other hand. Some people like to use a toothpick, or some other straight implement tucked into the loop end to turn and create the twist but for this small length of cord, I prefer to use my hands and roll the thread to twist it. Keep hold of your twist using both hands to prevent it unwinding and continue twisting until it is a tight twist, tighter than you want your finished cord to look. Once it has been twisted well, place the little finger of one hand halfway down the length of cord to hold it and bring the two ends of the cord together. Hold them firmly in one hand. When you have the two ends together, take your little finger out of the resulting loop and let the cord twist itself together. Keep hold of the two ends firmly and smooth out your twist until it becomes a smooth twisted cord. Tie the two ends you were holding together to prevent them untwisting and your cord is done. It should hopefully look like the one in the photo. |
|
|
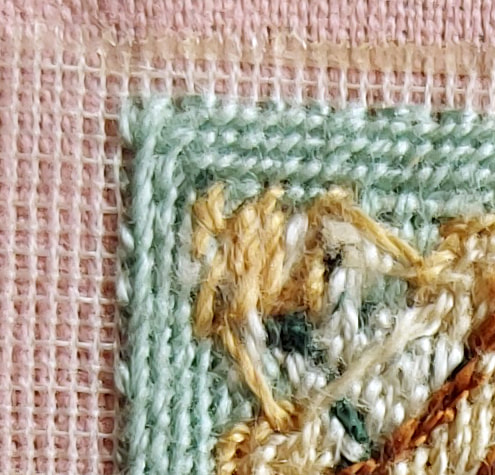
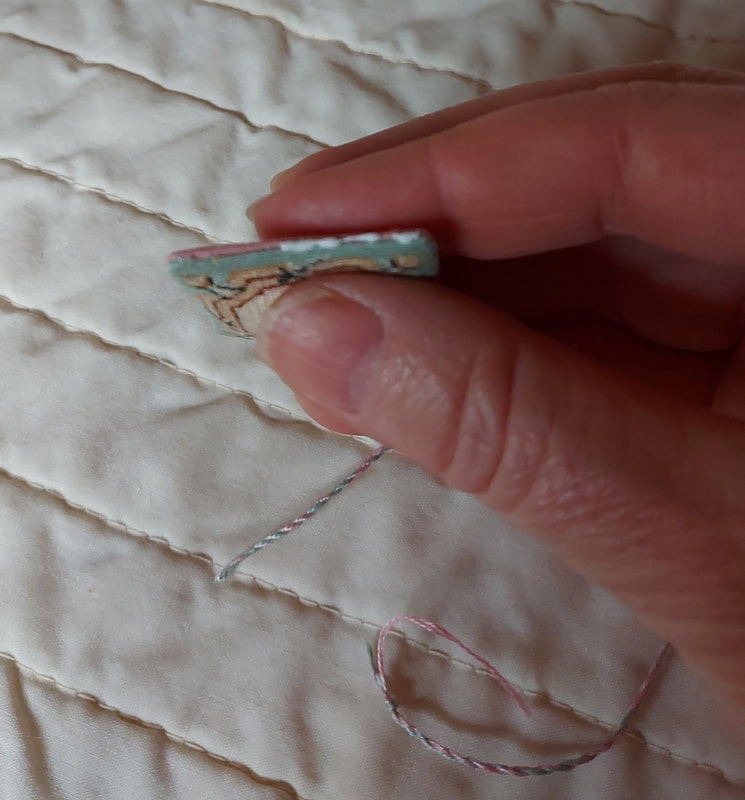
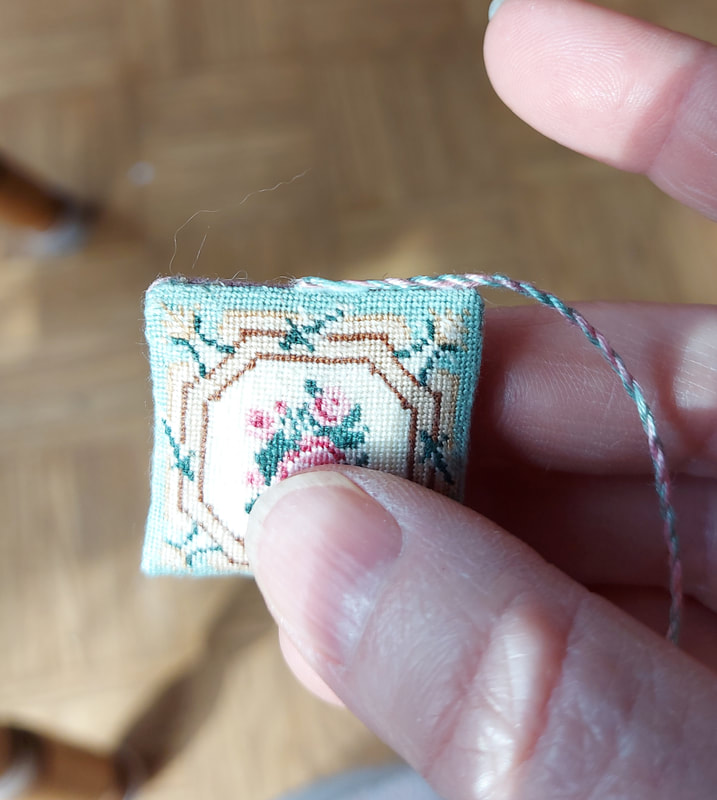
Now you are ready to attach it to your pillow. You can stitch it in place or glue it onto the pillow as shown in these photos. Use a glue that will dry clear and is safe for fabrics.
|
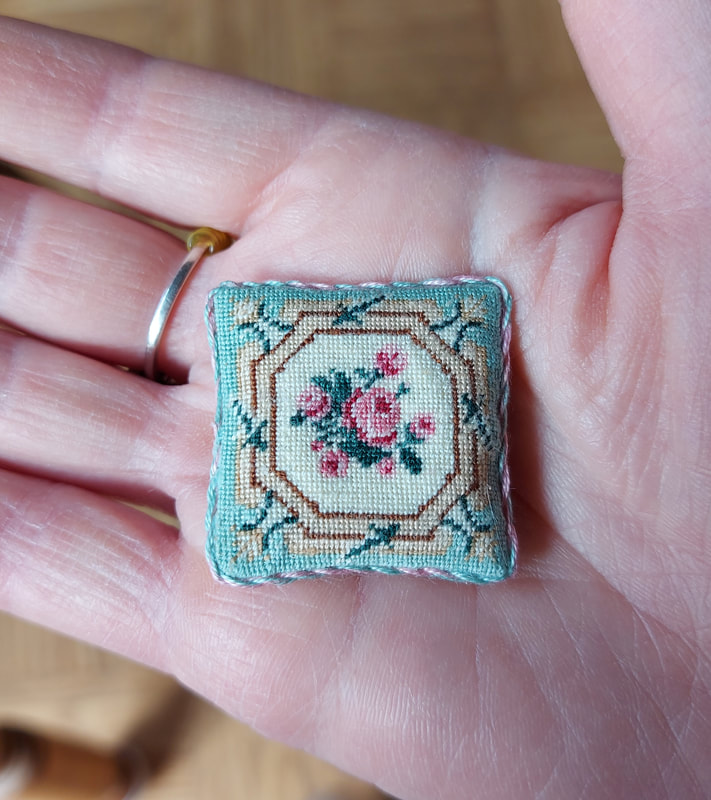
Congratulations, your pillow is finished! |
Below, you will find the free downloadable PDF. Simply select "Download File" then save to your computer.
| making_a_pillow_and_braid.pdf |
This concludes our cushion tutorial. We hope you found it useful and clarifies a few things for you. If you would like to move to the eighth tutorial, you may do so using this link.
|
Thank you so much for visiting our site. We hope you come back soon!

|
We promise not to spam you with emails and will only send out the occasional email. We promise not to share your email address with anyone and it will only be used by Double the Fun Crafts for the purpose of promoting our products or letting you know of a sale.
|