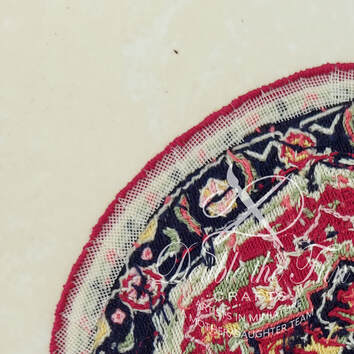
We have shown this tutorial in long form for you to read on the site and also have a free downloadable PDF version for you to keep for future reference. Please do not copy, sell or post this tutorial on your own website, but you may mention it and link back to it here if you wish.
Tutorial #8 - Finishing a Round or Oval Rug
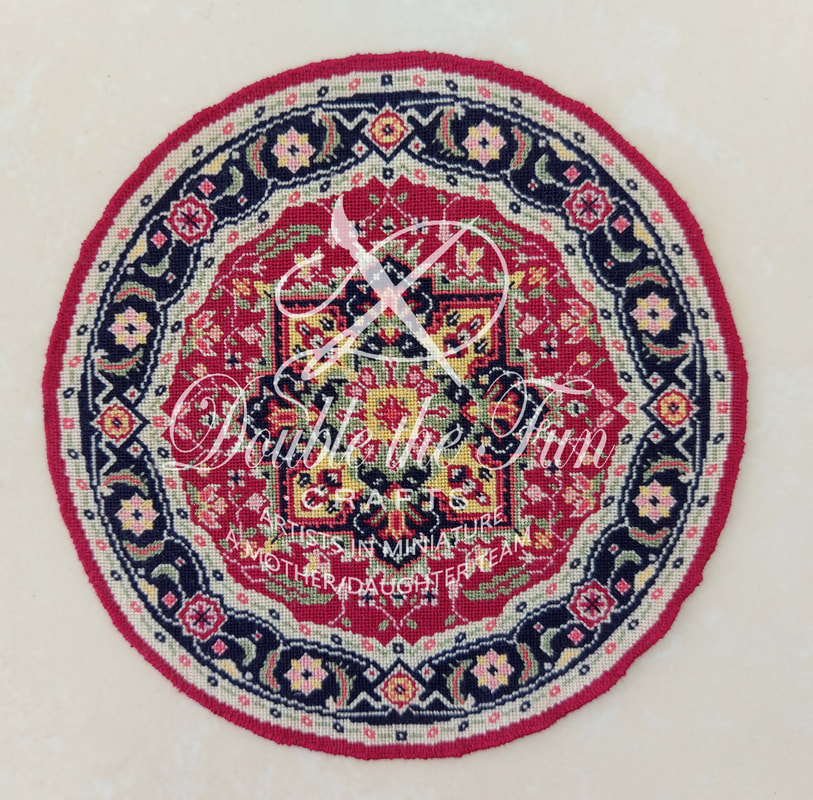
I have several round or oval shaped rug patterns for sale on our website, and I am sure you would love to know how I finished mine. Here is a step-by-step tutorial, with photos, to show you how I did it. As always, if you have any questions, please don’t hesitate to contact me at [email protected] .
|
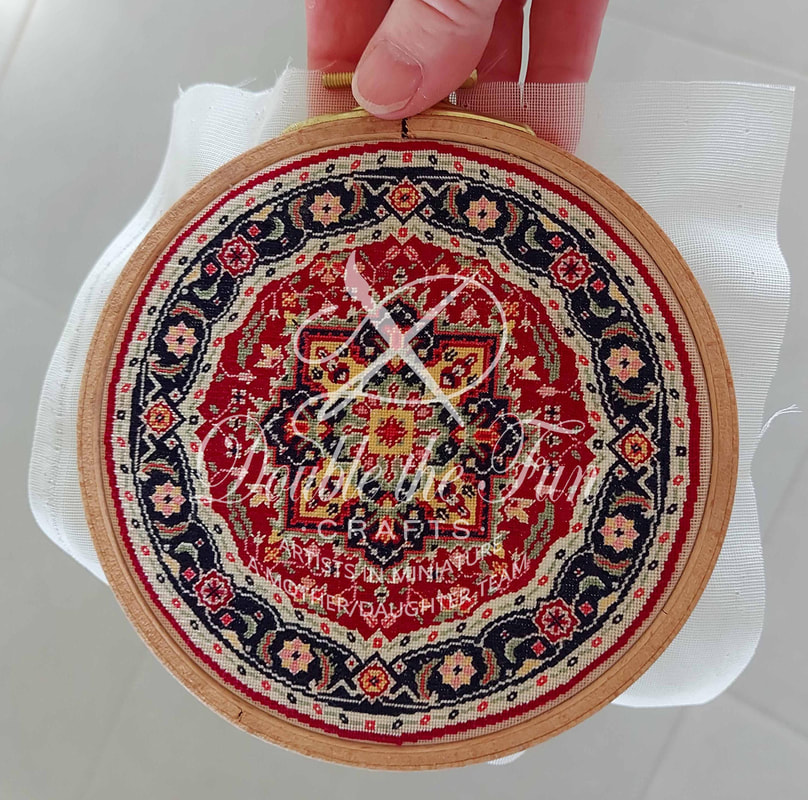
First, I am going to speak about blocking a round rug. I found that the easiest way to block it was to use an embroidery hoop and measure the diameter across the rug at the 1 o’clock, 2 o’clock, 3 o'clock, 4 o'clock, 5 o'clock and 6 o'clock positions to make sure all of the measurements were the same.
Steam the rug using the steam setting on your iron, holding it close to your work but not touching. Do not hold the frame with your hands while steaming or you will burn yourself. Steam your rug while in the frame, then stretch a bit more at the positions that need to be a bit wider. Steam and stretch as needed. Once the rug measured the same all the way around, I steamed it and let it dry two more times before I removed it from the hoop. |
|
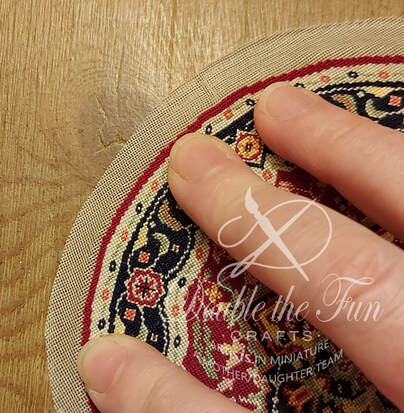
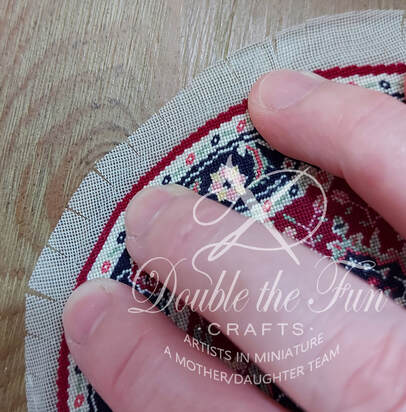
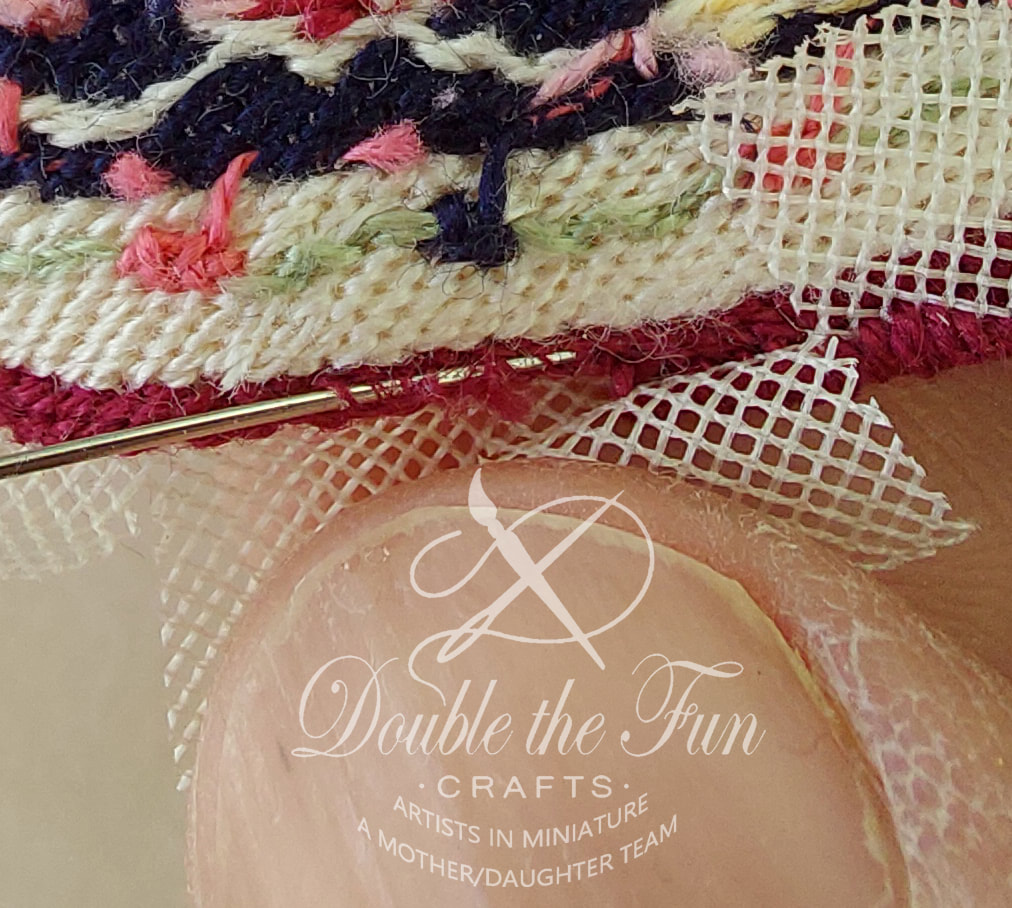
Carefully cut towards your stitching, leaving about 3 rows of gauze uncut. Do this all the way around the rug at approximately 1 cm (0.4”) intervals. I do not cut too close to the stitching so that when I fold over the gauze, there are no cut strands to poke through the front of the stitching when I hem. Also note, I have not notched the cuts, only done straight cuts. For an oval rug, only the curved sections need to be clipped. |
|
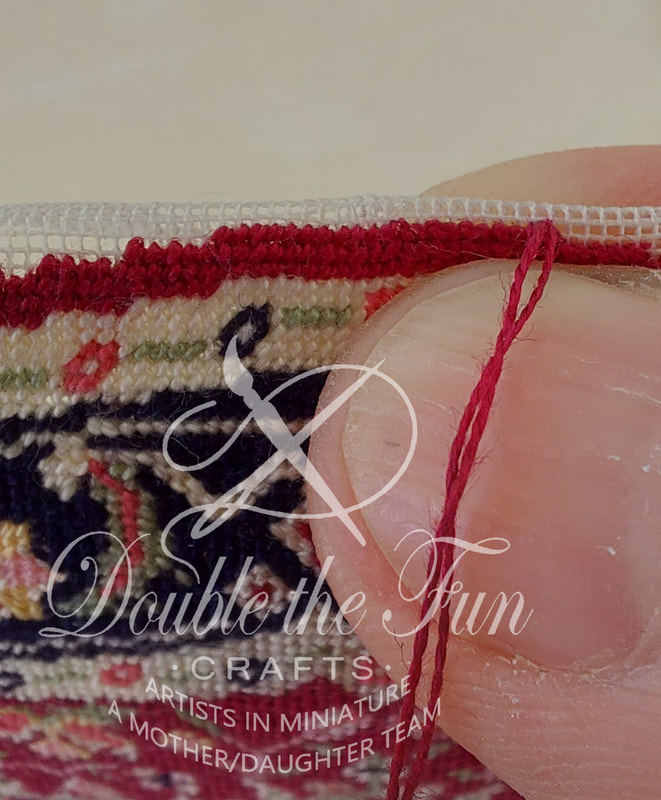
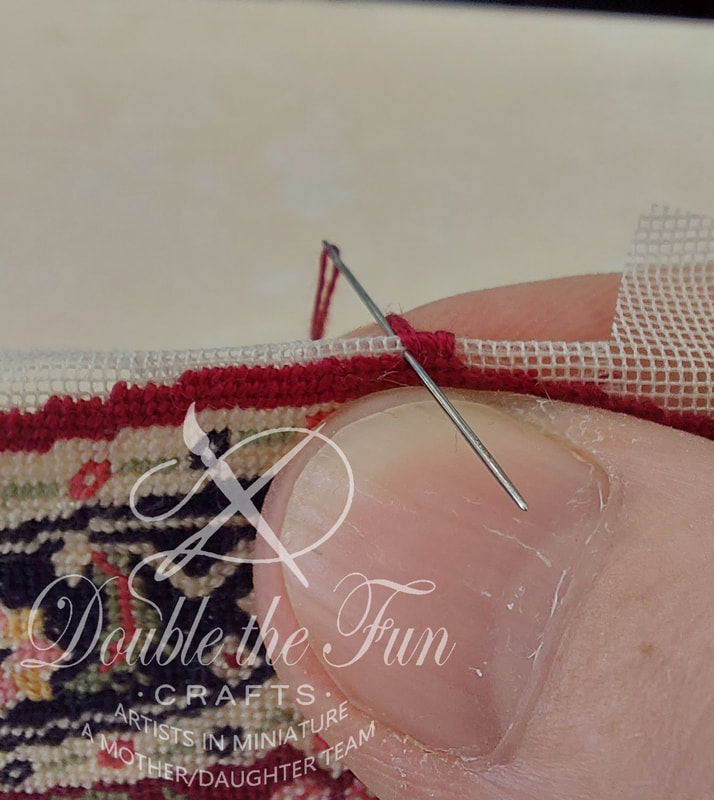
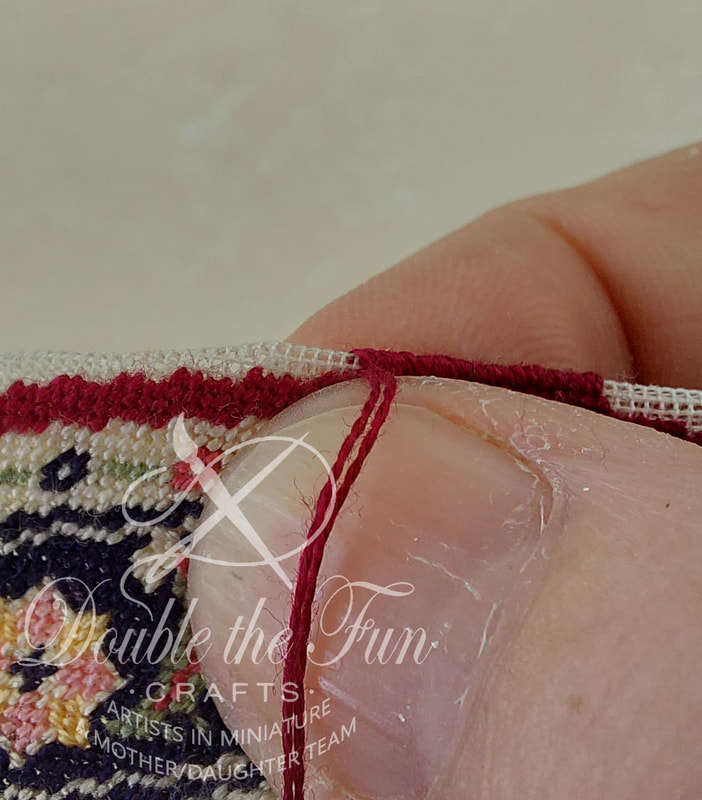
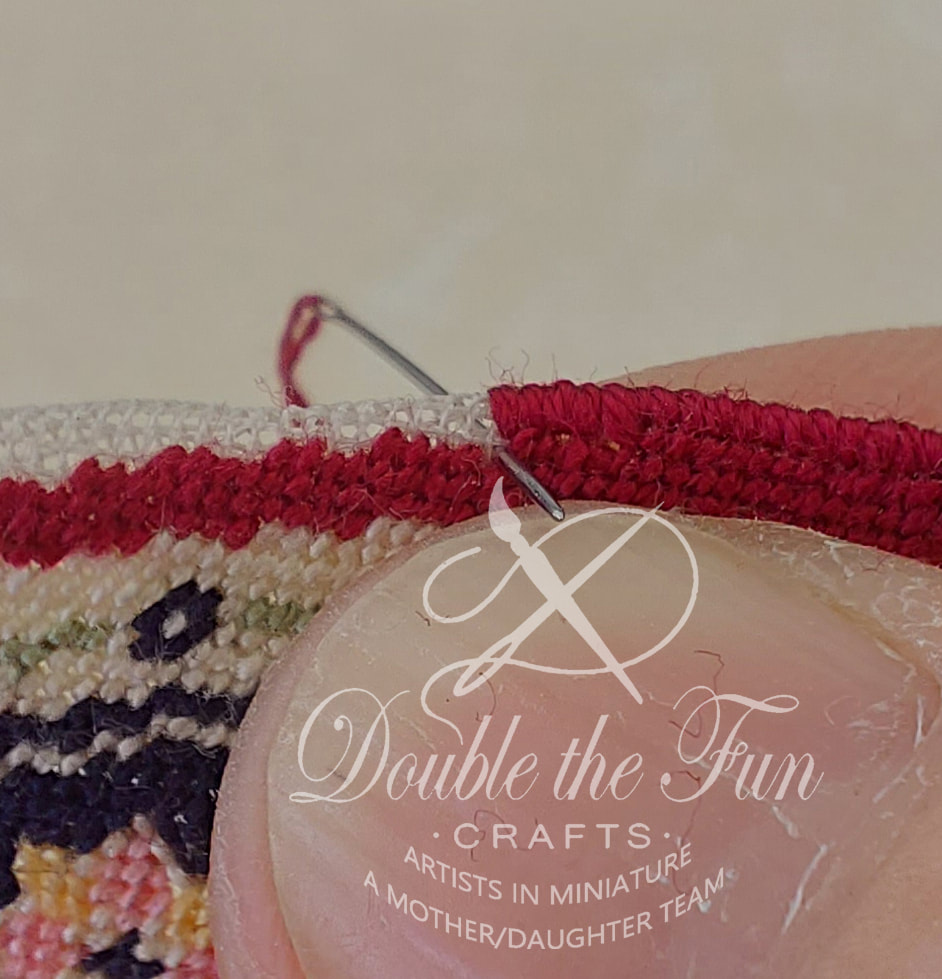
Beginning to Hem Cut approximately 24” of thread, use 1 strand, thread your needle and fold it in half to obtain 2 strands. Beginning at the top of the rug, where the stitches are straight, run your thread under a few stitches at the back, then bring your thread through the hole at the far edge of the straight row. Please note: I am left-handed, so I may hem in the opposite direction to right-handed people. If you like to hem from left to right around your rugs, this will still work for you, just work in the opposite direction to my photos. Fold over your gauze toward the back, leaving two strands of gauze visible as seen in the photo. You will see there are more threads visible on the left and right of the straight row, but this will correct itself as we work around the rug. Hint: When running your thread under the back stitches, dip your fingers in a bit of water and roll the end of your thread to dampen it. This will help prevent your thread from pulling out too easily. |
|
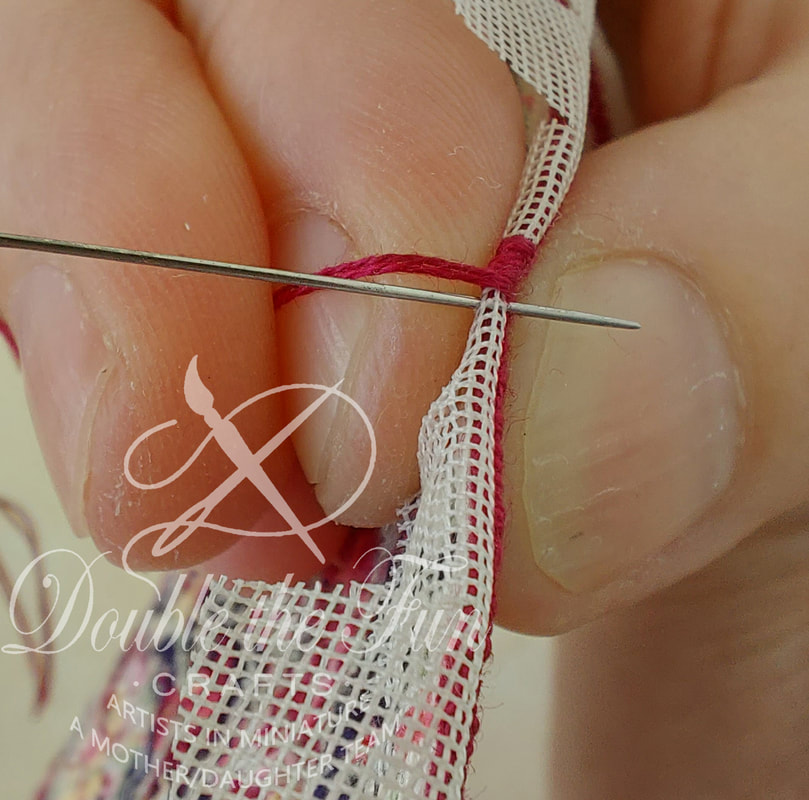
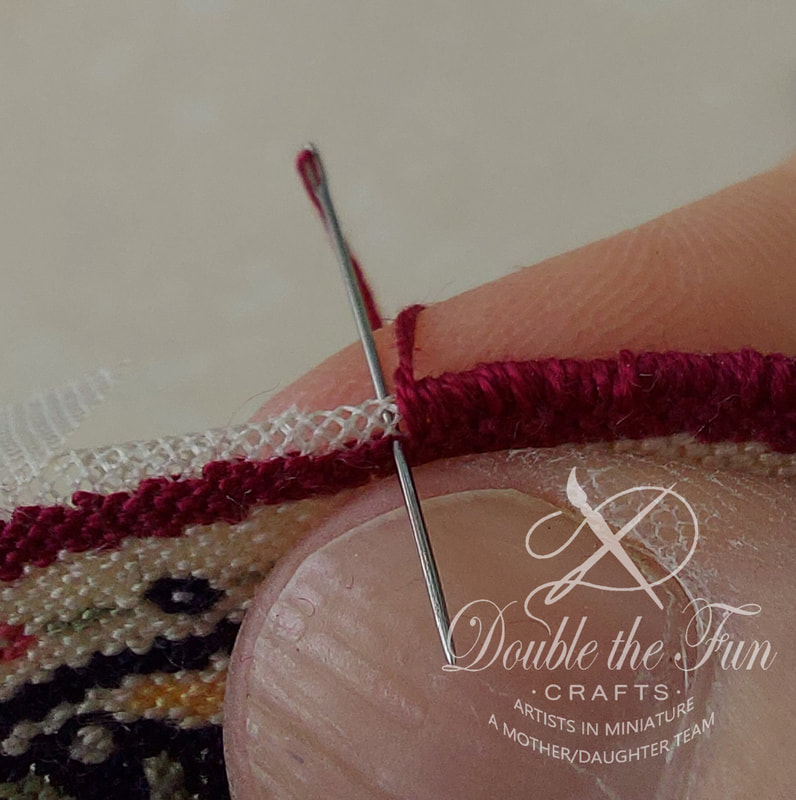
Begin stitching by looping your thread over the folded gauze to the back of your work and push the needle through both layers from the back to the front, making sure you have come out in the same hole as the stitch on your rug. Loop your thread back over the gauze and come up beside the last stitch worked. (Overcast or Whip Stitch) I like to make sure my needle is straight instead of going through the holes on an angle, as this tends to keep my stitches smooth. Some people like to work in the opposite direction, going down through the front towards the back. There is no right or wrong way, only what you find works best for you. As you can see, my stitches are forming from the right side of my work towards the left. If you are right-handed, you may want to work from the left side of your work towards the right. |
|
Keep a small portion of the gauze pinched between your fingers while stitching as shown. I also like to hold my thread between my fingers as seen in the photo because it helps hold it secure and I can see my holes in the gauze easier to make sure I am putting the needle in the right holes. As you can see, I am only holding a small section of the gauze folded at a time. |
|
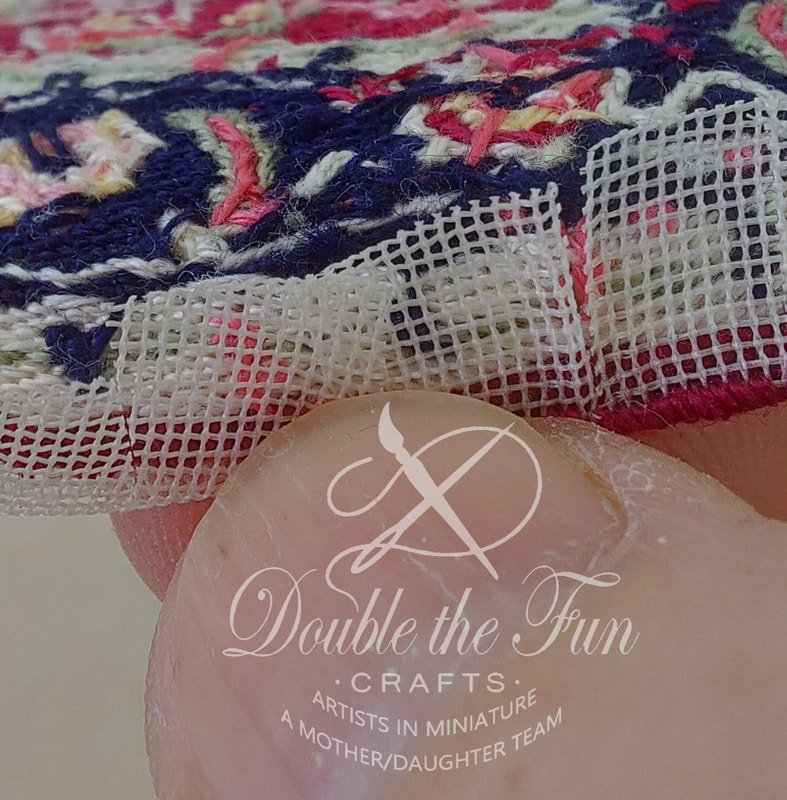
Work your way across the straight part at the top until you get closer to the first step in the stitching. Fold the next section of gauze towards the back, easing it until it looks like a nice curve and is about the same distance from the step as the gauze across the top was. You will see that some of the gauze shows more holes than other areas, but we will deal with this in a moment. Tip: By now, you will have noticed that my needle is secured by a loop in the thread. But what if I place a stitch in the wrong place? Over time, I have found this works to my benefit as I do not have to pull the needle off the thread then re-thread it after. I simply use the tip of my needle to pull the stitch out enough to grab it with my fingers or tweezers. As I pull the rest of the thread out, I make sure the needle is straight with the thread and carefully pull it back through the hole. I can then begin stitching again without having to re-thread. |
|
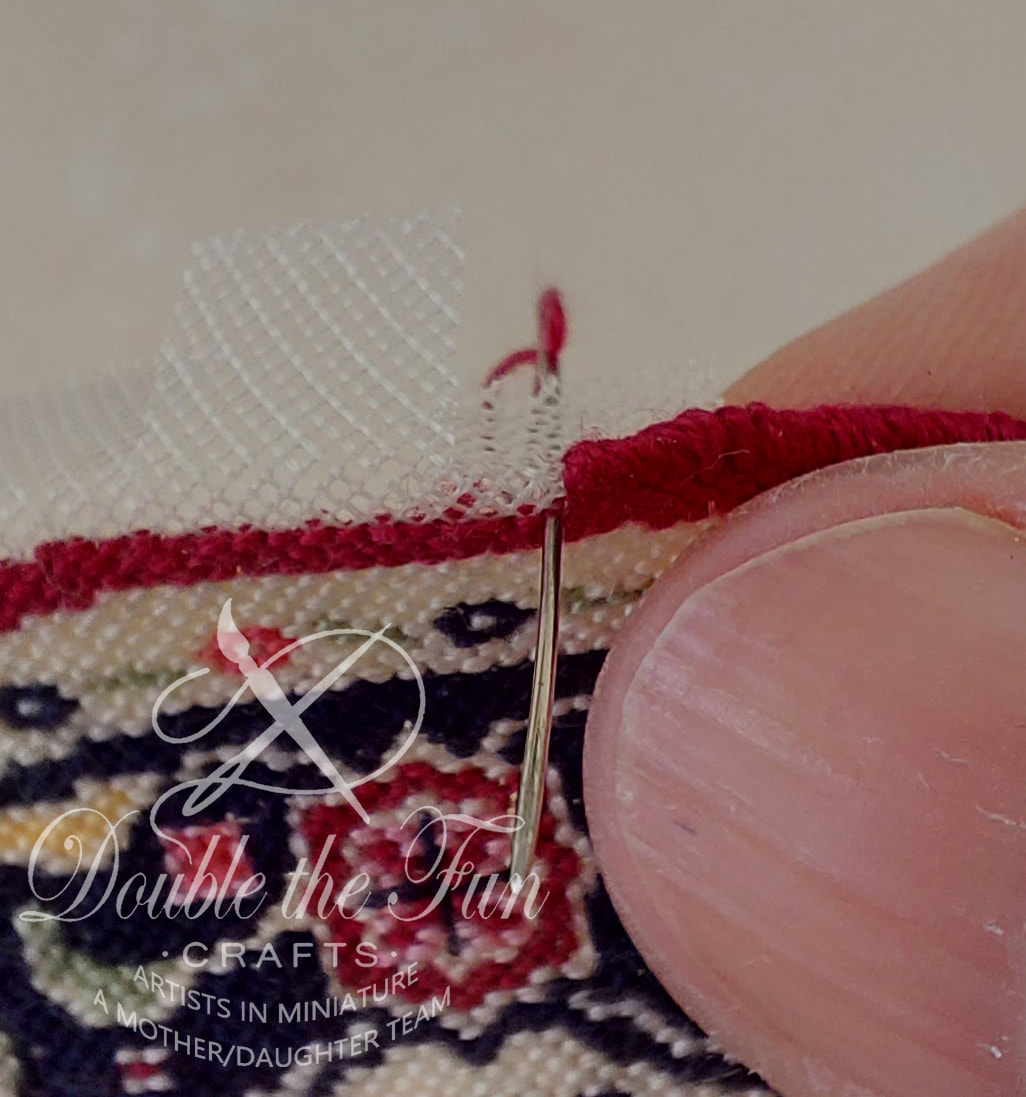
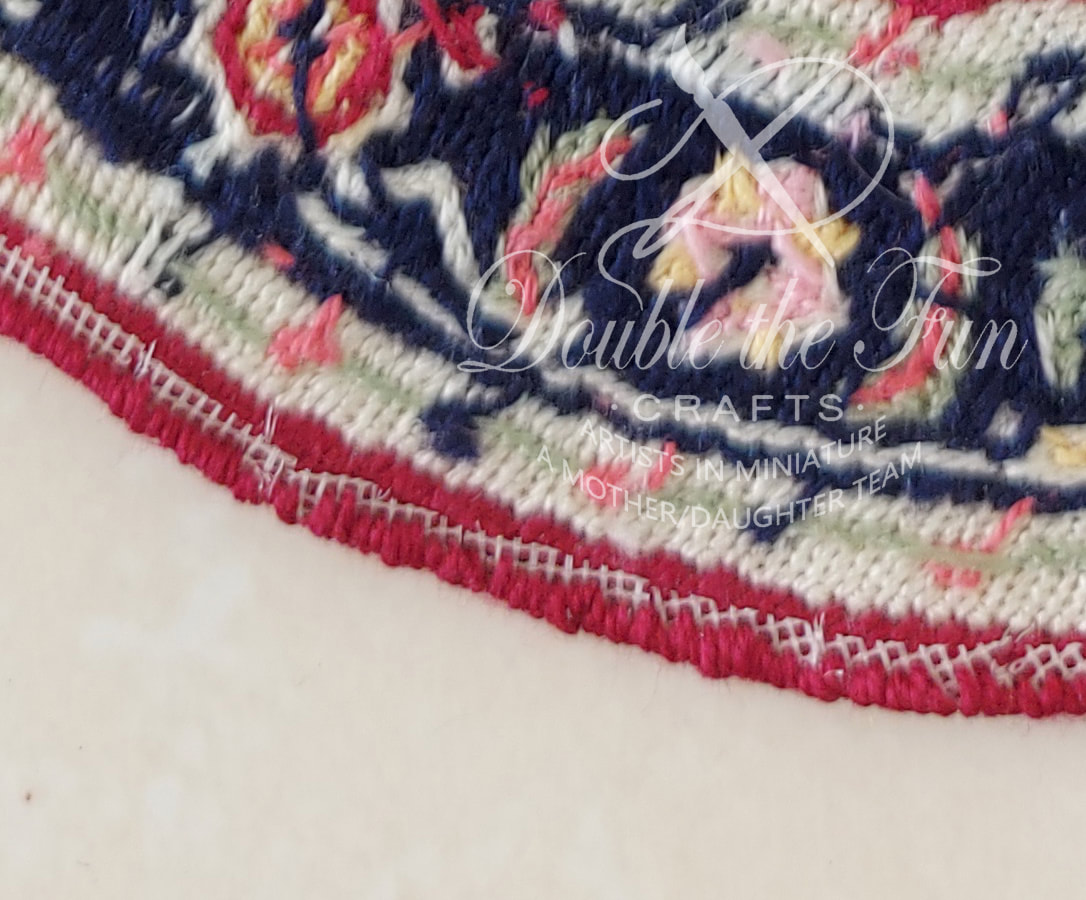
When you get to the last stitch before it steps down, insert your needle below the stitch as shown. This helps to smooth out the steps so that they don’t look as sharp. Continue stitching the next stitches as usual until you get to the next step then insert your needle below the stitch as you did previously. When you get to the other side of the rug, the steps will be going upwards instead of down as you see in this picture. In that case, do the reverse. Stitch into the gauze as normal then stitch below the stitch that forms the step up. Continue easing the gauze into a nice curve as you stitch around until you get to the end. Take your time, do not rush, and do not pull your stitches too tight. This will help you achieve a nice circle for your rug. |
|
Ending one Thread and Beginning Another When ending one thread, run it gently under your hem stitches at the back of your work for several stitches, then trim close to your stitching. When starting the next thread, carefully pull your gauze away from the back and run your needle under a few stitches in your last row of the rug stitching. Pull your thread through the stitches until the ends of the thread are under the stitches. Wetting the end of your thread will help hold it in place while you begin your first few stitches, and you can start the thread without using a knot. |
|
Tip: When working the small straight section that is on a diagonal and not in a row going straight with the gauze, I like to place my needle in the small cross formed at the edge of a stitch as shown. Then I do the next in the larger hole beside it. I sometimes did not need to do every hole, but made sure I always used the small cross holes. If I did all of the holes, I found my stitching getting too crowded and the hem puckering. Check coverage of each stitch as you place it and make sure there are no gaps as you are going around. Your stitches may not be the same length all the way around but I found this was not noticeable as long as I hemmed using the same color as my last row of stitching. |
Hemming an Oval Rug
Work the curved sections of an oval rug as for the circular rug then switch to a straight hem overcast for the straight sides. There is no need to clip the straight sides when preparing your rug for the hem, only the curved sections.
Work the curved sections of an oval rug as for the circular rug then switch to a straight hem overcast for the straight sides. There is no need to clip the straight sides when preparing your rug for the hem, only the curved sections.
|
As Life-sized rugs do not have gauze showing at the back, you may prefer to trim the gauze away. Carefully trim your gauze close to the stitching using a pair of fine pointed scissors. In this example, I didn’t have fine scissors on me, and I was on vacation. I trimmed as close as I could get and will trim it closer when I get home. Due to the fact that you have trimmed your gauze close to the hem, there is very little overlap of the gauze left. This then helps your hem not be thick. Also, since you have folded your gauze and stitched through both layers of gauze, this effectively “locks” the edges and it will not unravel with careful handling. |
It is not recommended you wash your rug after it is finished, as it will shrink and distort. I have done this in the past and had a very hard time getting the rug back to its proper shape. I would recommend spot cleaning only. However, if it must be washed after stitching, do so before you block it. Begin blocking before it is dry to help prevent distortion.
|
Lightly iron your rug to smooth out the hem and you are finished! CONGRATULATIONS! As always, I would love to see photos of your finished work. Please feel free to email me at [email protected] and show me your work. |
Below, you will find the free downloadable PDF. Simply select "Download File" then save to your computer.
| tutorial_8_-_finishing_a_round_or_oval_rug.pdf | |
| File Size: | 1426 kb |
| File Type: | |
This concludes our eighth tutorial. We hope it was helpful to you and clarified our method for you.
|
Thank you so much for visiting our site. We hope you come back soon!
|
We promise not to spam you with emails and will only send out the occasional email. We promise not to share your email address with anyone and it will only be used by Double the Fun Crafts for the purpose of promoting our products or letting you know of a sale.
|

