|
|
|
We have shown this tutorial in long form for you to read on the site and also have a free downloadable PDF version for you to keep for future reference. Please do not copy, sell or post this tutorial on your own website, but you may mention it and link back to it here if you wish.
Tutorial #3: Blocking and finishing your Rug
After you have finished stitching your rug, you are going to want to give it that professional finish since you have worked so hard to complete the stitching. You can decide to finish your rug with a fringe or without. If you need to know how to make a fringe for your rug, please see my PDF entitled “Adding a Tabby Weave and Fringe to your Rug”. The fringe should be added before you remove your rug from the frame if you have decided to add one.
First of all, I would like to say that this method was not developed by myself and I am only paraphrasing the method as explained to me by Frances Peterson of https://petersonpetitpoint.com/ . I have changed a few things to suit how I like to finish things. I greatly admire Frances’ work and only hope that someday I may be able to design as well as she does.
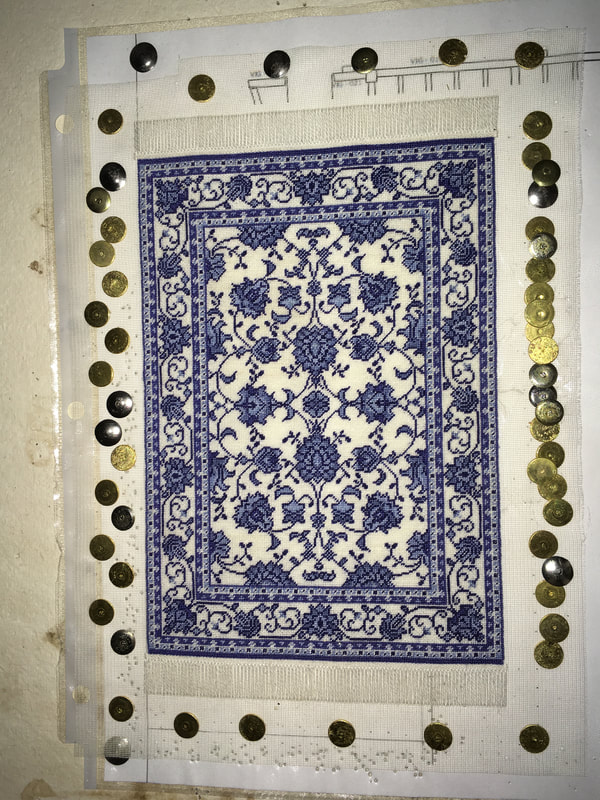
After adding the fringe (if you decide to), remove your rug from the frame. For this step you will need something smooth and flat to block your rug on. Often, the rug is slightly off kilter and the edges are a bit wavy when you remove it from your frame, no matter how well you were able to mount your gauze straight. In order to get it nice and straight, the rug needs to be blocked. I use an old macramé board to block my rugs because it is very easy to push thumb tacks into it, but you can use a piece of thick foam core or other smooth, flat surface – as long as you are easily able to push thumb tacks into it and it is firm enough to stay flat.
First of all, I would like to say that this method was not developed by myself and I am only paraphrasing the method as explained to me by Frances Peterson of https://petersonpetitpoint.com/ . I have changed a few things to suit how I like to finish things. I greatly admire Frances’ work and only hope that someday I may be able to design as well as she does.
After adding the fringe (if you decide to), remove your rug from the frame. For this step you will need something smooth and flat to block your rug on. Often, the rug is slightly off kilter and the edges are a bit wavy when you remove it from your frame, no matter how well you were able to mount your gauze straight. In order to get it nice and straight, the rug needs to be blocked. I use an old macramé board to block my rugs because it is very easy to push thumb tacks into it, but you can use a piece of thick foam core or other smooth, flat surface – as long as you are easily able to push thumb tacks into it and it is firm enough to stay flat.
|
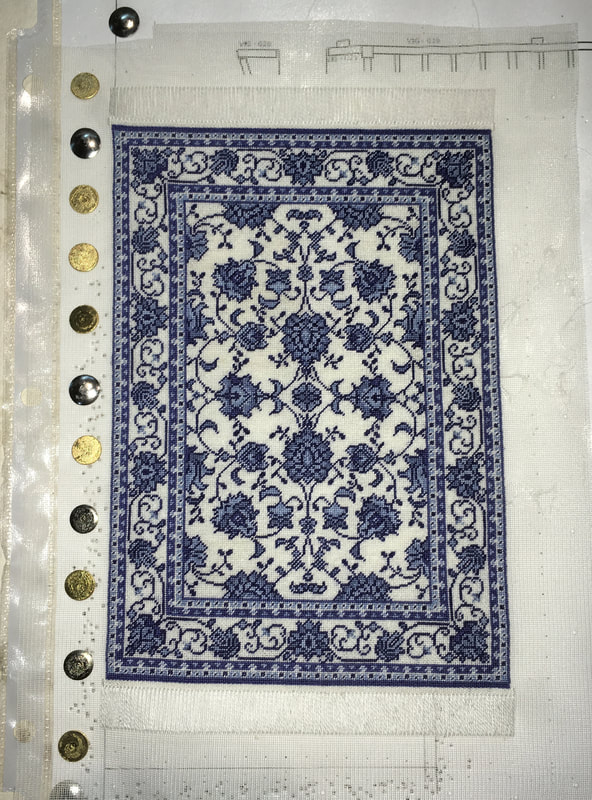
Step one: Tack a piece of paper to your blocking board so that you have a straight edge to refer to then line up one long edge of your rug along the straight edge and secure it to the board using a line of thumb tacks. |
|
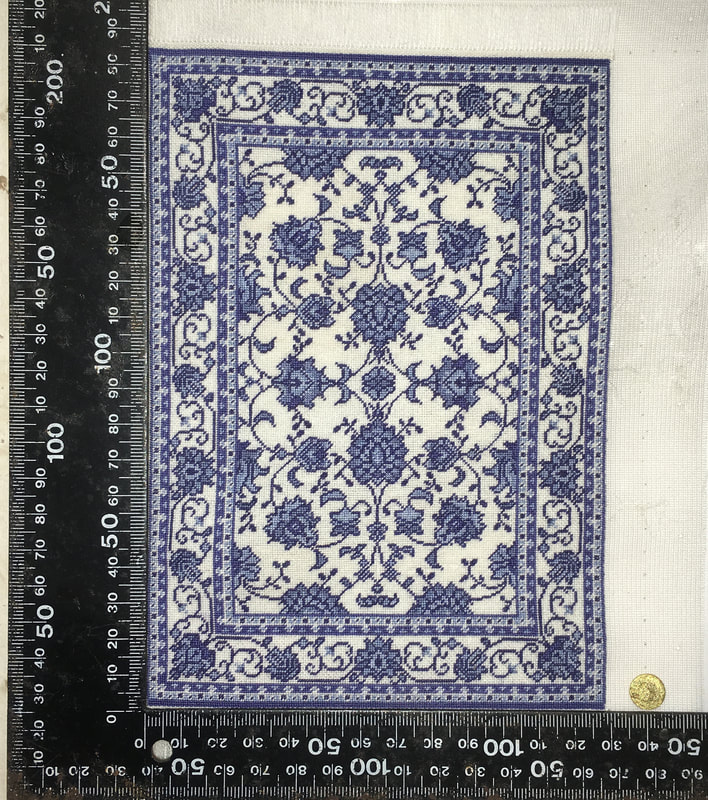
Step 2: Use an L square or any other right-angled ruler along the side you just pinned and one end. Most likely you will notice that your rug is not square at this point. Pull your bottom edge either down or up, depending on which way you need to go to bring it in line with the edge of the ruler, stretch it slightly, then place a thumb tack in the corner. You will see it here in the bottom right. Remove the ruler then place thumb tacks along the end that you just straightened. Repeat for the opposite end. |
|
|
Step 3: For the final side, I use a ruler to check that it is straight, then place thumb tacks along that edge. Here I am showing the ruler butting up to the edge of the rug but if you have a clear ruler, you can put it on top of the rug to check. |
|
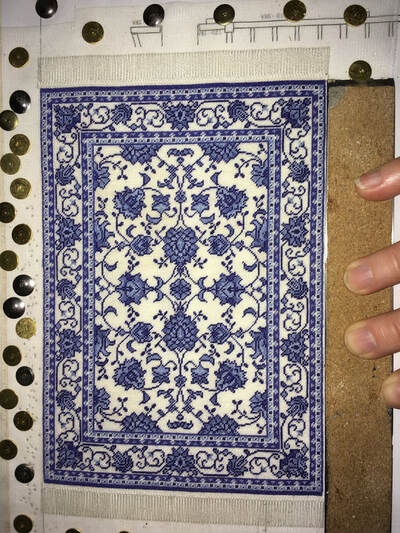
Step 4: Once you have secured your rug on all sides and gotten it fairly straight, steam your rug using your iron. Hold the iron slightly above the rug as shown in the photo. Do not touch the rug with the iron. You can also use a hand-held steamer for this. Let the rug dry. |
|

|
|
Step 5:
Check your rug to see if the edges are completely straight. If not, gently pull the gauze in the areas that it isn’t straight and add another thumb tack. I found a clear grid that is used for quilting was great for helping me see if my edges were straight. I could hold it on my rug then reach under and pull the gauze without disturbing the grid. The photo on the right shows many thumb tacks on the far side. This is how it ends up looking after you have stretched the rug straight several times. Luckily, my ends didn't need too much straightening, or your would see a great deal more thumb tacks!
Once you feel all the edges are straight, steam the rug again. Let the rug dry and repeat this step as many times as you need to in order to get the rug completely straight. It often takes a few days to weeks to get it perfect, so don’t be in too much of a rush with this step. If you remove the rug from the blocking too soon it can resume its former shape.
After I am satisfied that the rug is perfectly straight, I like to steam the rug and let it dry several times so that I am sure it will continue to hold its shape.
Now you are ready to finish your rug! I have written the instructions for finishing with a fringe first, so if you haven’t done a fringe, you can skip this next section and move down to the instructions for finishing the sides.
|
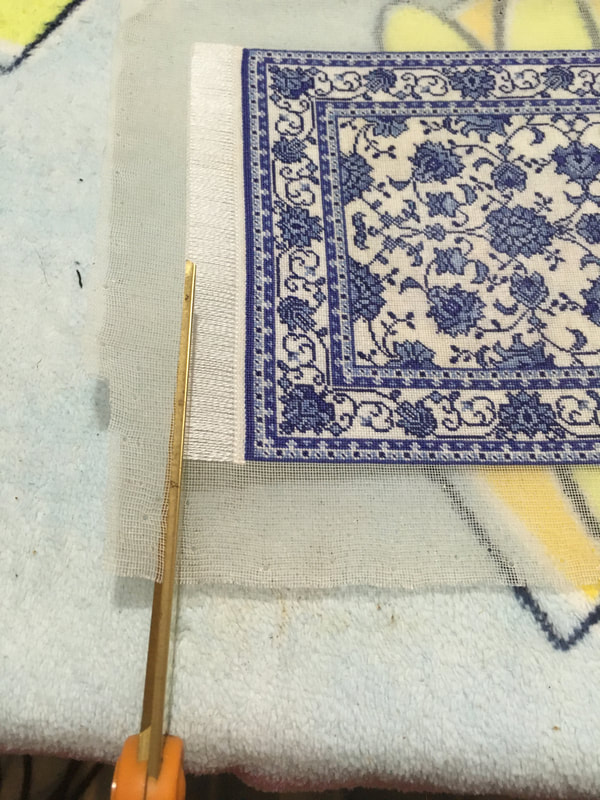
Finishing with a fringe: Remove the rug from the blocking board and trim the fringe edge as close to the end of the fringe as you can. This will release the fringe from the gauze. Once you have done that, turn the rug over and place it on your ironing board. Iron (using the Silk setting) the gauze on the ends towards the back of your rug. If you have trouble keeping the fringe straight during this step, I find “combing” it with a straight pin can help orientate all of the fringe in a nice, flat, straight direction. Simply run the pin carefully along the fringe threads from the rug edge towards the end of the fringe to straighten any crooked threads. Try not to move the iron around when ironing over the fringe and this will help the threads remain where you want them. |

|
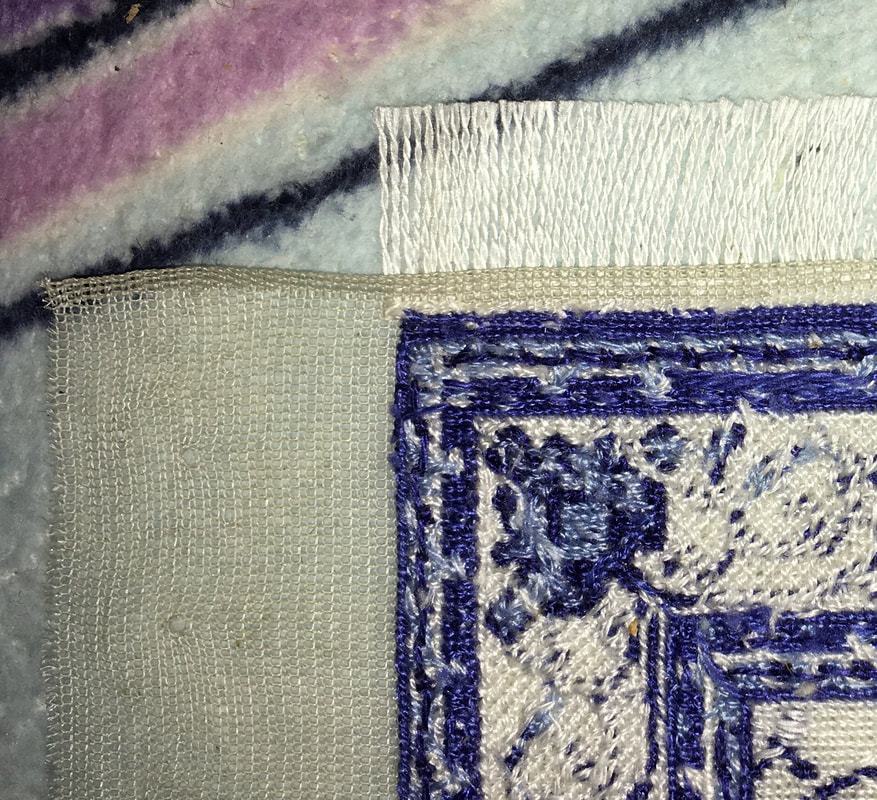
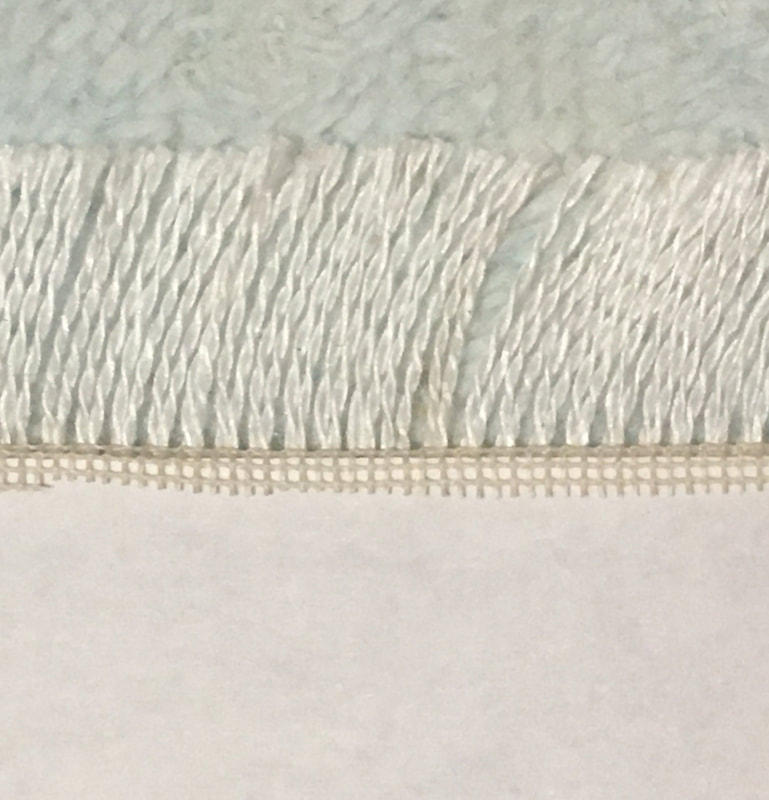
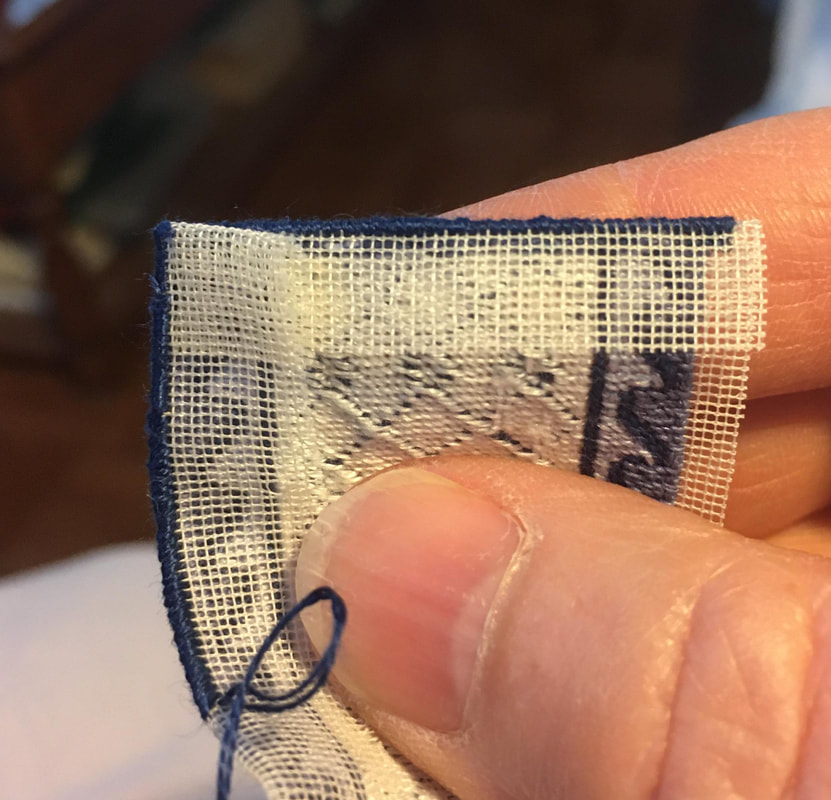
Once you have ironed the gauze back, trim it close to the rug, leaving about 3 or 4 rows. As you can see, the gauze does not extend past the Tabby weave, so it will not be visible from the front of the rug. |
|
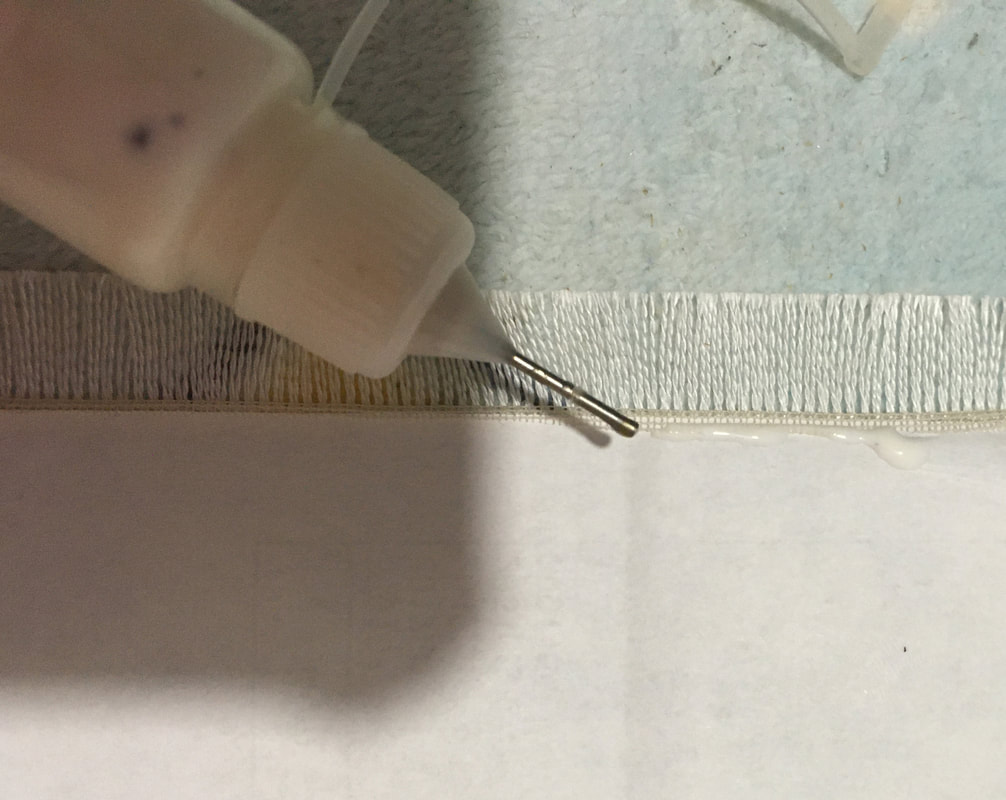
Tuck a piece of paper under the edge of the cut gauze to protect your rug, then seal the gauze with some clear fabric glue. This will help lock the threads, so they won’t unravel. Remove the paper before the glue dries and let the glue dry before proceeding to the next step.
|
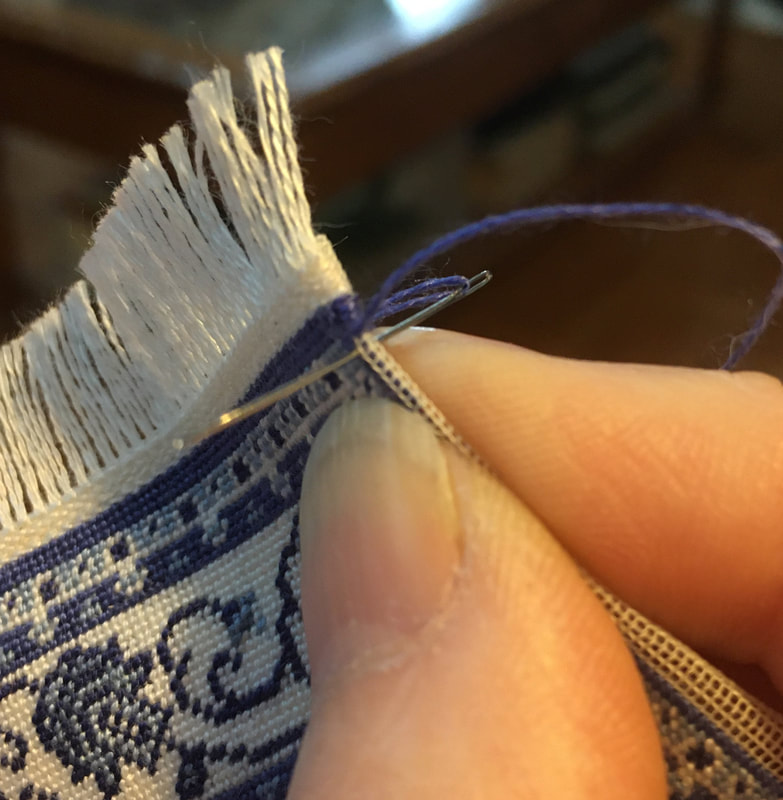
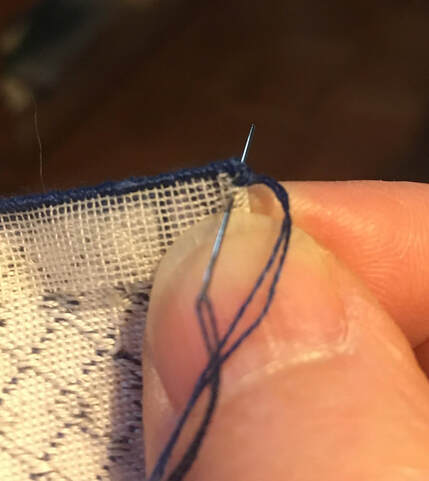
Once the glue is dry, I also like to secure the gauze to the rug by carefully stitching with the same thread as the tabby weave. I make tiny stitches that mimic the size of the tabby weave stitches through the tabby weave and into the ironed gauze. I do this while the front of the rug is facing me so that I can see the tiny tabby weave stitches. The stitches are so small that they blend in with the tabby weave on the front and become invisible.
|
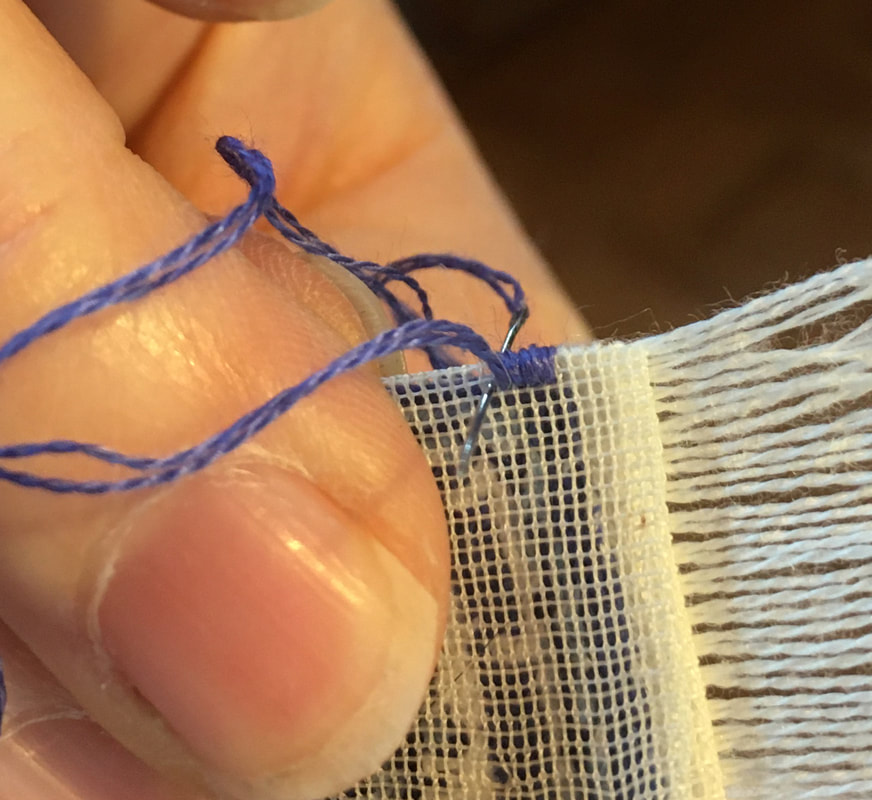
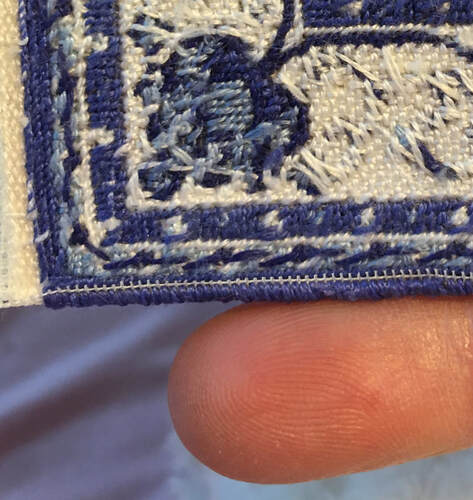
Finishing the sides (and ends if no fringe): Carefully fold the extra gauze towards the back of the rug, leaving two holes visible. With two strands of floss, run your needle under several stitches on the back of your rug to start the thread, then bring it up through the first hole beside the last stitch on the edge of the rug, right below the tabby weave (or in the corner if no tabby weave). Note: Some like to use one strand of floss for this step, but I find it doesn’t cover as well as two. Take your thread around to the back and put your needle in two holes from the edge and push it through to the front, into the next hole below the first one you came up in. Continue doing the overcast (or whip stitch) until you have finished the side. |
|
|
This is what the back looks like when you are doing the overcast stitch. As you can see, the needle is going into the second hole from the outside edge. I tend to check with every stitch that I am going into the correct hole as I found it very easy to accidentally go into a different hole if I only watch the front of my work. Here is the edge after several stitches have been made. 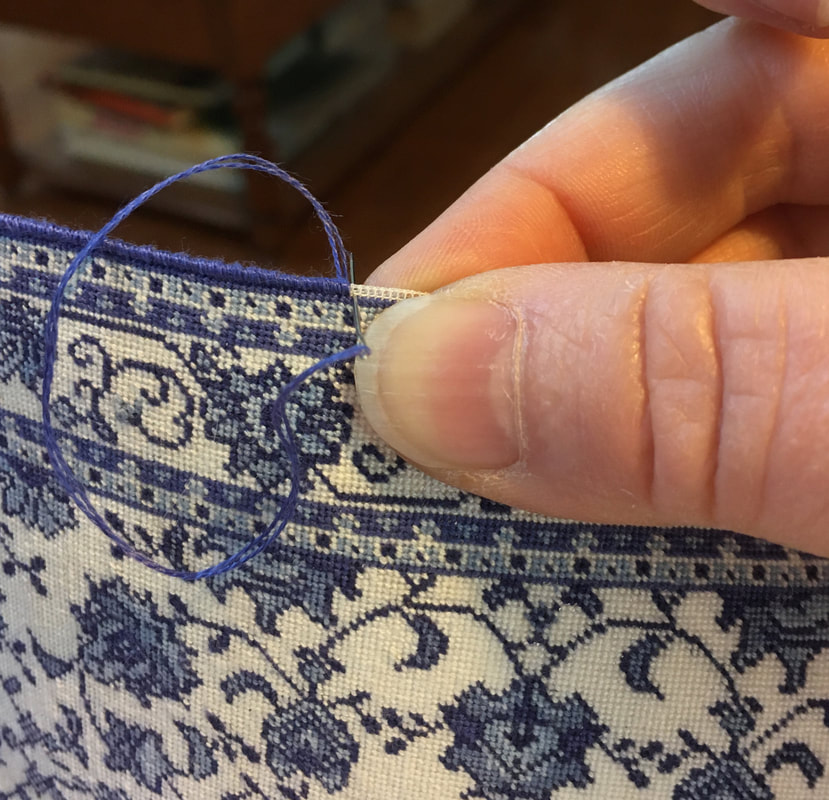
|
Repeat this for the other side and for the ends if you have not put a fringe on your rug. If you have not put a fringe on your rug and need to overcast around all sides, the next two photos show how I turn a corner.
|
|
In the above two examples, I stitched across the end first, until there are two stitches left to stitch, then folded the gauze for the side towards the back. I then continue stitching across the end but go through all layers of gauze in order to secure the side gauze. The photo on the right shows how I have stitched the corner. The photo on the left shows the same thing but there is a lot of waste gauze there. It will look more like the other side once it is trimmed. When you have overcast all sides, turn your rug over and trim the excess gauze very carefully as close to the stitching as possible.
Congratulations, you have now finished your rug!
Below, you will find the free downloadable PDF. Simply select "Download File" then save to your computer.
| blocking_and_finishing_your_rug.pdf |
This concludes our third tutorial. We hope it was helpful to you and clarified our method. If you wish to read the fourth tutorial, you may use the link here.
|
Thank you so much for visiting our site. We hope you come back soon!

|
We promise not to spam you with emails and will only send out the occasional email. We promise not to share your email address with anyone and it will only be used by Double the Fun Crafts for the purpose of promoting our products or letting you know of a sale.
|