0 Comments
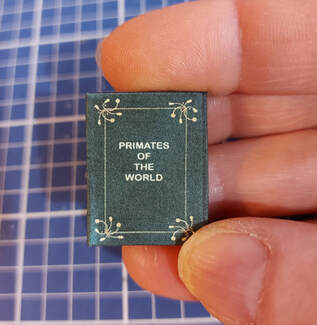
I am also excited to announce that these kits will also be available for Instant Digital Download from our store! You can find them here. More will be added as I complete and proof each book.
We will be offering a variety of items for sale at the show, including Cheryl's artwork, hand-made rugs, blankets, cushions, furniture, shell necklaces, printed patterns and book kits. Anything that doesn't sell at the show will be offered here in our store later, so stay tuned to see what pops up!
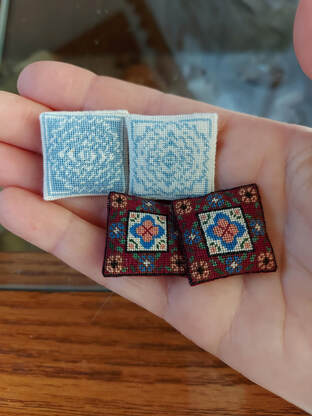
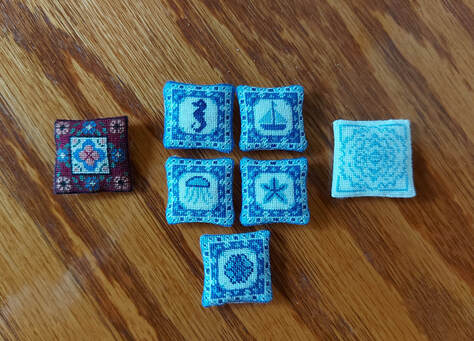
on the frame. I then trimmed the fabric so that approximately 1/8" or more remained, clipped the corners, then turned the pillows inside out so that the outsides of the pillows showed. They were very easy to stitch together but it was a challenge getting the pillow turned and they are smaller than the others. I will most likely make a braid using the colors in the pillows and put it onto them to make them appear larger.
The pillow on the left was finished by stitching a front and a back for it, then folding the trimmed edges back right to the stitching, ironing them then folding the pillow in half and stitching it together using a running stitch. This one had much sharper corners, was easy to stitch together but because I used a running stitch, I can see a bit of the white threads of my silk gauze if I look closely. For this reason, I will also be putting a braid around it to finish it off. The pillow on the right was finished by stitching a front and back like I did for the pillow on the right but this time I folded the fabric back leaving one row visible just like I do for my rugs. I folded the pillow in half then stitched it together using an overcast stitch just like I do on my rugs. This pillow also ended up with nice, sharp corners but unlike the one on the left, I do not need to put a braid around it to finish it off. All three methods of finishing have merit depending on what look you are going for in your finished pillows but the easiest one is the one on the right. I will be writing a tutorial later that details each of the finishing techniques, along with photos so that you may also see clearly how I did each one. |
AuthorMy name is Yvette, and I will be writing this blog to tell you about the creative process that has gone into the creation of my Petitpoint patterns along with showing the stitching I have done of some of the rugs. Archives
July 2024
Categories
All
|
|
Thank you so much for visiting our site. We hope you come back soon!
|
We promise not to spam you with emails and will only send out the occasional email. We promise not to share your email address with anyone and it will only be used by Double the Fun Crafts for the purpose of promoting our products or letting you know of a sale.
|
 RSS Feed
