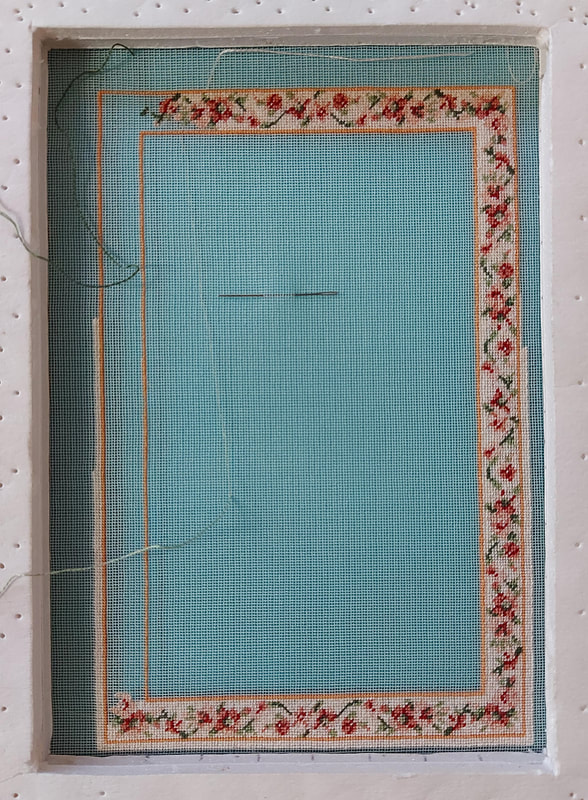
it in one go. As there isn't a lot of the palest peach, I also wait until I have a few flowers to fill in with that color before using it. This has helped me tremendously and I am making less errors now.
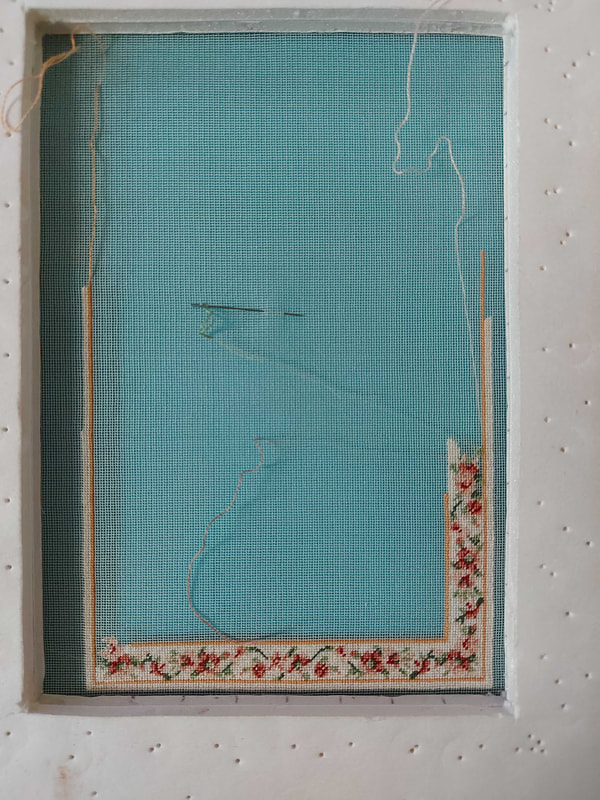
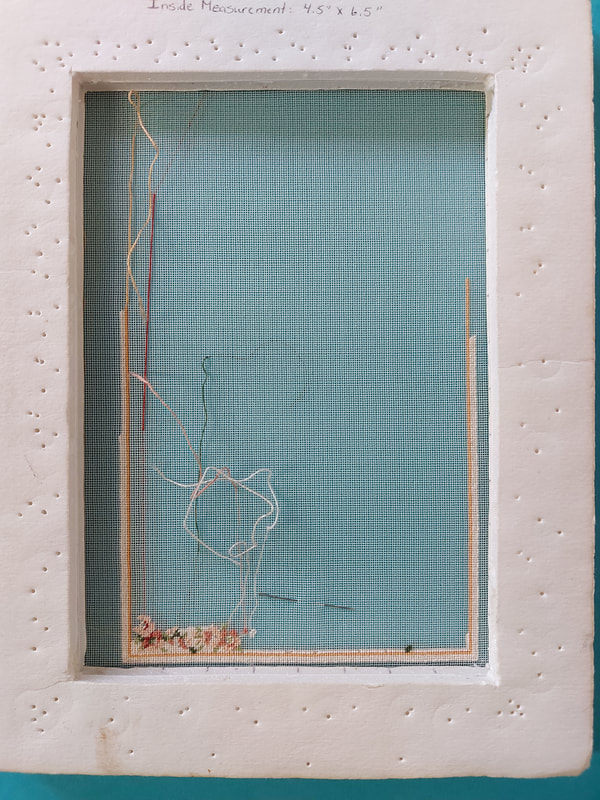
Tip* Another thing of note with this rug is that although it is easier to stitch the darker colors first, it is not the best way to do it. Dark colors show through the light colors if the light color is stitched over carried threads of darker colors. If you must stitch with a darker color first, make sure that no thread is carried across an empty space that will be filled in with a light color. It will take a bit more thread but always run the thread back through already stitched areas of darker color on the back before proceeding to a new area. If you have to cross an open area, park the thread (leave attached to your work and thread it into some holes away from the area you are working - this can be seen at the top of the photo above) then stitch the lighter color before picking up the thread again and crossing the area to get to the new dark area. I am greatly looking forward to finishing the border and beginning the middle. Hopefully by next week...
0 Comments
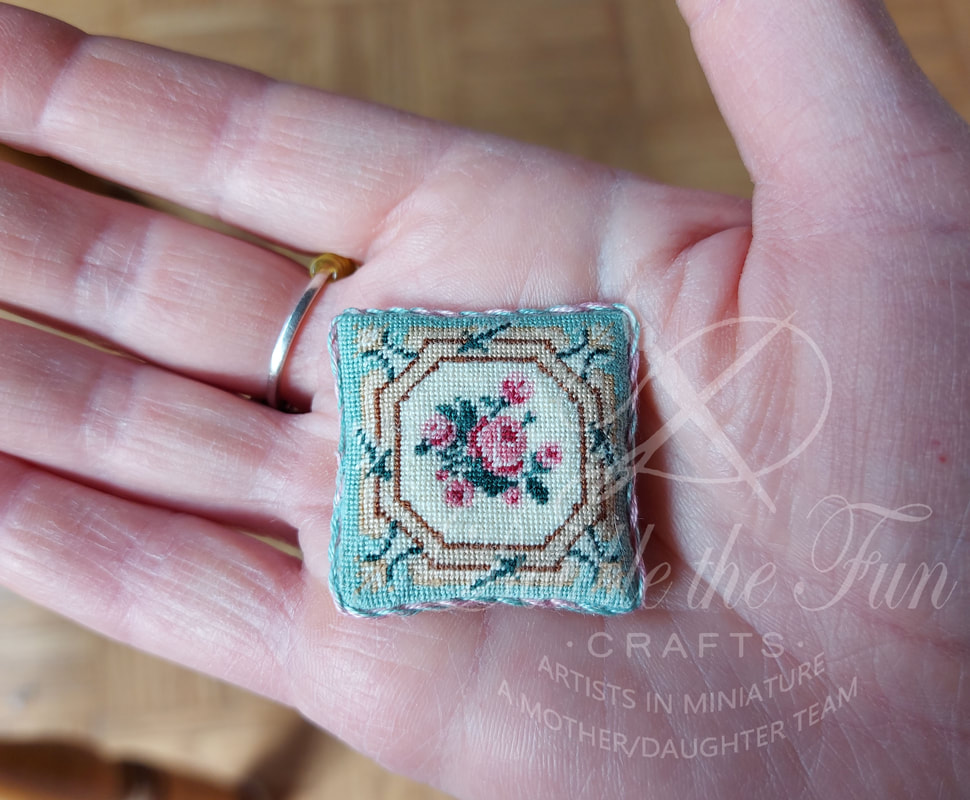
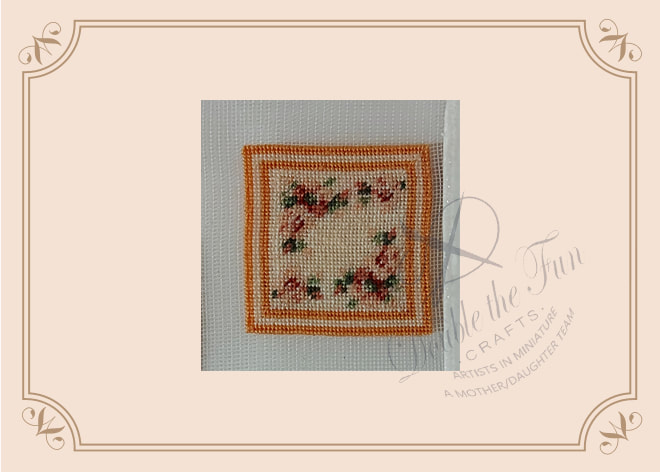
This week I finished sewing my little Ruby-green pillow together. Pattern for this pillow may be found here: Ruby-Green. You may recall that this pillow was the one that had the least space between the edge of the pillow and the edge of the Christmas rug. I am happy to say my experiment worked beautifully and I now know that I can stitch small projects that close to the edge of a rug if I have some extra gauze. It is not for the faint-hearted though because there were very few rows that I had available to work with. It all paid off though because the little pillow went together very easily and I was able to get some great photos with which to write my tutorial. The tutorial will be coming soon and will be found in my Tutorial section. For now, I am just happy that it worked and I am now going back to stitching my Katrianna rug...
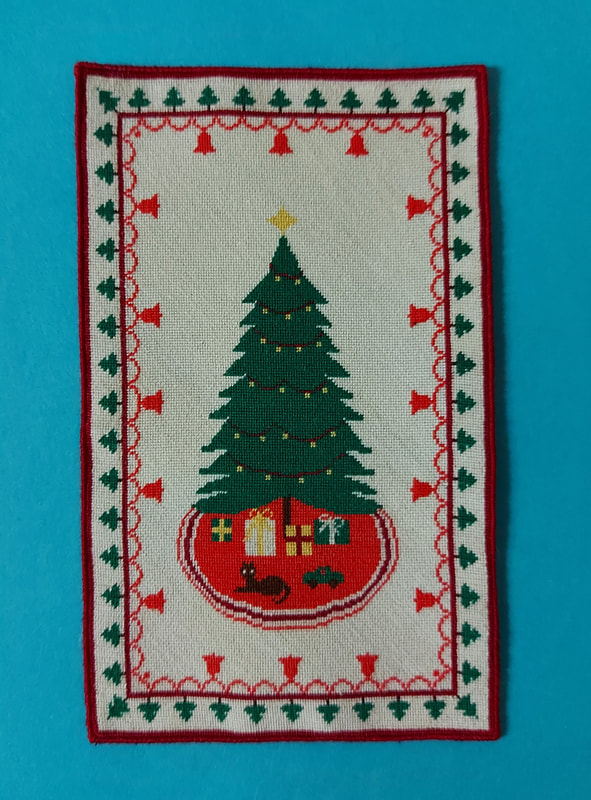
Today, I took my Christmas rug off the blocking board and completed the hemming of it. I was able to do the hemming very easily and the projects I stitched on the extra gauze around it are now cut off, ready for me to complete. I have been taking several pictures along the way so that I can write a new tutorial about the way I completed all of the projects on this piece of gauze.
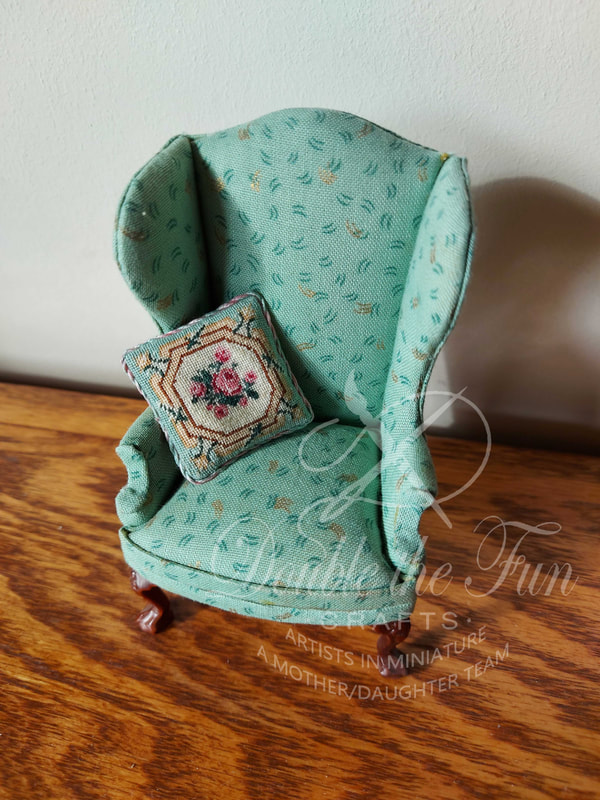
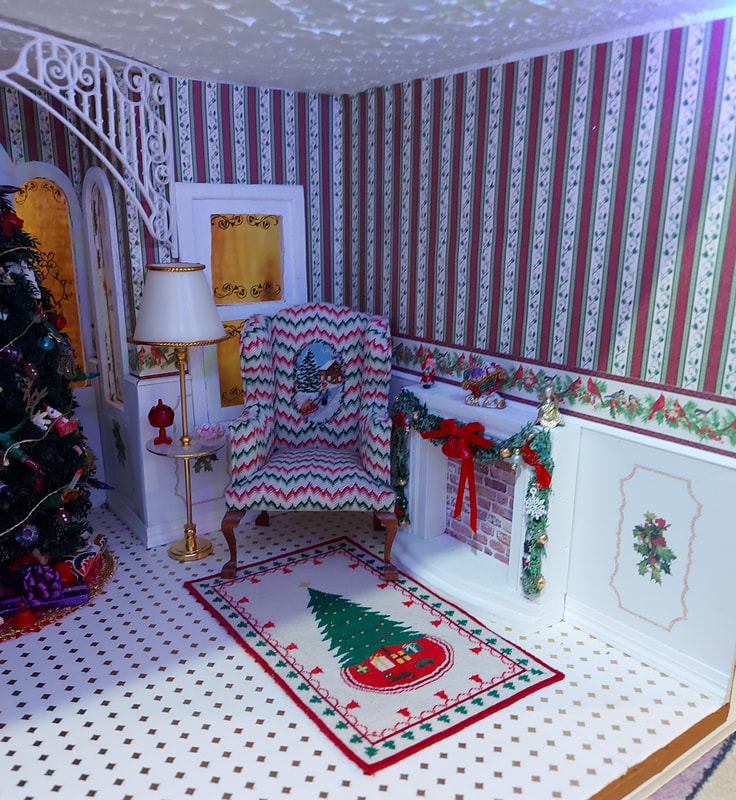
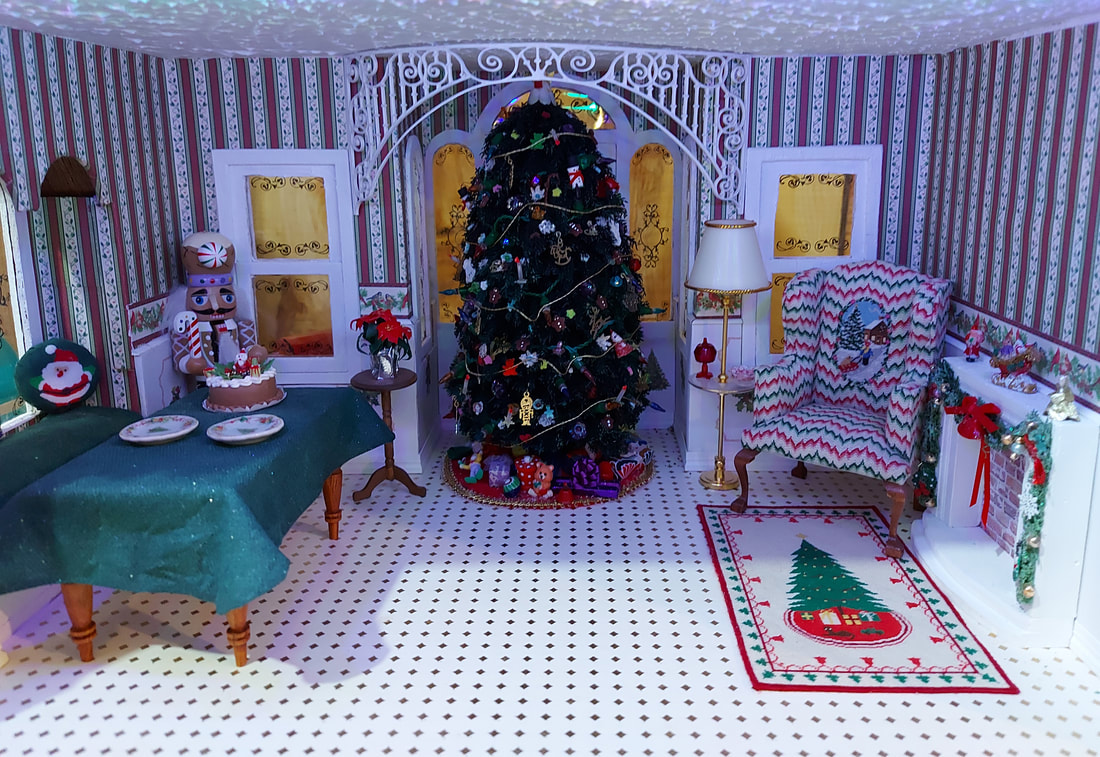
Above, you will see a photo of the completed rug and two of it in place in my Santa's Cottage. The cottage is a 1/12th scale work-in-progress. Each year, I will be adding more to it until I am satisfied that it is complete. Are our miniature scenes ever truly complete though? I am hoping to stitch another chair (for Mrs. Claus) but also have many ideas to put into the cottage as well. I will see what I get done this year...
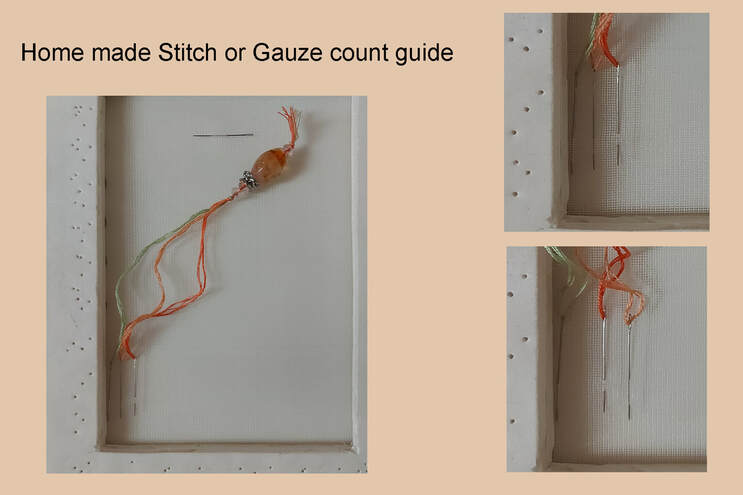
About a week ago one of the members of the Petitpoint group that I belong to posted a photo of a counting device that she had found. It was such an interesting idea that I decided to make my own. It is made up of either two or three needles that were secured on a long piece of thread and held together with some cute beads. I decided to make mine with 3 needles because I wanted the first needle to stay in the first line of squares on my gauze. In this way I could tell where I started counting.
To make it I used some number 28 tapestry needles then cut some floss double the finished length that I wished. I used 3 strands of each color and threaded them through each of the 3 needles until the needles were at the halfway point of the thread. Once I had all 3 needles threaded, I then folded the threads in half, tied them all together with a small knot and threaded them through some beads. Once I had the beads threaded, I secured them with another knot. I use it to count 10 squares at a time and "leap-frog" the 2 needles across the gauze, first to determine the count of the gauze if I am unsure, and second to count across to see where the second corner of my rug will be. In the past I had to keep re-counting to make sure I had the right number of stitches so I think this will make my life easier. I can also use it to count the stitches I have done already or mark the correct number of stitches that I need to make before changing to another color in a row that I am stitching.
|
AuthorMy name is Yvette, and I will be writing this blog to tell you about the creative process that has gone into the creation of my Petitpoint patterns along with showing the stitching I have done of some of the rugs. Archives
July 2024
Categories
All
|
|
Thank you so much for visiting our site. We hope you come back soon!
|
We promise not to spam you with emails and will only send out the occasional email. We promise not to share your email address with anyone and it will only be used by Double the Fun Crafts for the purpose of promoting our products or letting you know of a sale.
|


 RSS Feed
