this one is no exception. I learned a lot while doing it and feel more confident that I can safely design more round (or oval) rugs and you can replicate them when you purchase the pattern. I hope you enjoyed this journey with me and will someday try your hand at creating a circular rug.
Now, I get to turn my attention to my next rug. It is one that I have been looking forward to stitching for quite a while now but kept putting it off. Now, I begin!
0 Comments
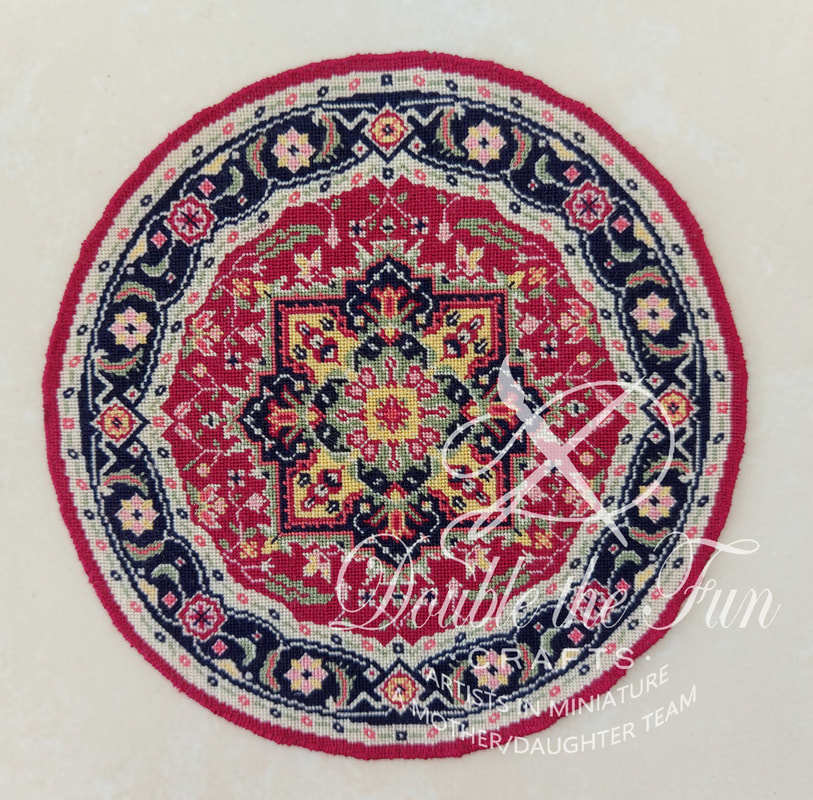
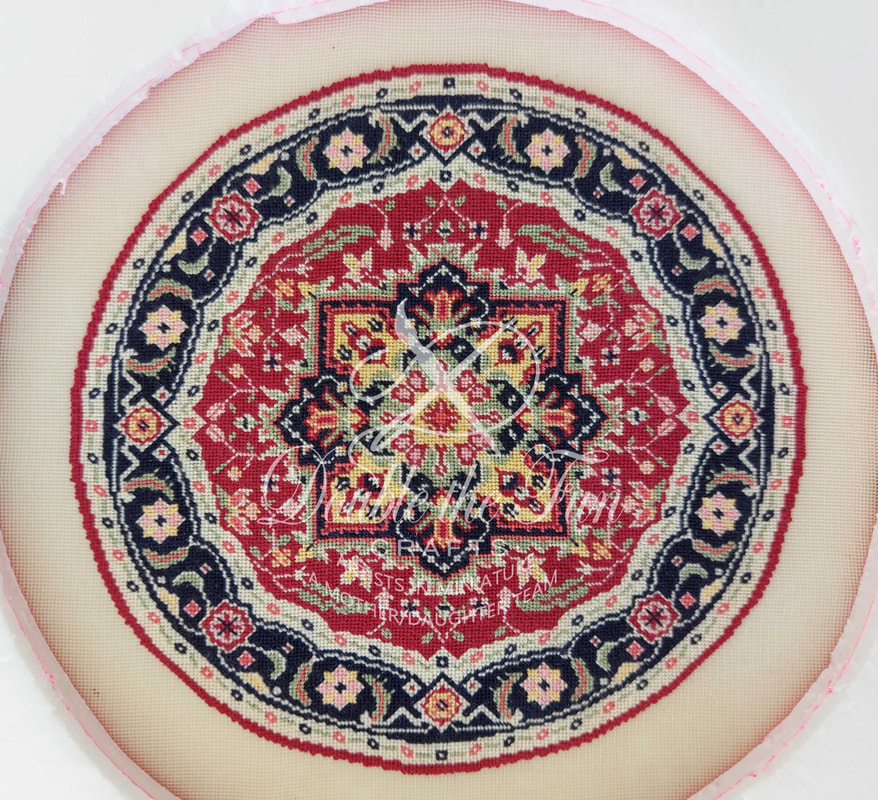
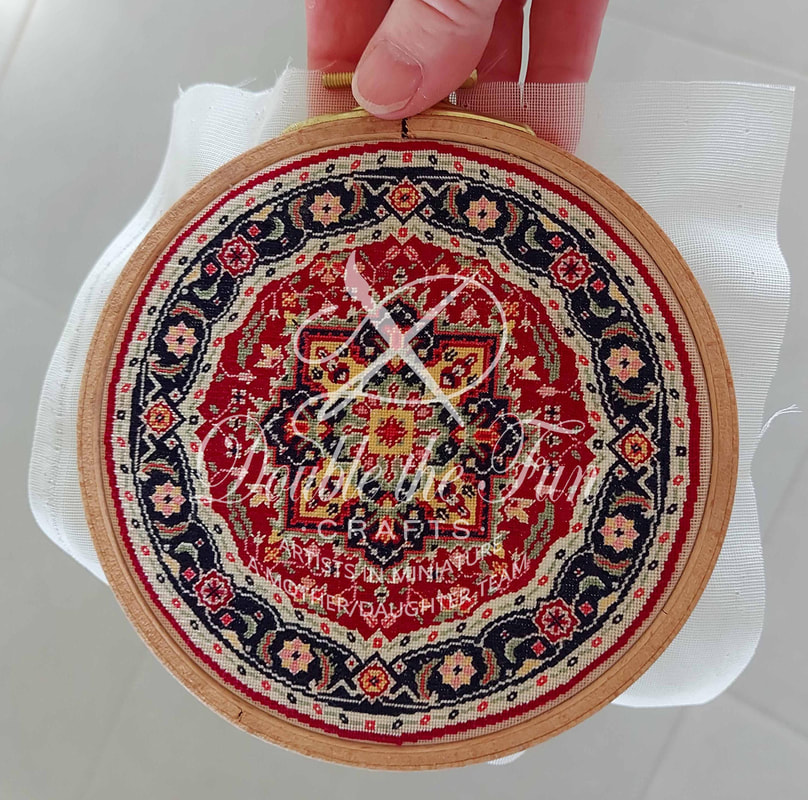
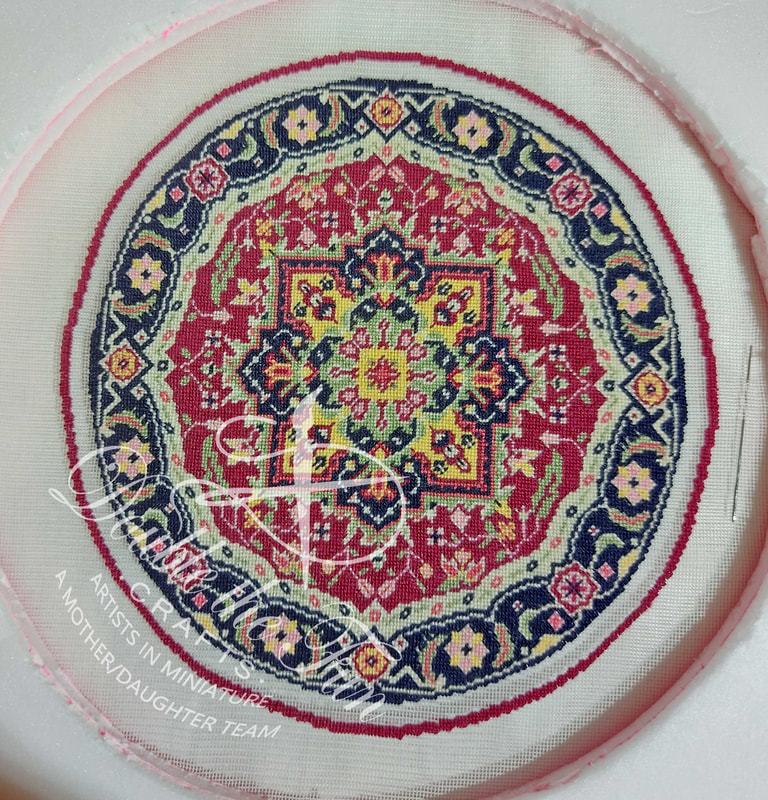
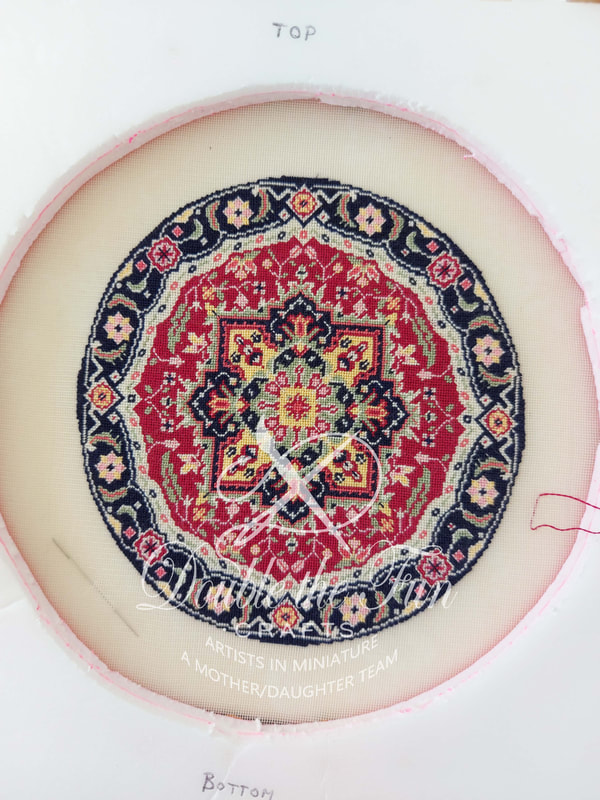
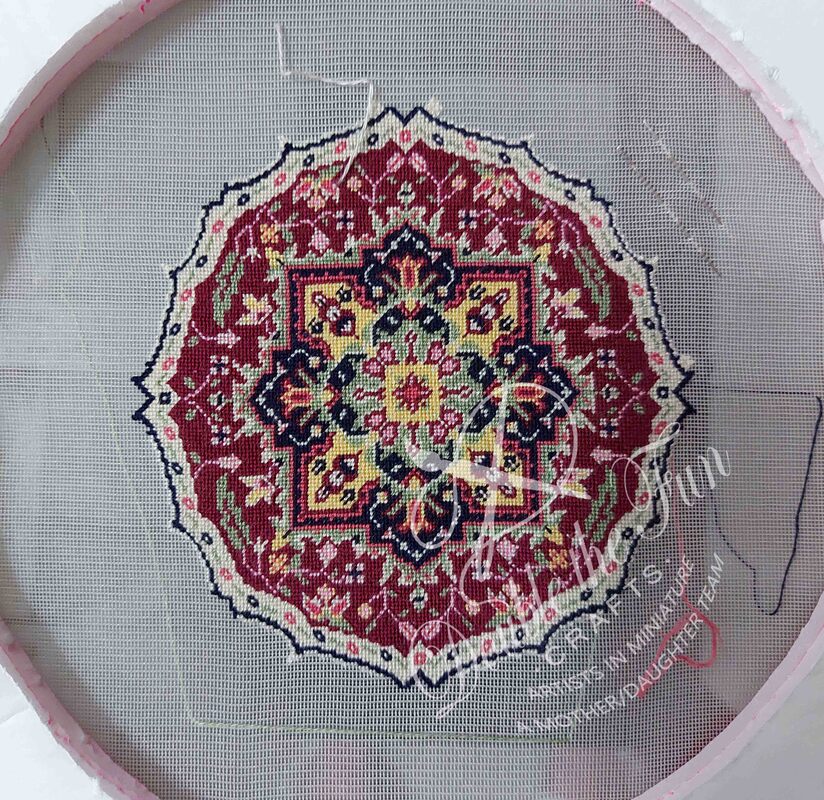
Interestingly enough, my completed rug was not a true circle. From top to bottom, it was 1/2 cm shorter than it was from side to side. I was amazed because it felt as if I had mounted the gauze completely square. I had cut the gauze exactly along one thread on each side and had drawn a square on the back of my frame that I used to make sure it was mounted perfectly. I did not, however count the number of squares on the gauze from top to bottom or from side to side to make sure I had the same amount of squares in each direction - why would I? That would be too difficult and I did as I always do, measured the gauze vertically and horizontally to make sure it was square. I have never noticed my gauze being out like this before, but I suspect it is because all of the rugs I have done before have been rectangles. My guess is that I would have seen it if doing a square rug as well. I had known for sure once I had completed the outer border, so I had a few days to decide how I would block the rug before I was finished. And here I had thought that I could get away without blocking because I didn't have to try and get perfectly straight edges! How wrong I was!!
The outer border went fairly smoothly and now I can concentrate on the last border needed to finish this rug. The end is in sight!
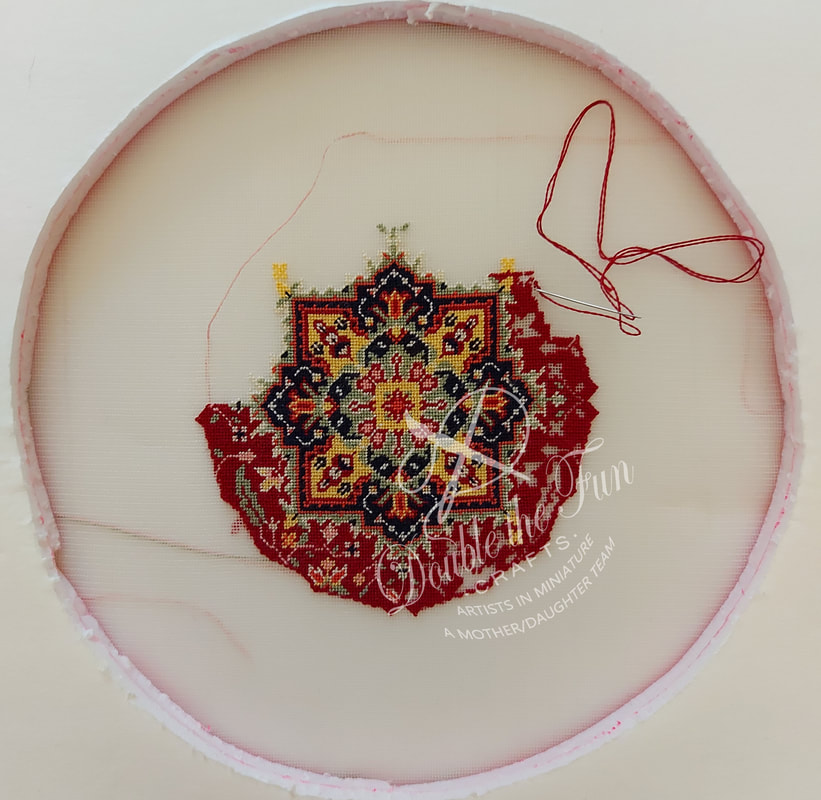
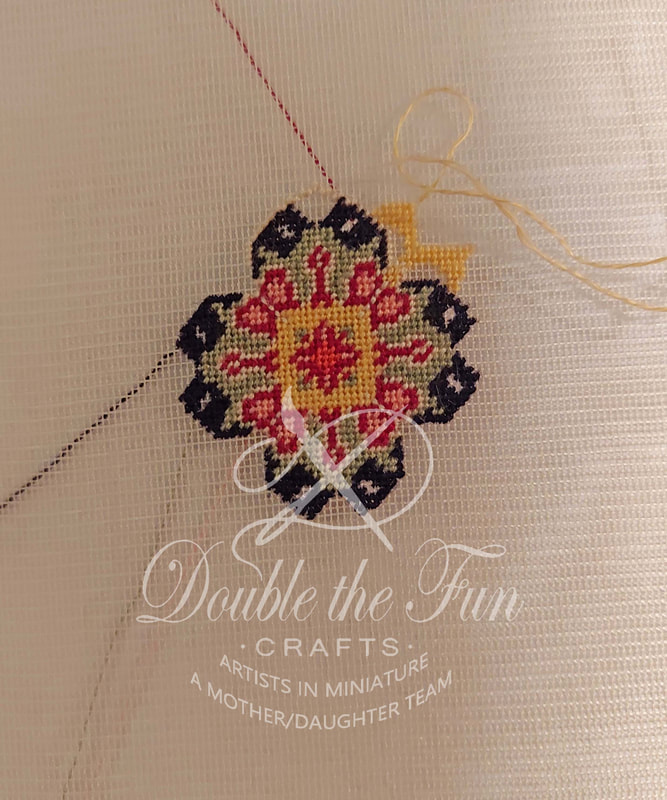
I tend to get lost sometimes if I stitch too much white at once because I can't see it as well against the white silk gauze. In order to help myself and prevent mis-counting errors, I stitch a certain distance (it never seems to be the same amount) then fill in some of the background. I work background up to an element, then stitch that element. This way, I can make sure each element is in the correct position before I get too far in my stitching.
I find this uses much less thread and eliminates the need to carry a thread across a light color. The photo above shows what I am speaking of. This method has come in very handy when stitching this rug.
Now, to get back to stitching the rest of this fun rug!
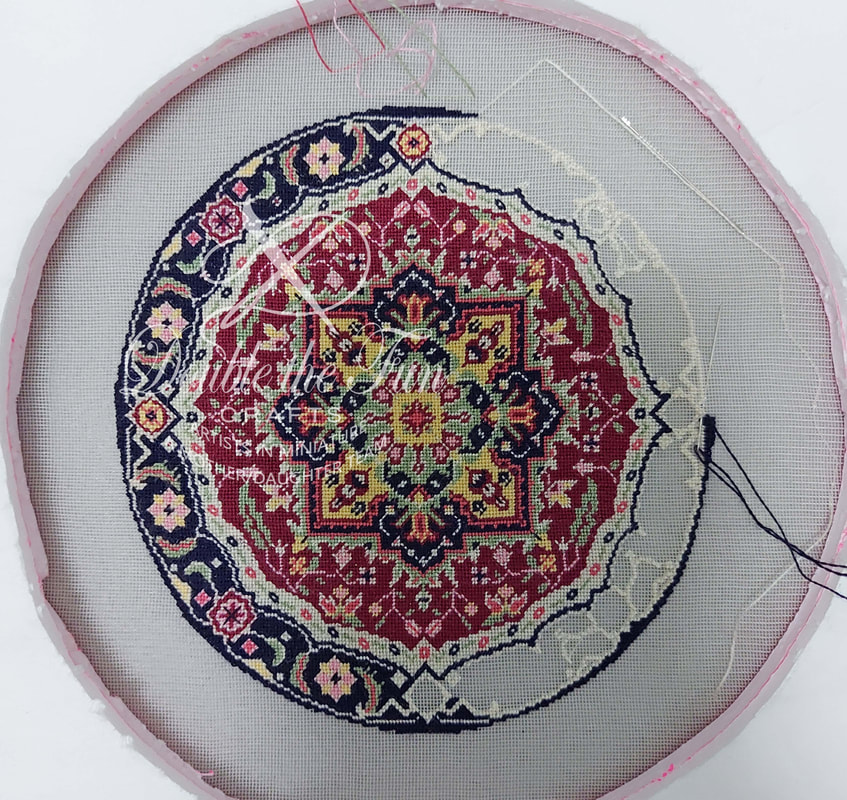
in the pattern. With my threads parked, I could easily pick one up, thread it into my needle, and continue with the next motif in that color once I had stitched more of the background. In the photo on the right, you can see a few of my threads that have been parked off to the side. I try to put them in a place where I will not be stitching so that I don't accidentally stitch over them. I do sometimes have to move them before I am ready to use them again, but that isn't very often.
As I worked my way around the border, I stitched enough of the pale background to outline 1 of the motifs and one green line, then filled in the blank areas with the correct colors. I also continued the blue line around the outside. After I decided to stitch in this fashion, the border went quickly and smoothly. I was also able to determine very quickly if I had made a mistake and fix it before I stitched any other colors around it. Now, I will be starting the next border, which has a dark background, so I can stitch the motifs first and not have to worry that my threads will show through the background if I carry threads across from one motif to another.
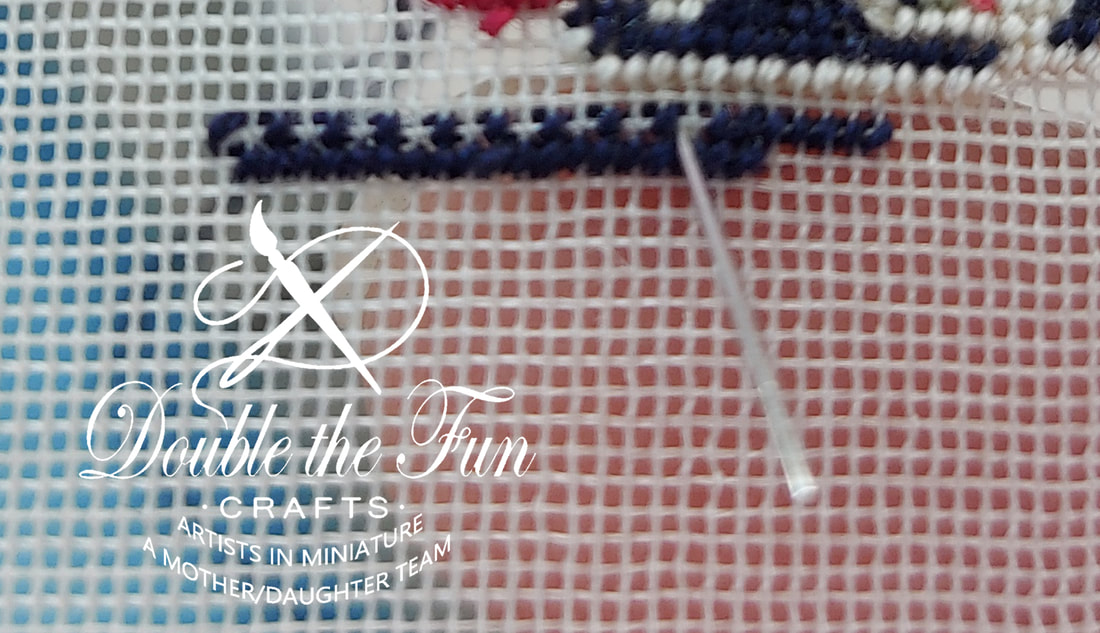
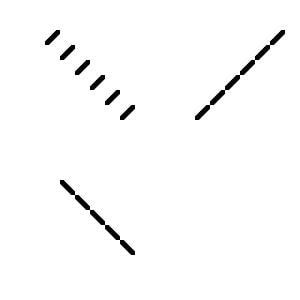
entirety before moving on to the next one. I think this is making it both easier and more fun for me instead of breaking the rug into top and bottom. I think I would get confused if I stitched everything from the middle upwards first then do the middle downwards after. When stitching it around the circle, I can also easily remind myself to turn the stitches the opposite way for design elements in opposite corners. I have never turned so many stitches in a stitching project before, and I think it is working out well because I am trying to keep the lines going as a line rather than looking like a "railroad track". Since I know words can sometimes not convey what I am trying to say, here is a photo depicting what I mean:
Since I am stitching this in Petit point, this really shows up when stitching lines. It would not make a difference if stitching the pattern in Cross Stitch or French Knots. Most of the time, I don't need to turn my stitches and many people never turn them (it is not usual to turn them), but I felt the rug would look better if I did.
I have decided that since it is Boxing Day and all of my company has now left, I am going to give myself a stitching day. I am eagerly looking forward to seeing more of the rug take shape!
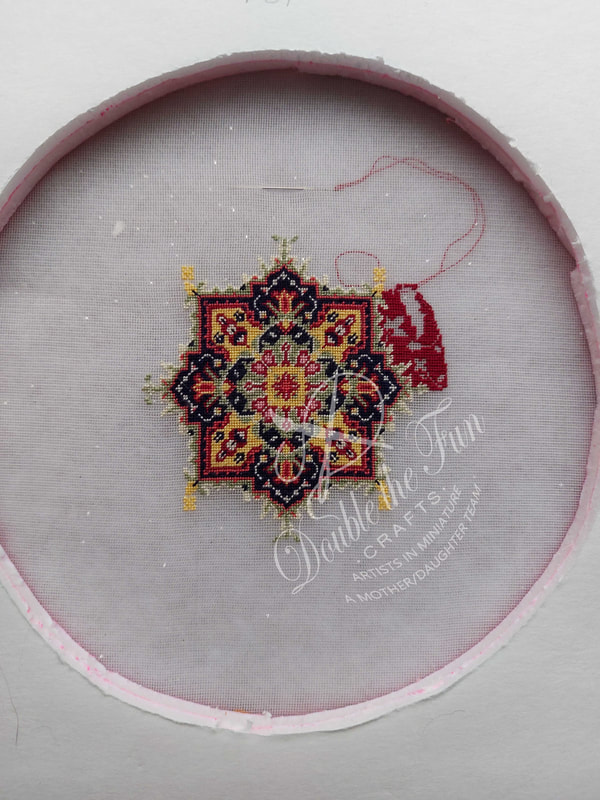
This picture shows 2 evenings worth of stitching. I found I have had to mark the top of the frame with something that stands out because it is so easy to turn the canvas 1/4 turn and stitch, accidentally making the slant of the stitches the wrong direction. I thought I would remember to turn my stitches, but quickly found that I did not and had to pull some out that I had stitched the wrong direction.
So far, I am enjoying the novelty of the pattern and look forward to stitching every evening when I sit down to relax! |
AuthorMy name is Yvette, and I will be writing this blog to tell you about the creative process that has gone into the creation of my Petitpoint patterns along with showing the stitching I have done of some of the rugs. Archives
July 2024
Categories
All
|
|
Thank you so much for visiting our site. We hope you come back soon!
|
We promise not to spam you with emails and will only send out the occasional email. We promise not to share your email address with anyone and it will only be used by Double the Fun Crafts for the purpose of promoting our products or letting you know of a sale.
|

 RSS Feed
