|
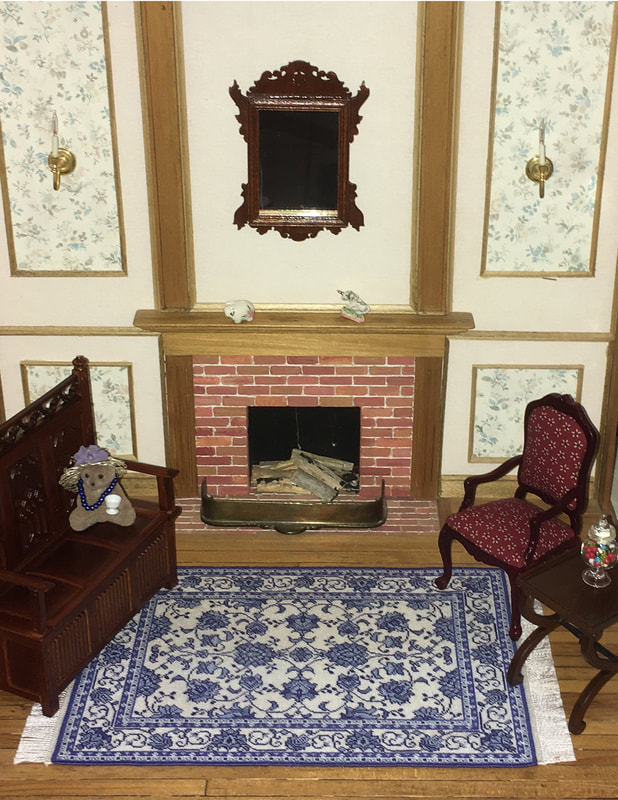
My Sonja rug is finally finished! Today, I was able to do the overcast stitch on the edges of the rug to finish it off. I am so pleased with how it turned out.
When the rug was finally finished blocking and held its shape, I removed it from the blocking board and carefully cut the gauze across the ends of the fringe to release the fringe. I cut as close to the end as possible so that the fringe stayed as long as I could get it. Once the fringes were cut, I turned the rug over and placed it on my ironing board. With the iron set on Silk, I carefully ironed the gauze on the fringe ends back so that the fringe was exposed without any gauze showing. I placed a piece of paper under the gauze - between the gauze and the rug - and carefully applied some clear fabric glue to the gauze, close to the tabby weave. Then I removed the paper and let the glue dry. I cut the gauze close to the tabby weave, leaving about 3 rows of gauze intact. The glue helps to seal the gauze so that it doesn't unravel. I then carefully folded the gauze on the sides towards the back leaving two rows of gauze visible and whip stitched ( also known as overcast stitch) the sides using two strands of my DMC floss. I have tried it with one strand but find that two strands covers better. Once the sides were done, I cut the gauze very close to the stitching on the back. I took the added precaution of stitching the gauze down on the ends of the rug as well, using the white floss and doing very small stitches to blend in with the tabby weave. I have created two files for you to download that have descriptions and detailed photos showing how I have stitched the tabby weave and fringe, and how I finish the sides of my rugs. Hopefully, these two files will help you create your own beautiful rugs. Here is a link to the files if interested: Tutorials
0 Comments
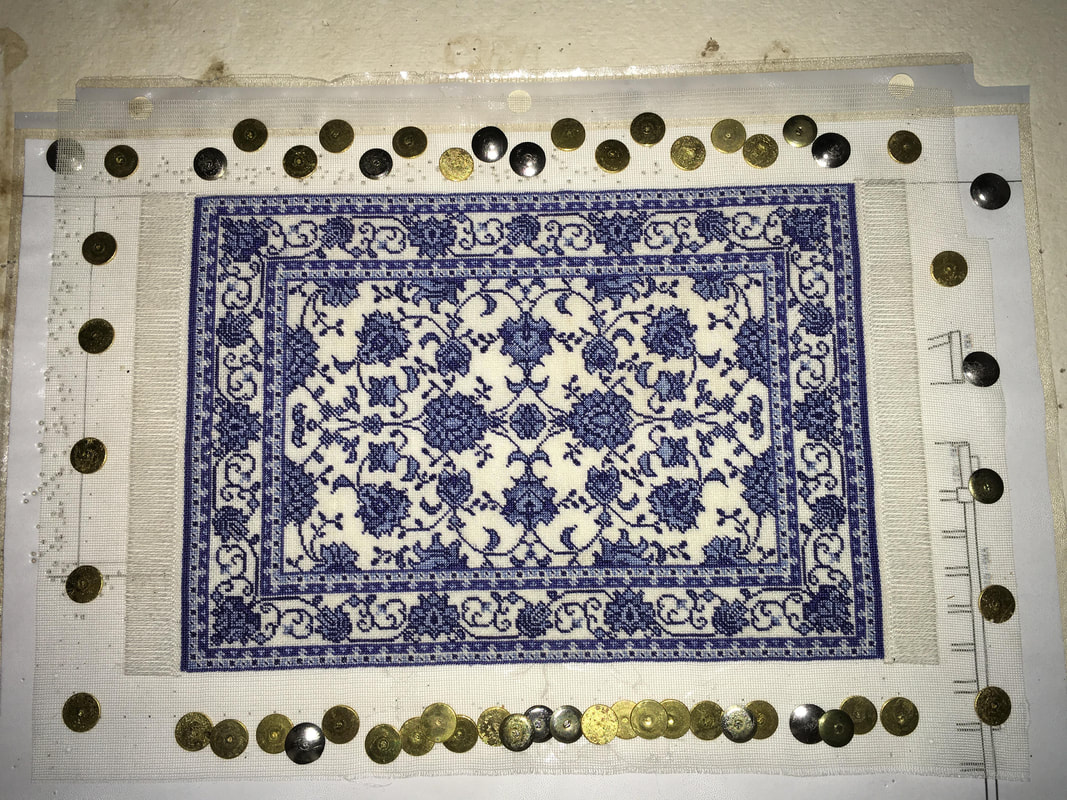
Since I finished my Sonja rug, I have been working hard at getting it blocked. This one I found hard to block as it went slightly out of kilter when I removed the thumb tacks after four weeks of blocking. All of the edges were perfectly straight but, instead of a perfect rectangle, it skewed slightly to become a parallelogram. Very frustrating!
I eventually figured out that my iron wasn't steaming the piece well enough and I bought a small, hand-held steamer. I have now re-blocked the rug and steamed it several times to get the piece perfect and am letting it dry really well before I remove it from the blocking board. My fingers are crossed that the rug will hold its shape this time. Hopefully, my next picture of this rug will be of the completed piece!
|
AuthorMy name is Yvette, and I will be writing this blog to tell you about the creative process that has gone into the creation of my Petitpoint patterns along with showing the stitching I have done of some of the rugs. Archives
July 2024
Categories
All
|
|
Thank you so much for visiting our site. We hope you come back soon!
|
We promise not to spam you with emails and will only send out the occasional email. We promise not to share your email address with anyone and it will only be used by Double the Fun Crafts for the purpose of promoting our products or letting you know of a sale.
|


 RSS Feed
