will always know which patterns are my most recent. I absolutely love designing and my inspirations come from everywhere around me - from photos of antique rugs, marble floors to line drawings I see and everything in between. Patterns exist in nature all around us and it is fun to try and capture that pattern into a rug that I love. Designing is often my form of relaxation in the evenings rather than watching television and it is not unusual for me to start right after supper then look up after a few minutes and find that it is past midnight and I should get to bed!
Saying that, I have just had another inspiration that I must begin before I lose the idea...
0 Comments
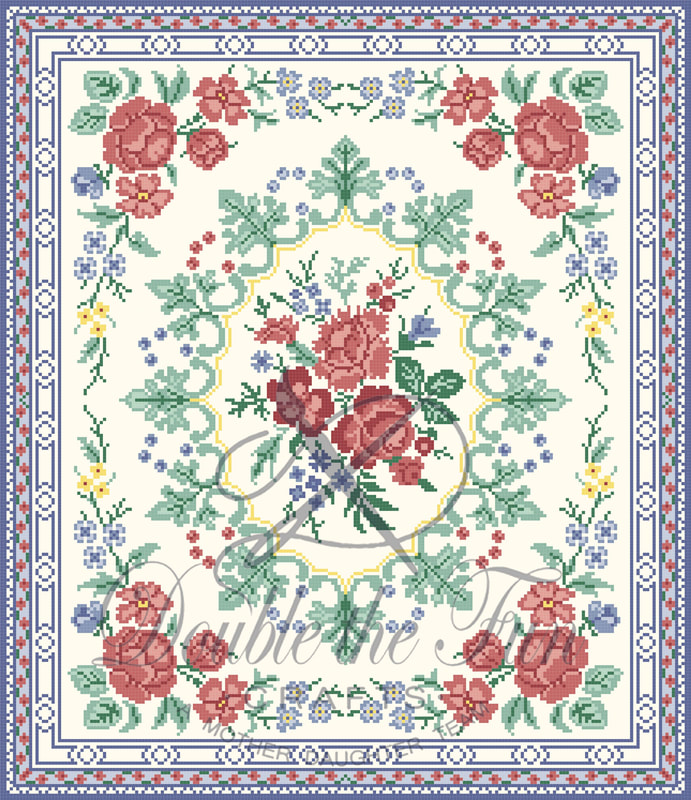
After contacting her, she generously sent me the list of the colors she used. Hers was stitched in silk but I was able to convert the colors to DMC. I added these colors to the rug and was thrilled with the result. This pattern will be offered exclusively on this website and will not be listed in my Etsy shop. You may view/purchase this pattern here: Rose printed pattern or Rose Digital Pattern
This one turned out to be approximately 5" x 7" (12.5 cm x 17.7 cm) in size if stitched on 40 count silk gauze.
The middle of the rug took quite a while to fit in elements I wanted to keep from the original rug and I tweaked a few things in it to better suit the rug I was designing. Colors were a challenge for me on this rug. I changed them several times before I was satisfied. I am so glad I invested in a real thread DMC color chart. It has been of invaluable help to me. When I actually have the skein of floss in my stash, I pull them and lay them side by side to make sure they don't clash with each other. But when I don't have the skein, this color chart allows me to place the skeins I have beside the floss in the color chart to double check. One of the things I like about this rug is that there aren't any large areas of uninterrupted background to get bored with. I like designs that have a lot of elements because I tend to get bored stitching large blank areas. On the flip side, sometimes it is nice to have large areas where I don't have to carefully follow a pattern so I design rugs like that as well when I want a change. This rug pattern is now available for sale in the Etsy store, here, if interested in taking a peek. Until next time, stay safe everyone and Happy Stitching!
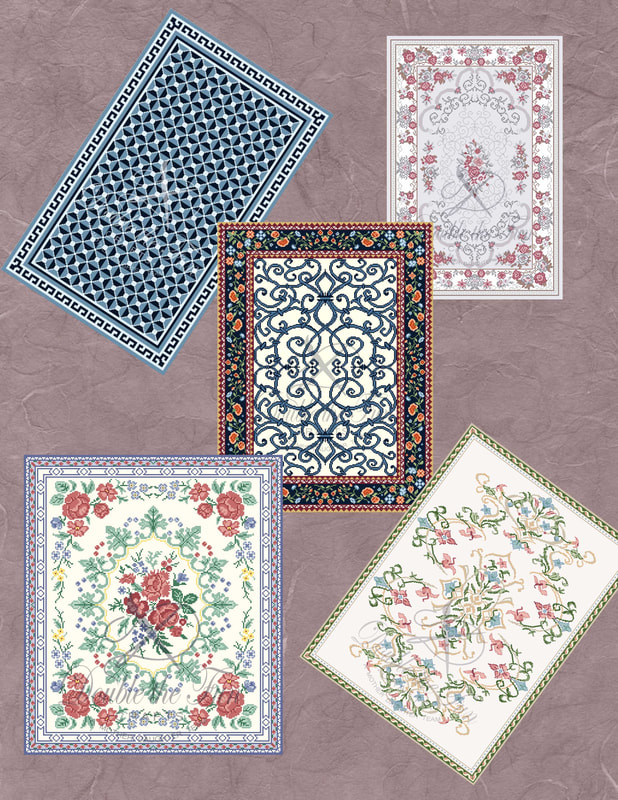
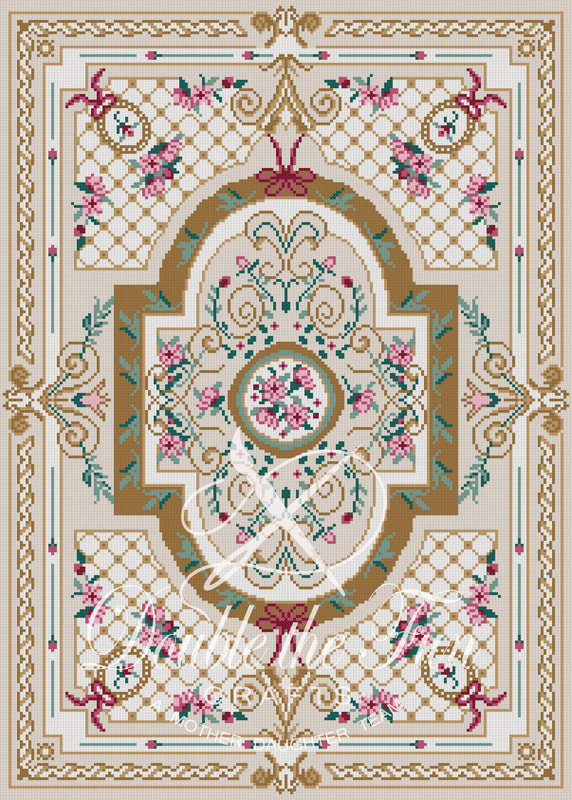
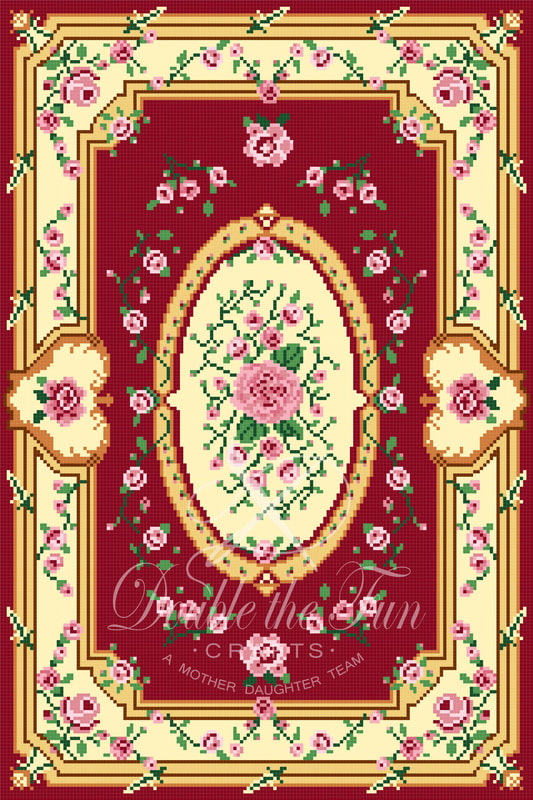
Today, I wanted to post about one of my first designs when I was learning about color and pattern. I saw the original picture of a life-sized Aubusson style rug and really wanted to design and stitch this rug. The original had a dark red background.
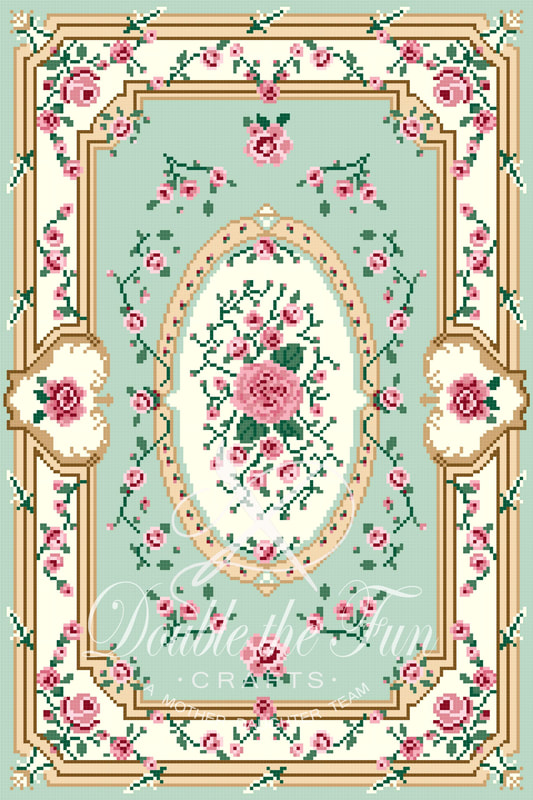
At this point I was still learning how to use my design program and quickly found out that it didn't work to allow the program to do the work and design the rug. The program used way too many colors and many of the colors were either too dark or not suitable for the rug. Therefore, I found out how to import the photo of the original under a clear grid and designed the rug by hand, choosing the colors I wanted and creating the patterns myself. I found it very difficult to create the flowers and when I was finished designing the rug, I still wasn't happy with it. I set it aside but never really forgot about it. This year, after a 2 year break, I got out the old pattern and began to re-design practically everything about it. Finally, I was happy with the results! The first rug on the left is the design I worked with. The red thread is a dark red but it doesn't so up that way on the computer. Once I had the original pattern designed to my satisfaction, I tried creating it in other colors. As I love blue rugs, I, of course, had to design a blue one. This one was a challenge because I couldn't figure out what accent colors to put with it. I finally decided on a pallet of greys and they worked well with the dark blue I had chosen. Next, I thought a pale color would look good since I often see pale Aubusson style rugs and love the way they look. Peach, pink and pale blue did not work at all with the flowers I had in the rug, so I turned my eyes to a green pallet. Green is a very difficult color to work with as there are greens with a blue tone to them and greens with a yellow tone to them. All of the other colors around them have to blend correctly with the tone you have chosen or it will look terrible. After much agonizing about the colors, I was finally able to choose a green and accent colors that worked well for this rug. In the past, I was able to directly substitute one color for another in the original pattern but I was unable to do that with this rug. Therefore, each pattern had to be completely separate items as the graphs wouldn't line up from one to the other. Now, after a long time on the virtual drawing board, my patterns are now ready for listing! Check them out in my Etsy store: Double the Fun Crafts.
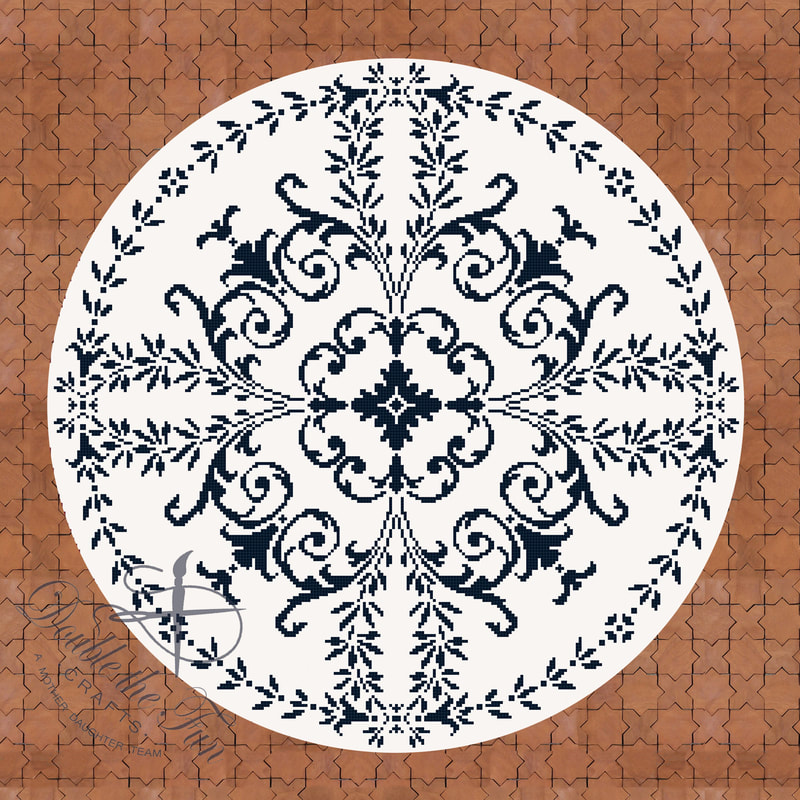
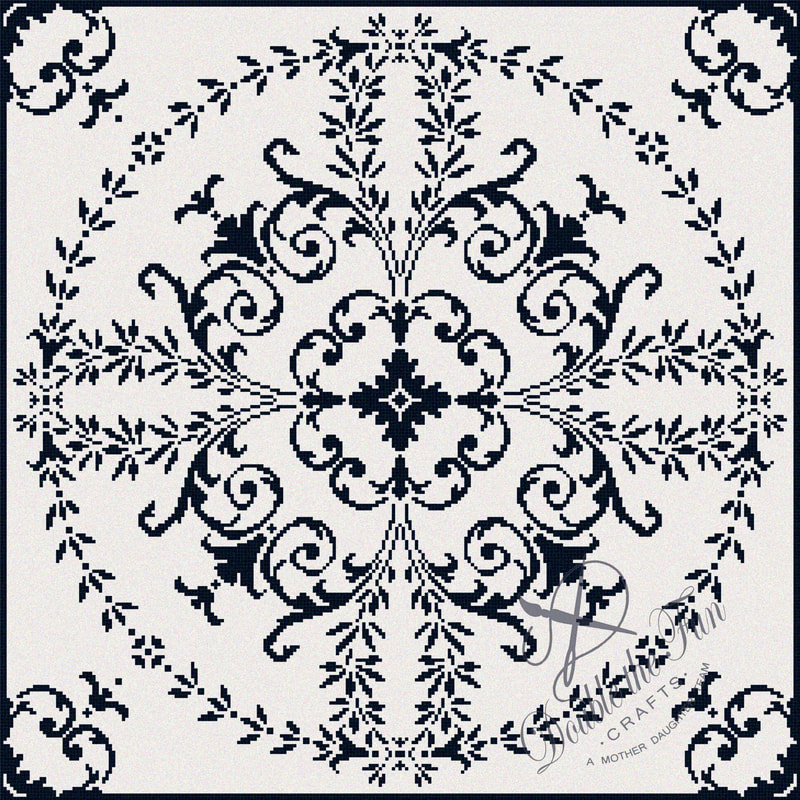
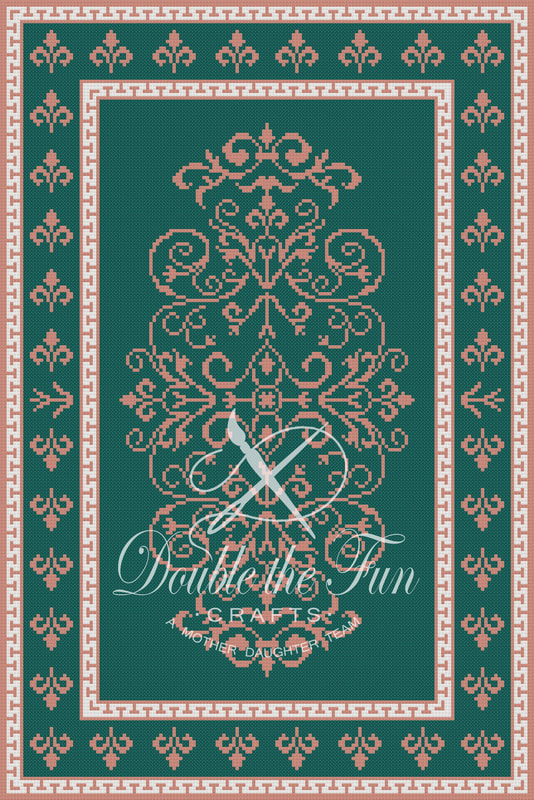
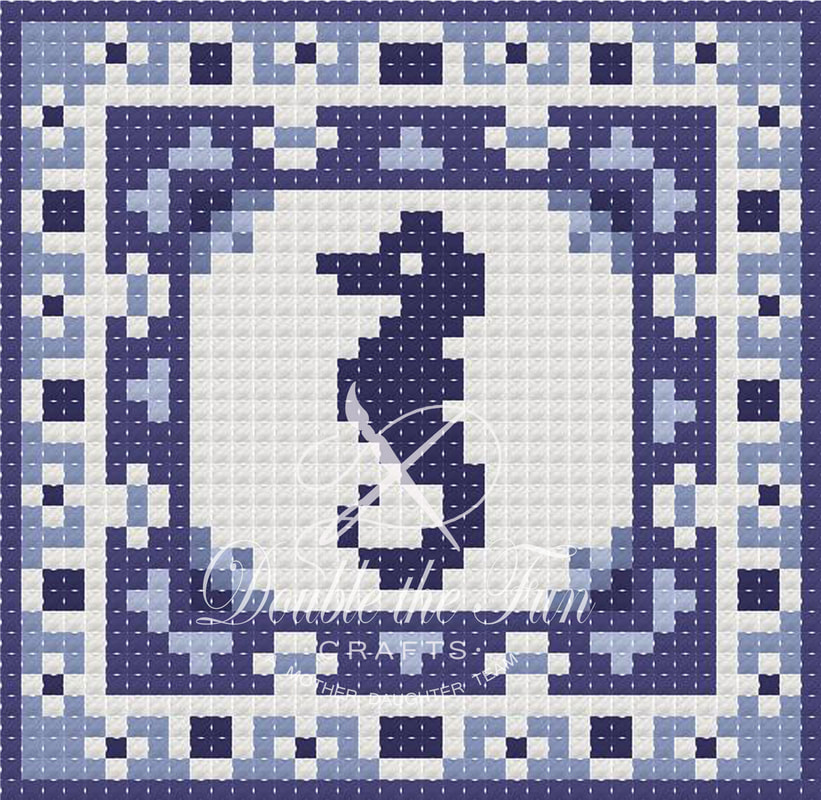
Once I was happy with the center, I began working on the borders. I wanted something simple, but interesting for the two small borders with something a bit more complicated for the larger border. While browsing my computer images for border ideas, I saw a line drawing that I had saved of the "T" shapes that immediately drew my attention. After much trial and error, I was able to get the pattern to fit both borders. I then put the pattern aside for the night and looked at it again in the morning. I still wasn't completely happy with the two small borders so I flipped the outermost border to that the "T" shapes were opposite to the ones on the inner border. This looked much better to me and I was able to make the corners flow much nicer with this configuration.
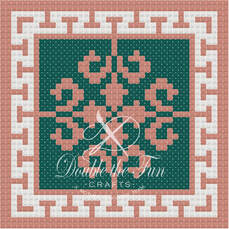
The middle border is made using a part of the center rug pattern. It took quite a bit of testing to get the right distance between each motif and have them fit into the border correctly, but I am very happy with the results. The cushion pattern followed quite easily once I had decided on the final rug pattern and thus, I am able to offer both on my Etsy site: doublethefuncrafts.etsy.com Hope you enjoy them. The wonderful thing about these patterns is that they lend themselves very easily to color changes to suit your project. The possibilities are endless!
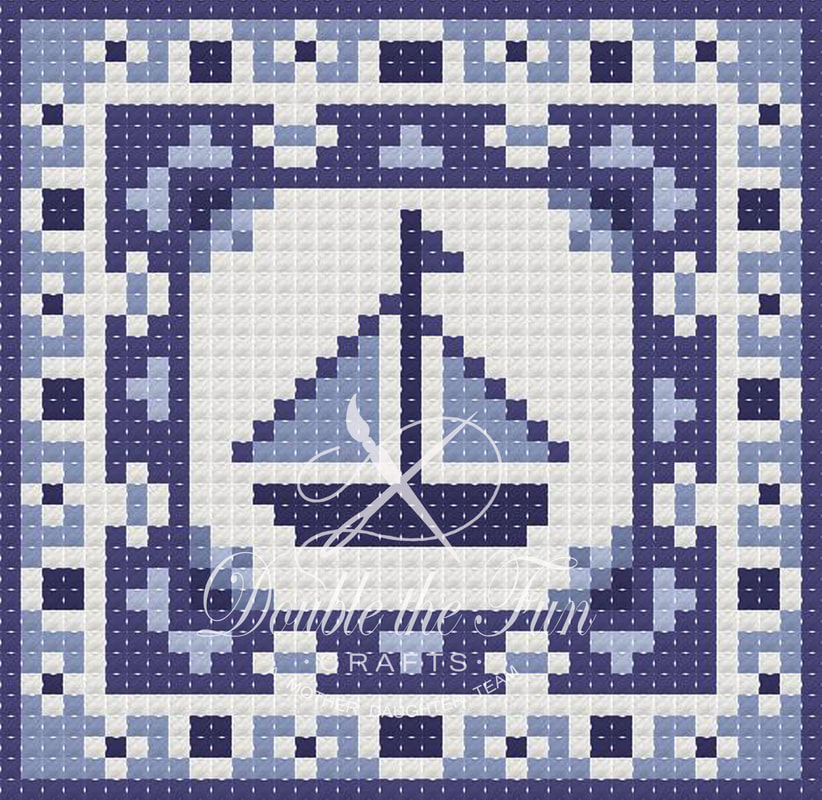
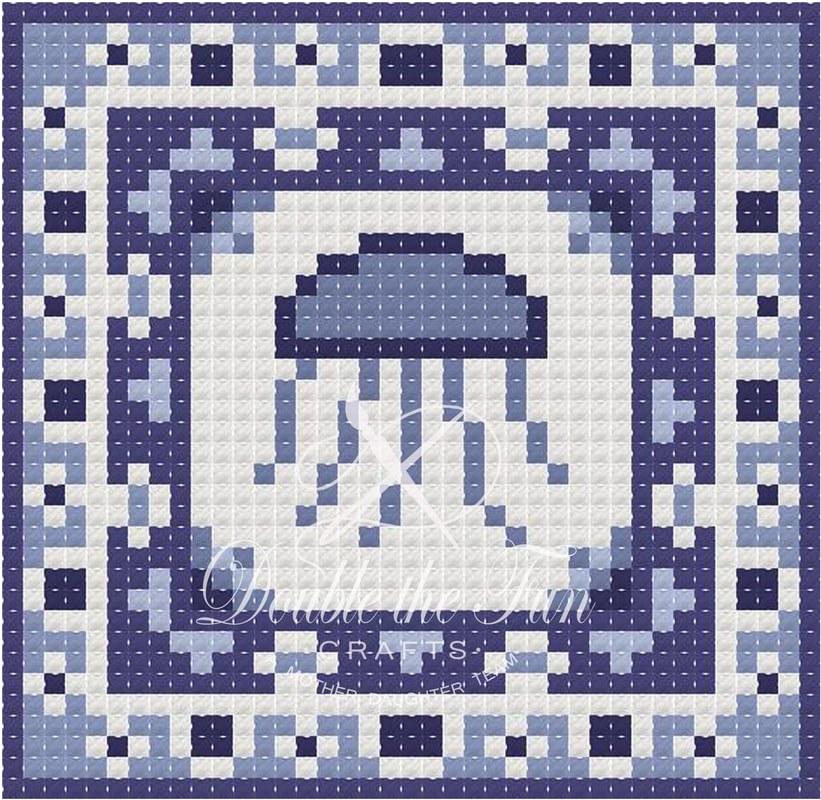
Today, the creative juices were flowing and I decided to design some nautical themed pillows for my Beachfront Mansion that would go with my Sonja rug. I played around with various designs and finally settled on these four. I also re-worked the border so that the corners matched. Not being content to just work on the borders of these pillows, I also re-worked the borders of the original Sonja cushions. All of these designs are available for purchase in my Esty store: doublethefuncrafts.etsy.com
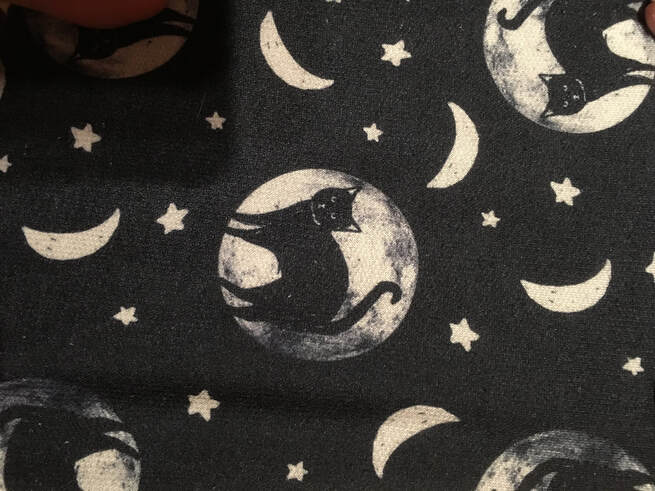
I have had so much fun today designing these cushions that I think I will work on some more designs tomorrow. Maybe another rug, who knows. The possibilities are endless. 🙂 This week I thought I would highlight a free pattern that I have posted on the website. The link to it is here: The Roosevelt New Orleans Rug. This rug came about in a very interesting fashion. One of the people on the Petitpoint site that I belong to mentioned a wonderful mosaic style floor that she saw in the Roosevelt New Orleans Hotel and said it would make a wonderful cross stitch or petitpoint pattern if someone wanted to graph it out. I decided to take up the challenge and made a graph of the floor as it occurred in the lobby of the hotel. After I was done graphing the existing floor, I decided it would make a wonderful rug. This pattern is the rug that I designed using the lobby floor as my inspiration. I have posted it up for free for personal use. Please do not sell this pattern but if you wish to sell the rug that you make from it, feel free. If you do download it and make a rug (or other project out of it), I would love to see it and post a picture of it in a Member's Gallery that I will set up once I have a picture of a rug that someone has stitched from one of my patterns. Credit for stitching the rug will go to you. As time goes on I will post other free patterns so be sure to check back from time. Below is a photo of a digital representation of the rug for you to see. 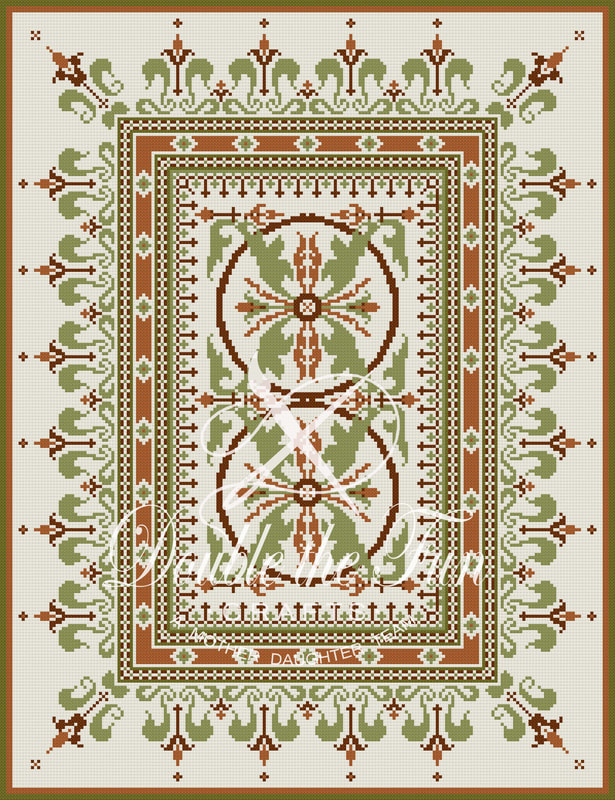 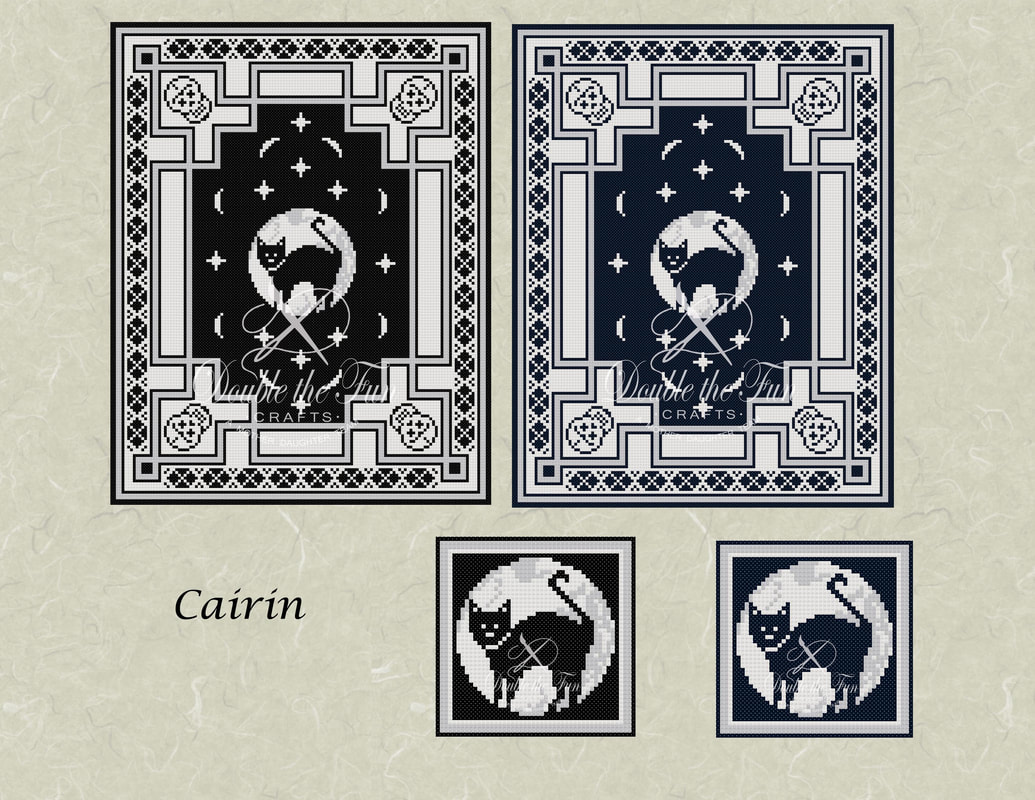 My Cairin rug was requested by my sister-in-law after a pair of Pyjamas that were favorites of my niece, Cairin. My niece had finally grown out of them and wanted the pattern remembered. I took a photo of the fabric and designed the rug and cushions around them. The center of the rug is the pattern of the Pyjamas and the border is one I made up to complement the pattern. I couldn't decide if I liked it better in dark blue or black so I included both in the pattern. The perfect companion to a spooky room!
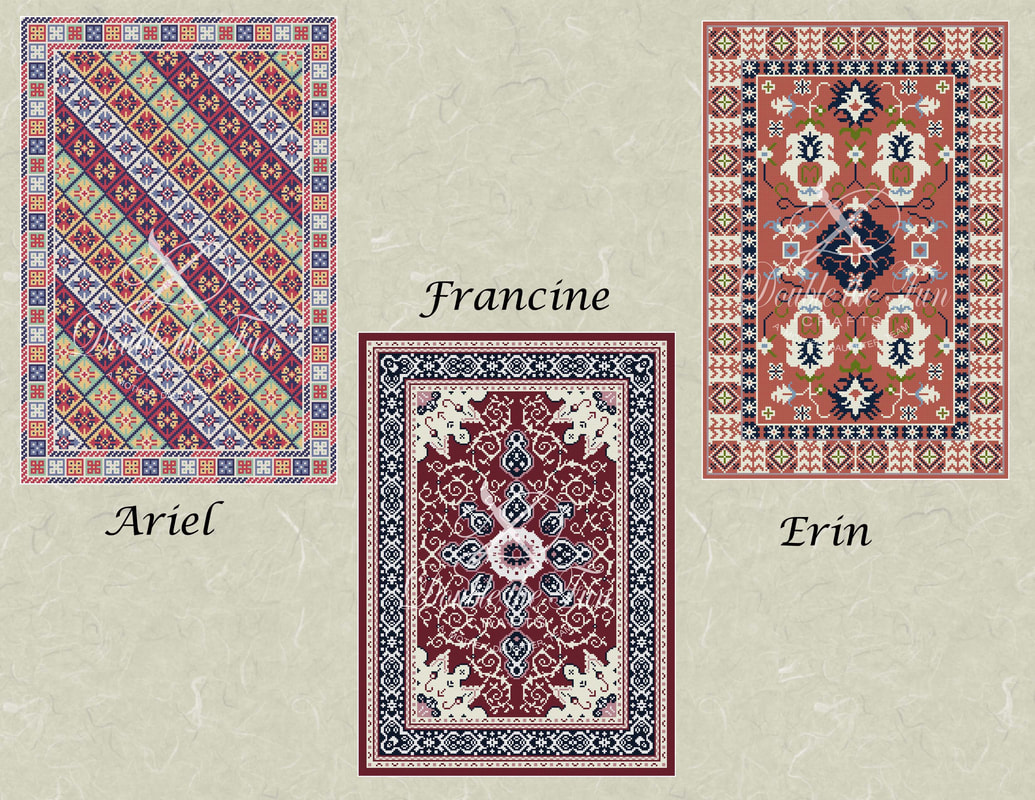 The above three rugs were worked on while experimenting with color. All three were also fashioned after photos of antique rugs but I modified the patterns to make them fit in a miniature setting. Francine needed quite a bit of modifying and now when I look at the original photo, it is hard to tell that it was what inspired this rug. That is what I find fun about designing. I may start with one idea and it soon morphs into something different entirely. I love to see what I end up with in the end. Ariel used the idea of diagonal lines that I saw in a rug photo but the motifs I used are my own and seemed to fit the rug well. Erin looks the most like the original antique rug that I used for my inspiration.
|

AuthorMy name is Yvette, and I will be writing this blog to tell you about the creative process that has gone into the creation of my Petitpoint patterns along with showing the stitching I have done of some of the rugs. Archives
July 2024
Categories
All
|


 RSS Feed
|
Thank you so much for visiting our site. We hope you come back soon!
|
We promise not to spam you with emails and will only send out the occasional email. We promise not to share your email address with anyone and it will only be used by Double the Fun Crafts for the purpose of promoting our products or letting you know of a sale.
|