 This past week, I made a bit of progress on the middle border but didn't have as much time to stitch as I wanted to. I also spent some time designing two new rugs and have listed them in our Etsy store.
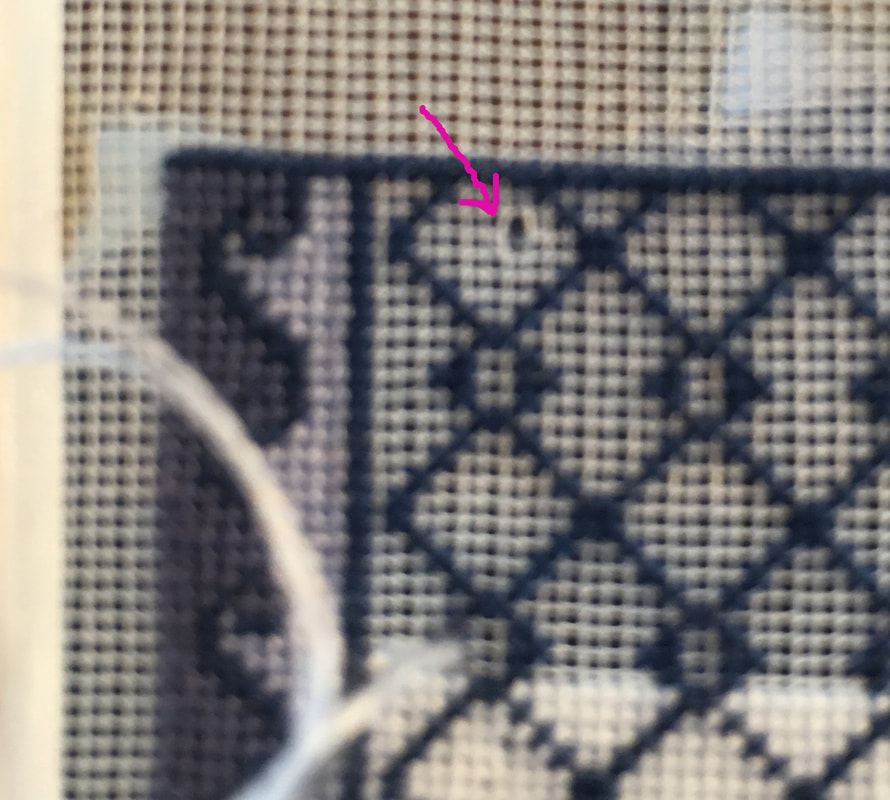
This inner part of the border took a while because I had to unpick some of it several times before I had it right - quite frustrating, but necessary if I wish this rug to look professional. Now, I will begin working up the two sides of the outer border until I get close to the top of the rug. The top should end up close to the pencil mark I made on the top left side of the frame. I won't stitch all the way to the line just in case it is a bit shorter in the end. I will then be stitching the middle border up both side to determine the exact place where I have to turn my outer border to stitch across the top. This will take a while to accomplish but I hope to post progress photos every week to show what I have accomplished. The weather is turning colder, so I will be stitching a lot more than I did in the summer months. Winter hibernation is beginning! 😊
0 Comments
Today, I added a tutorial to my Tutorial section found Here
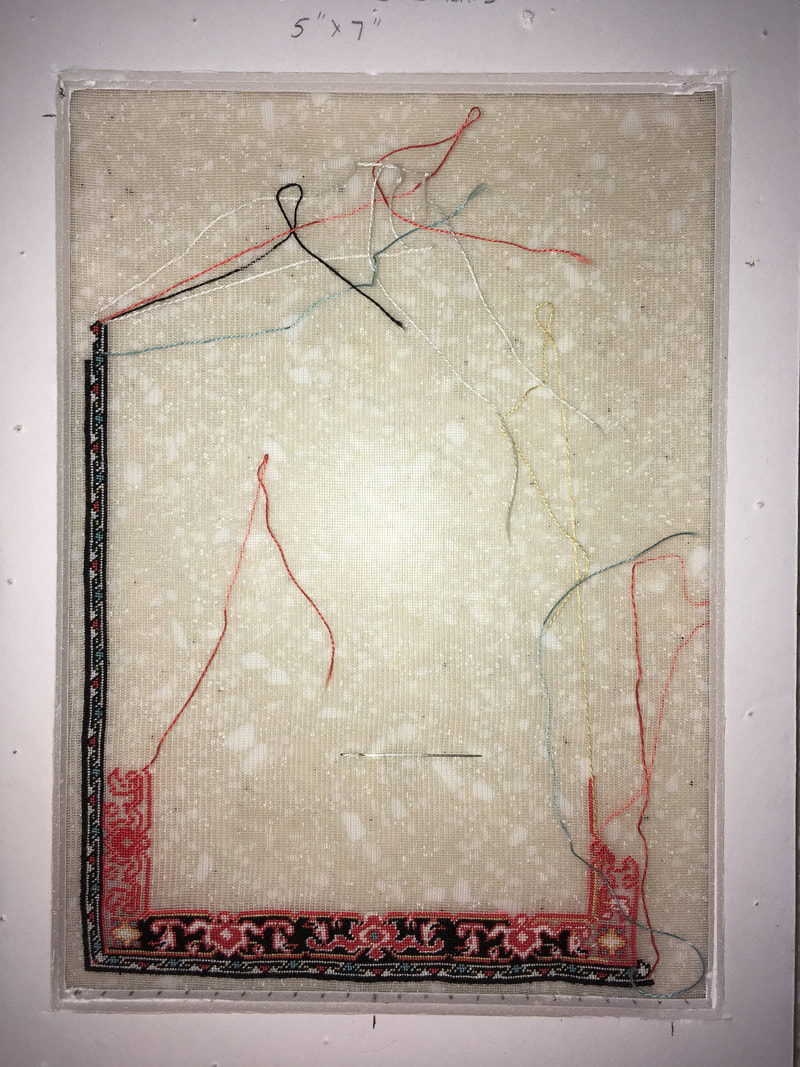
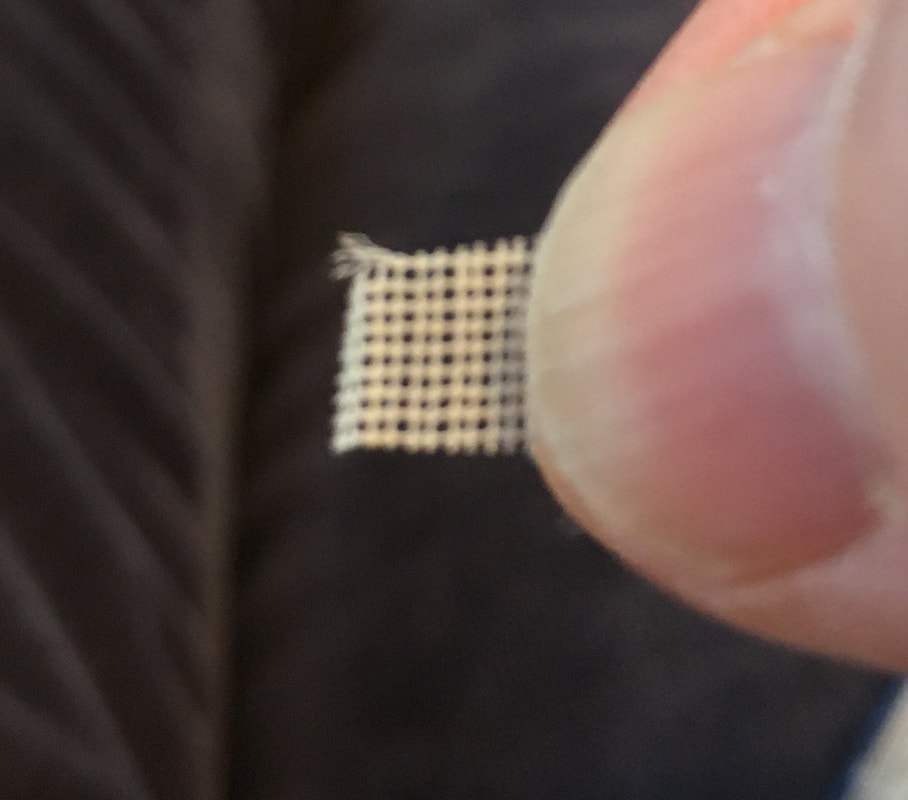
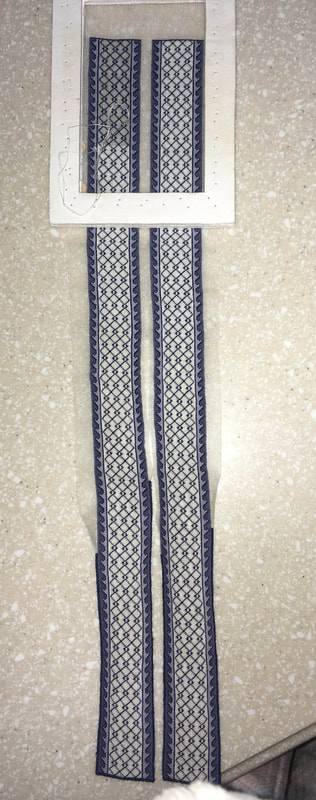
I have three tutorials there that deal with Mounting the gauze, adding a Tabby weave and fringe, and Blocking your finished project and wanted to bring your attention to their availability. These tutorials are available for free download for your personal use. Please do not copy, reprint, or sell these tutorials. If you can think of any other tutorials that you would like to see, please email me at [email protected] with your request. On November 12th, I finished stitching my Ocean runners for the stairs in my dollhouse. That same day I mounted the gauze and began stitching my new project. I decided to stitch my Denise rug as I was looking forward to stitching something with lots of pattern after the monotony of stitching the runners for so long. This project is being stitched on 48 count gauze and will be the first time I have used this count. Below is a photo of my progress to date. 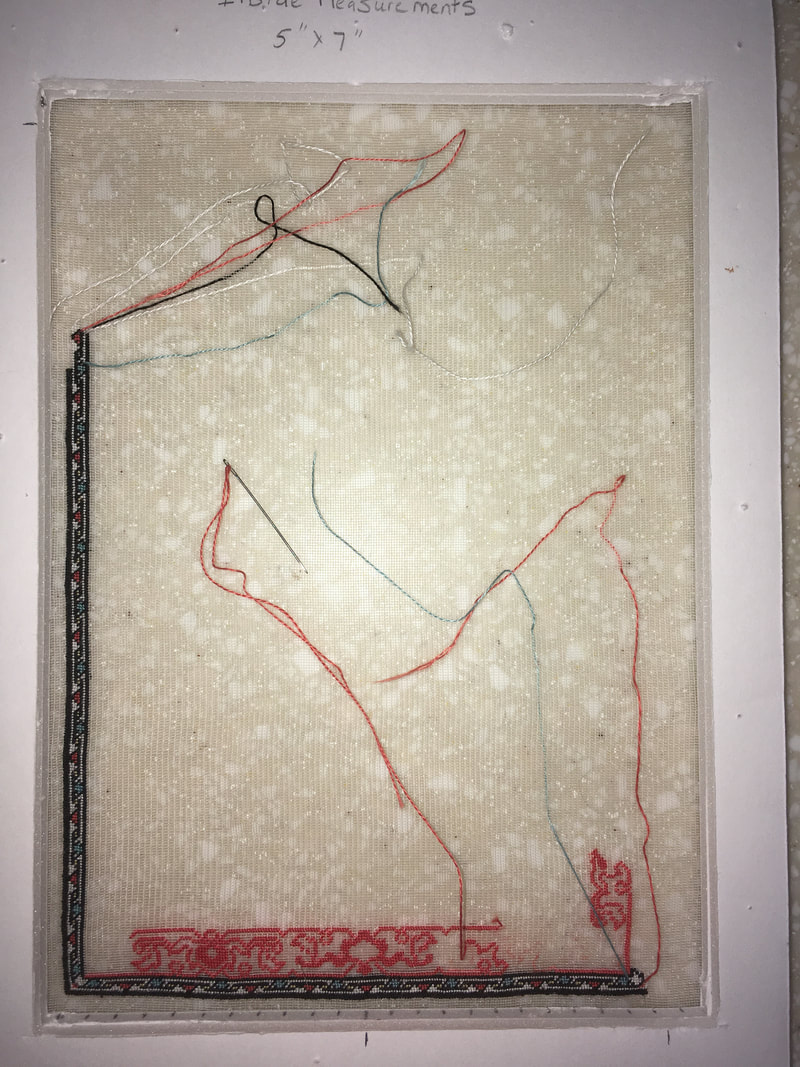 I began my stitching in the bottom left corner as I am left-handed and find this to be an easy place to start for me. I worked across the bottom to fill in the outer border, then worked upwards along the left. I have not completely finished the first border on the left side because I want to work a bit on the next border. The reason I do this is so that I can check my pattern count to make sure I haven't accidentally mis-counted any of it. I find that I can get my borders placed more accurately if I work this way and not try to complete the entire outer border. If I work just the outer border and am off by even one stitch, the border won't line up when I get around the perimeter back to the bottom. Once I have placed the left side and bottom outer borders, I like to work the inner borders across and up until I reach the edges of them. This helps me place the outer top and right borders more accurately. You will see my progression of this more accurately as I post more progress photos.
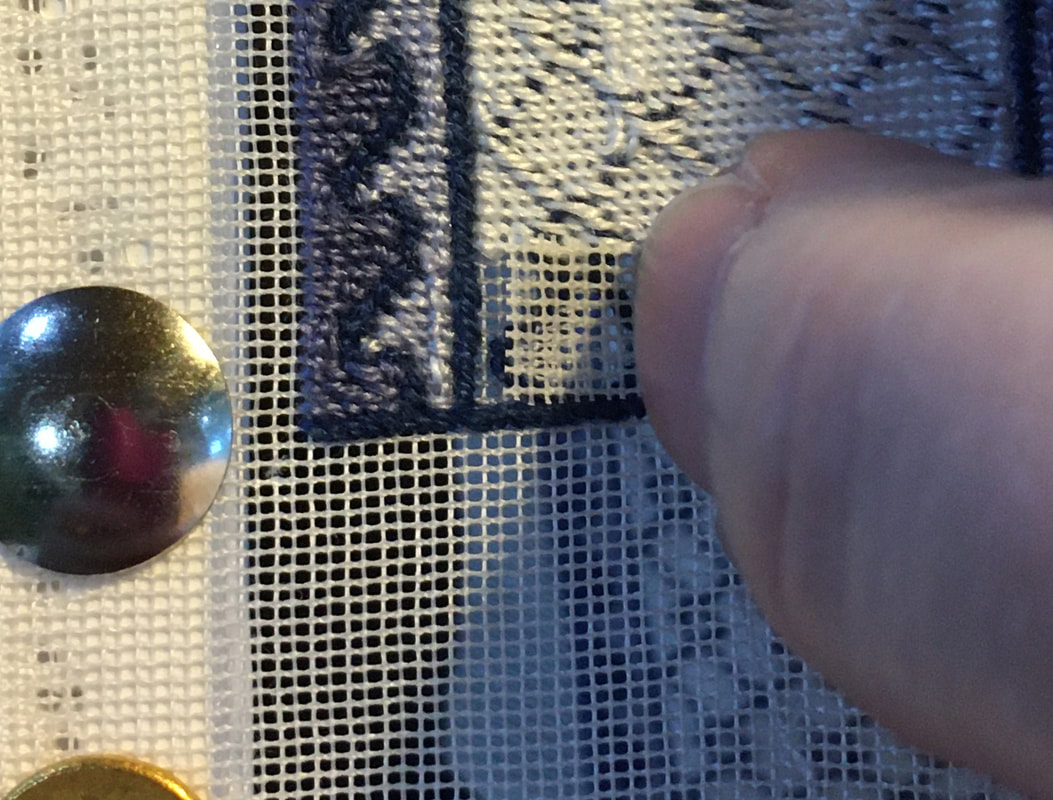
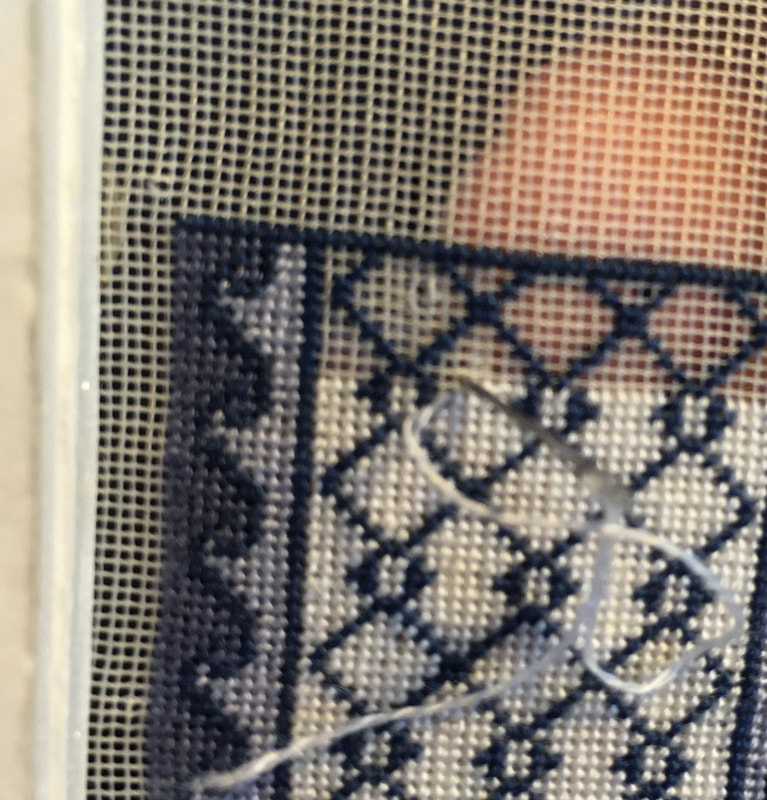
You will see at the bottom of the photo, that I have a bunch of lines on the inner edge of my frame. I did this because I hadn't worked with 48 count before and wanted a visual reference to show me every 10 stitches across. It helped me to count out the bottom border. I worked the black line almost to the end of the little lines then began to fill in the shapes until I got to the far right corner. I will begin working my way up the right side once I am sure I have counted correctly. Rather than end off a thread that I will still be using, I "park" it by going down through the gauze away from the stitching then back up again. I will pick up each thread again as I need it. You may also notice near the bottom right corner in the red stitched section, that there is a shadow of red in the unstitched area. This is because I stitched the last bottom motif, then found out that I had mis-counted by one stitch when I got to the corner. I had to remove the stitches and begin again. It is so easy to make this kind of error and even very experienced stitchers do it from time to time. I usually find the mistake before I have gone too far then fix it before I have a chance to make more mistakes based on the first one.
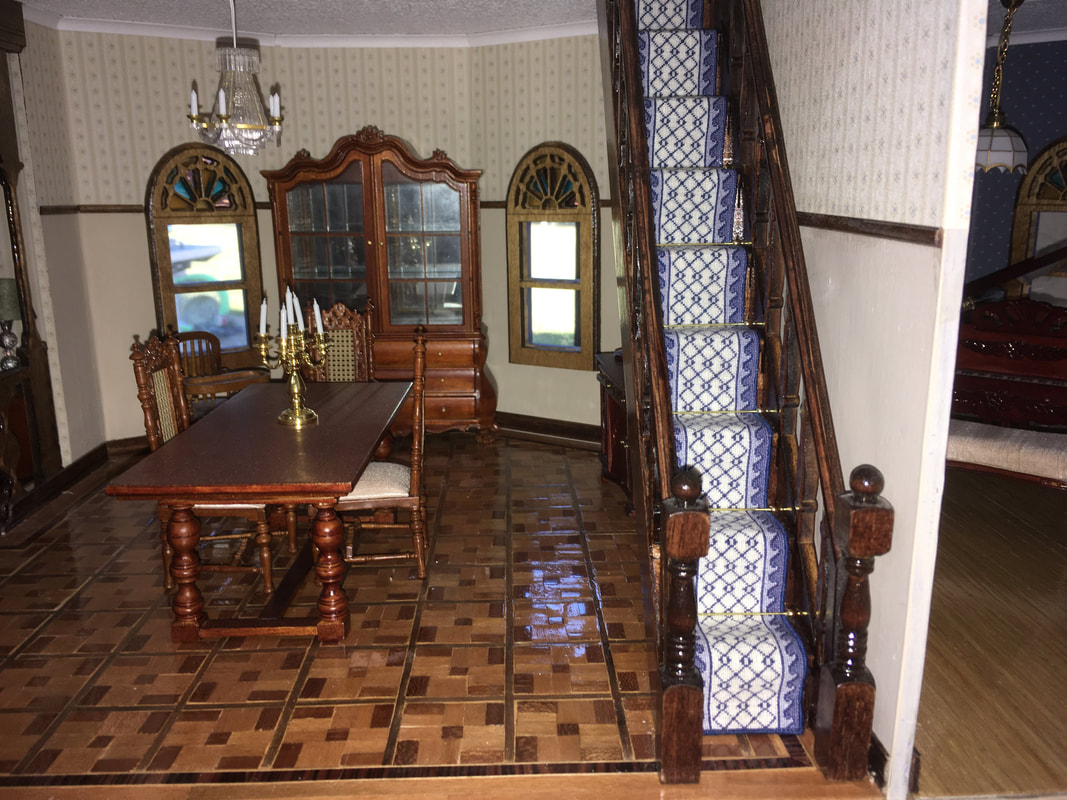 This morning I put the last stitch onto my runners and installed them onto the stairs in my dollhouse. It is so satisfying to see these runners finally in place! I secured them to the stairs by putting double sided acid-free tape onto each riser and carefully placing them on, one stair at a time. Once I had them in place to my satisfaction, I cut some very thin brass rods to length and placed a small gold bead on each end of the rods. A tiny bit of glue to each bead secures them to the wood of the staircase. Below is a more frontal shot of the staircase with the brass rods in place. 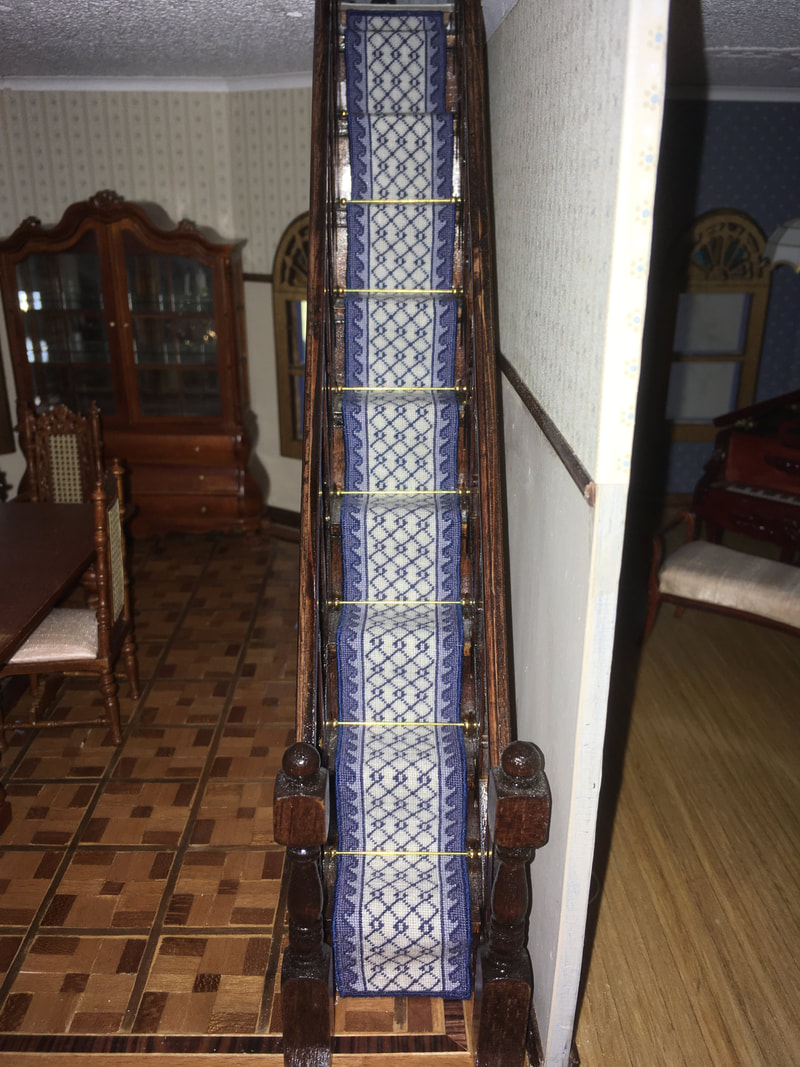 This has been a fun project for me, but I am more than ready to start my next one! Stitching the same pattern over and over became quite tedious towards the end. However, I feel the effort was worth it. 🙂 Stay tuned to see what I start next. I already have the fabric cut and stretched onto the frame, he, he!
|

AuthorMy name is Yvette, and I will be writing this blog to tell you about the creative process that has gone into the creation of my Petitpoint patterns along with showing the stitching I have done of some of the rugs. Archives
July 2024
Categories
All
|
 RSS Feed
|
Thank you so much for visiting our site. We hope you come back soon!
|
We promise not to spam you with emails and will only send out the occasional email. We promise not to share your email address with anyone and it will only be used by Double the Fun Crafts for the purpose of promoting our products or letting you know of a sale.
|