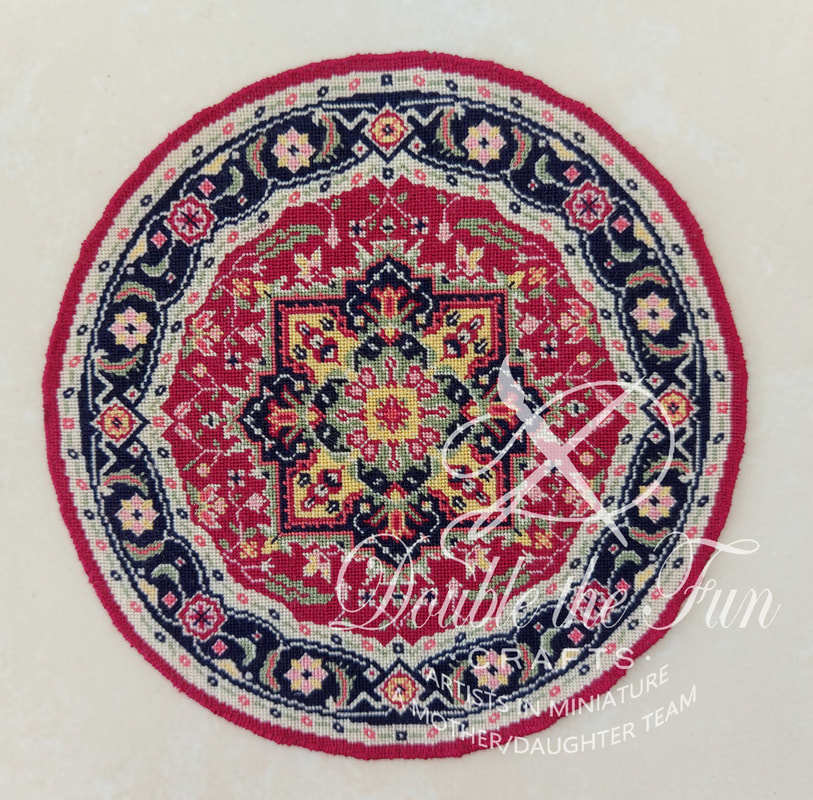
this one is no exception. I learned a lot while doing it and feel more confident that I can safely design more round (or oval) rugs and you can replicate them when you purchase the pattern. I hope you enjoyed this journey with me and will someday try your hand at creating a circular rug.
Now, I get to turn my attention to my next rug. It is one that I have been looking forward to stitching for quite a while now but kept putting it off. Now, I begin!
0 Comments
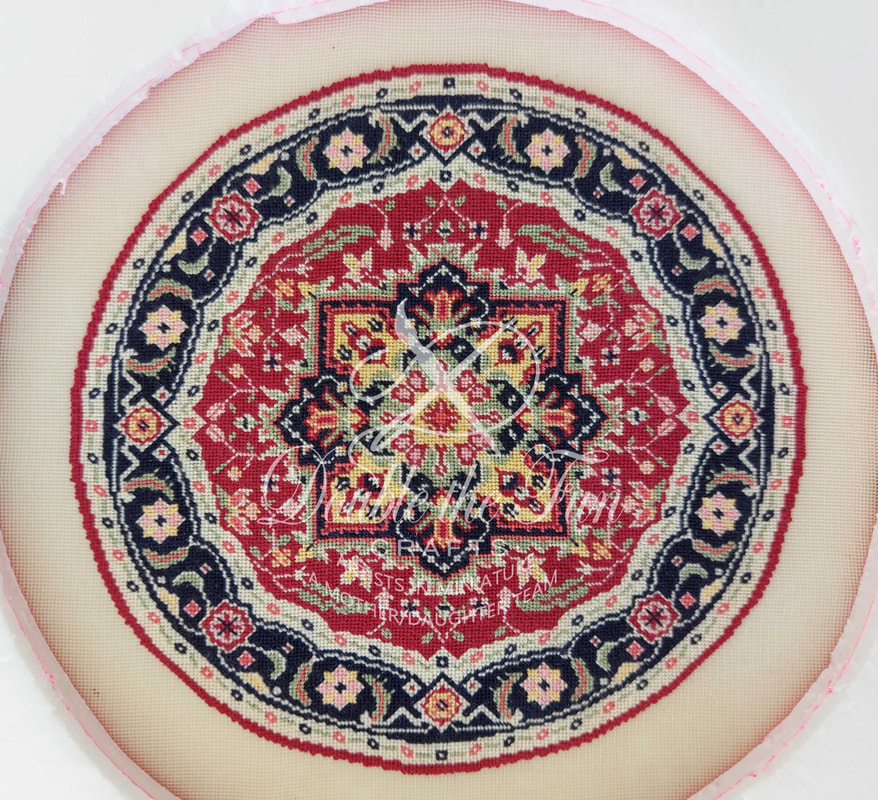
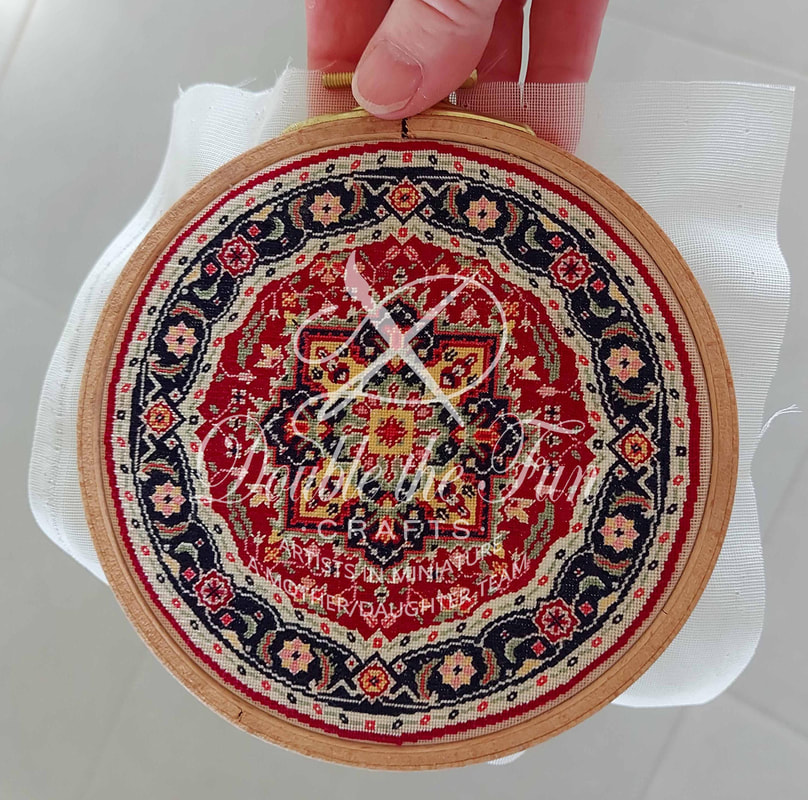
Interestingly enough, my completed rug was not a true circle. From top to bottom, it was 1/2 cm shorter than it was from side to side. I was amazed because it felt as if I had mounted the gauze completely square. I had cut the gauze exactly along one thread on each side and had drawn a square on the back of my frame that I used to make sure it was mounted perfectly. I did not, however count the number of squares on the gauze from top to bottom or from side to side to make sure I had the same amount of squares in each direction - why would I? That would be too difficult and I did as I always do, measured the gauze vertically and horizontally to make sure it was square. I have never noticed my gauze being out like this before, but I suspect it is because all of the rugs I have done before have been rectangles. My guess is that I would have seen it if doing a square rug as well. I had known for sure once I had completed the outer border, so I had a few days to decide how I would block the rug before I was finished. And here I had thought that I could get away without blocking because I didn't have to try and get perfectly straight edges! How wrong I was!!
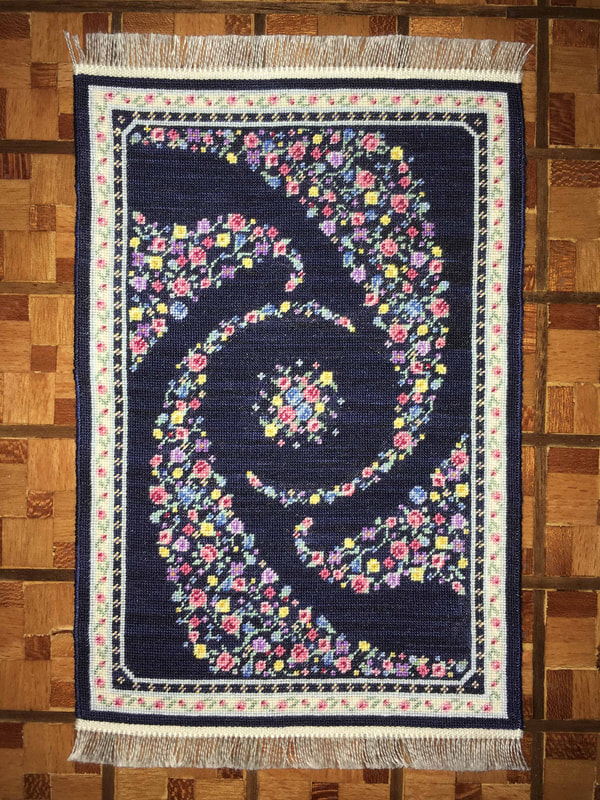
At long last my Denise rug is completed! There are over 66,000 stitches in this little rug. I decided to try a new style (new to me) of edging instead of using my usual overcast stitch. I tried using a "braid" style stitch which is best described in this YouTube video. I really enjoyed trying out this stitch and once I got the hang of it, it went very smoothly. I like the square instead of rounded profile I got with this stitch and am very pleased with the results. Unfortunately, I couldn't get a good picture of the edge due to the black floss. Sometime when I finish another project with a lighter color I will try to get a good photo of it.
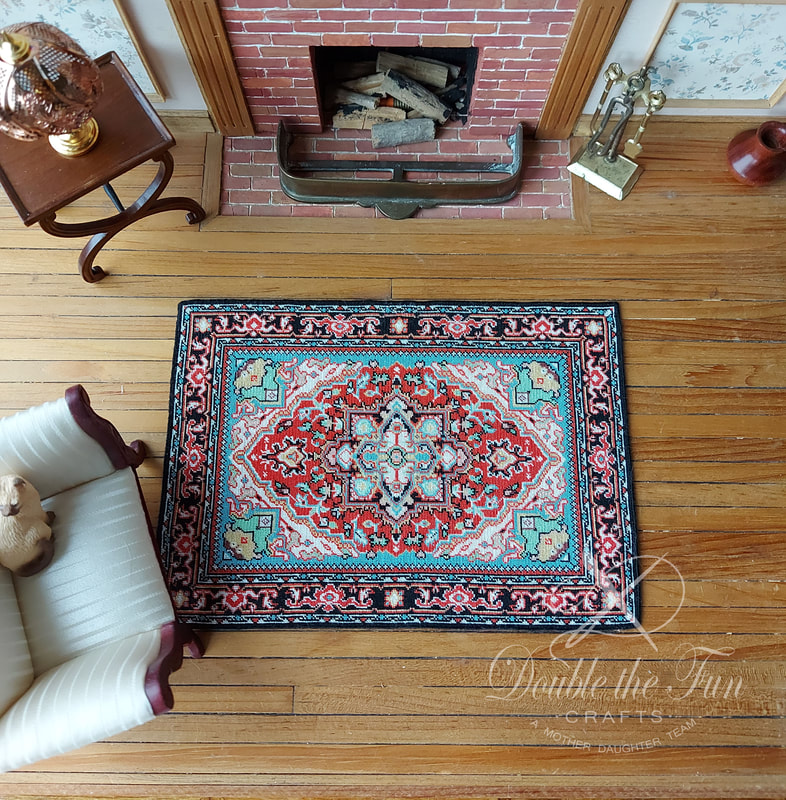
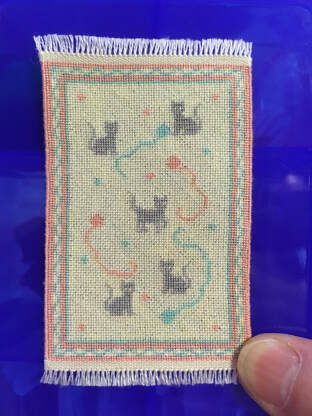
This is the first of my stitched rugs that I will be offering for sale in my Etsy shop and can be found HERE if interested. Over time I may offer other stitched items as I make them but for now, this one has the honor of being my first! My Sonja rug is finally finished! Today, I was able to do the overcast stitch on the edges of the rug to finish it off. I am so pleased with how it turned out.
When the rug was finally finished blocking and held its shape, I removed it from the blocking board and carefully cut the gauze across the ends of the fringe to release the fringe. I cut as close to the end as possible so that the fringe stayed as long as I could get it. Once the fringes were cut, I turned the rug over and placed it on my ironing board. With the iron set on Silk, I carefully ironed the gauze on the fringe ends back so that the fringe was exposed without any gauze showing. I placed a piece of paper under the gauze - between the gauze and the rug - and carefully applied some clear fabric glue to the gauze, close to the tabby weave. Then I removed the paper and let the glue dry. I cut the gauze close to the tabby weave, leaving about 3 rows of gauze intact. The glue helps to seal the gauze so that it doesn't unravel. I then carefully folded the gauze on the sides towards the back leaving two rows of gauze visible and whip stitched ( also known as overcast stitch) the sides using two strands of my DMC floss. I have tried it with one strand but find that two strands covers better. Once the sides were done, I cut the gauze very close to the stitching on the back. I took the added precaution of stitching the gauze down on the ends of the rug as well, using the white floss and doing very small stitches to blend in with the tabby weave. I have created two files for you to download that have descriptions and detailed photos showing how I have stitched the tabby weave and fringe, and how I finish the sides of my rugs. Hopefully, these two files will help you create your own beautiful rugs. Here is a link to the files if interested: Tutorials Since I finished my Sonja rug, I have been working hard at getting it blocked. This one I found hard to block as it went slightly out of kilter when I removed the thumb tacks after four weeks of blocking. All of the edges were perfectly straight but, instead of a perfect rectangle, it skewed slightly to become a parallelogram. Very frustrating!
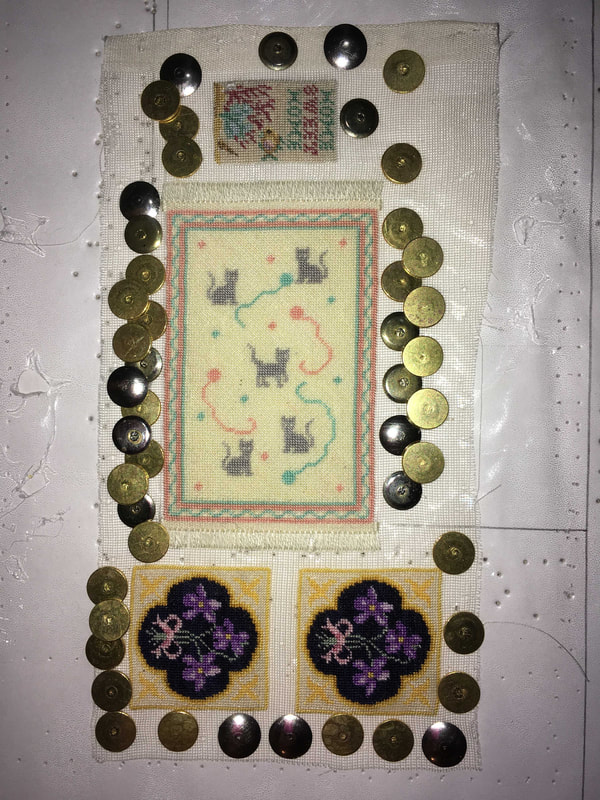
I eventually figured out that my iron wasn't steaming the piece well enough and I bought a small, hand-held steamer. I have now re-blocked the rug and steamed it several times to get the piece perfect and am letting it dry really well before I remove it from the blocking board. My fingers are crossed that the rug will hold its shape this time. Hopefully, my next picture of this rug will be of the completed piece! Once a rug or project is finished it must be blocked. Above is the Jane rug plus a few other projects I stitched to use up the leftover fabric to the best advantage.
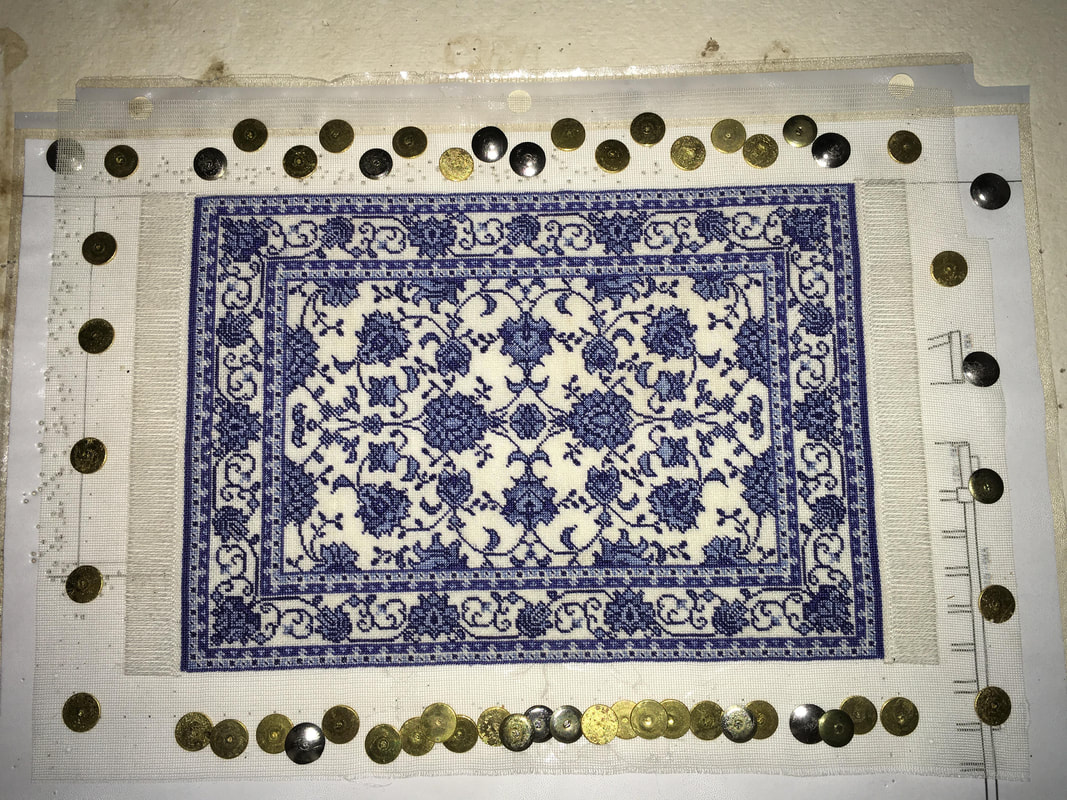
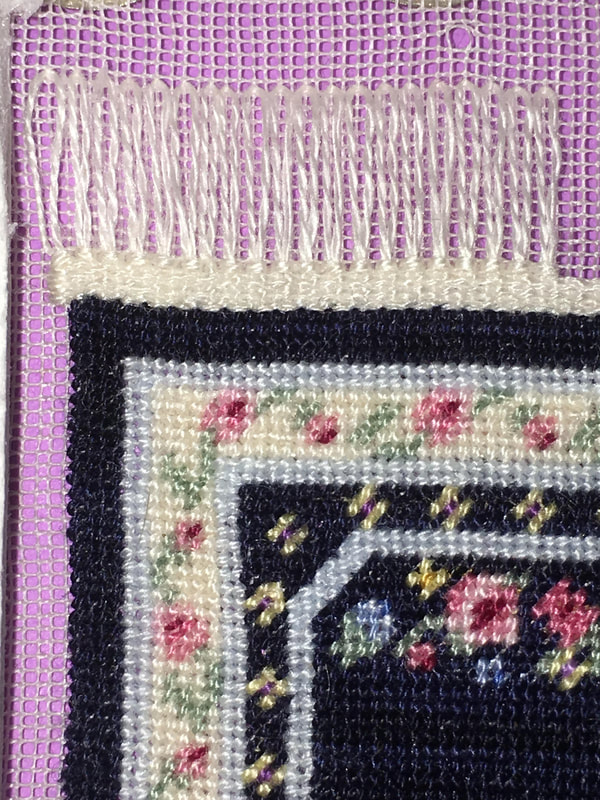
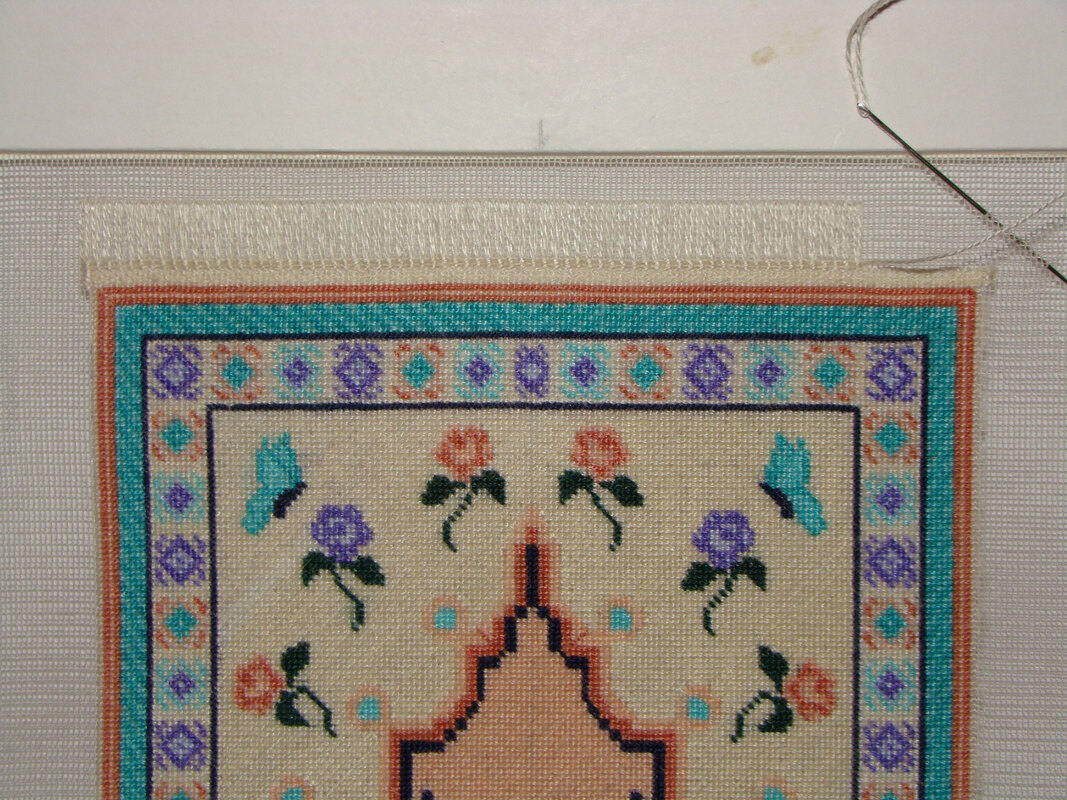
To block a rug, I use a piece of grid paper or a paper with straight lines on it that I have placed inside a clear plastic sleeve. I pin it to a firm background that I had left over from my younger days when I did macrame. It is some sort of firm fibre that holds thumb tacks easily. I start with one edge of the rug and firmly tack it down, using one of the grid lines for a guide. Once the first side is tacked down, I tack one of the ends. All of the tacks are placed on the extra silk gauze that is around the rug, not the rug itself because the tack will create a hole similar to the one you can see near the upper right-hand side of the picture above. While tacking, I stretch the rug a bit, keeping the rug on the line. The next side and end are tacked in the same way, trying to keep it as straight as possible, using the lines as a guide. Once all sides are tacked down, I steam the rug with the steam setting of my iron, without touching the rug. I let the rug dry, then add more tacks to straighten the edges, as needed. I often use a ruler against the edge to make sure I am straight. I repeat this several times until the edges are as straight as I can get them. This process can take several days to weeks depending on how much straightening the project needs. After the blocking, I cut the fringe along the outer edge and fold the gauze under towards the back of the rug. I press the edge down and cut it off short (leaving two rows of gauze). I will put small dots of fabric glue to hold the gauze down and press with the iron. Then I carefully work on the sides. I roll the rug up carefully and turn the long edge under, leaving 2 rows visible. I finish the sides using an overcast stitch and two strands of floss. I overcast over the two rows and through the folded gauze. After the overcast is done on the edge, I cut the gauze as close to the stitching as I can. Here is the finished Jane rug: Once I finished the main stitching on the rug, I turned my attention to the fringe. Here is a closeup of the beginning of the fringe with the Tabby Weave already stitched. I placed the stitches past the edge of the rug by two stitches to leave room for finishing the edge of the rug. After the fringe is finished on both sides, I take the rug off of the frame and block it. I will discuss blocking in a future post as I have a good picture that will show it well. Below is a photo of my finished Heather rug. In this photo, you can see the "Abrash" effect very well. It is my first time using an overdyed thread and I am very pleased with the results.
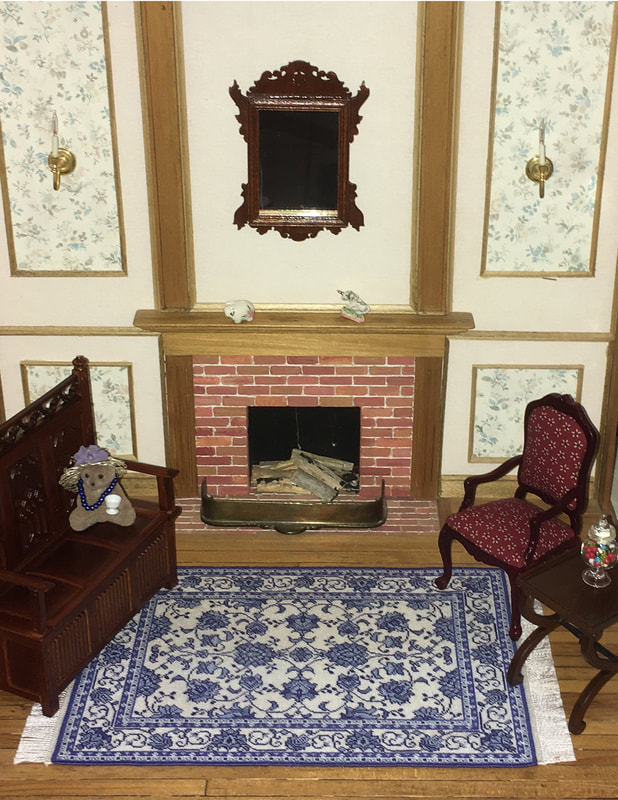
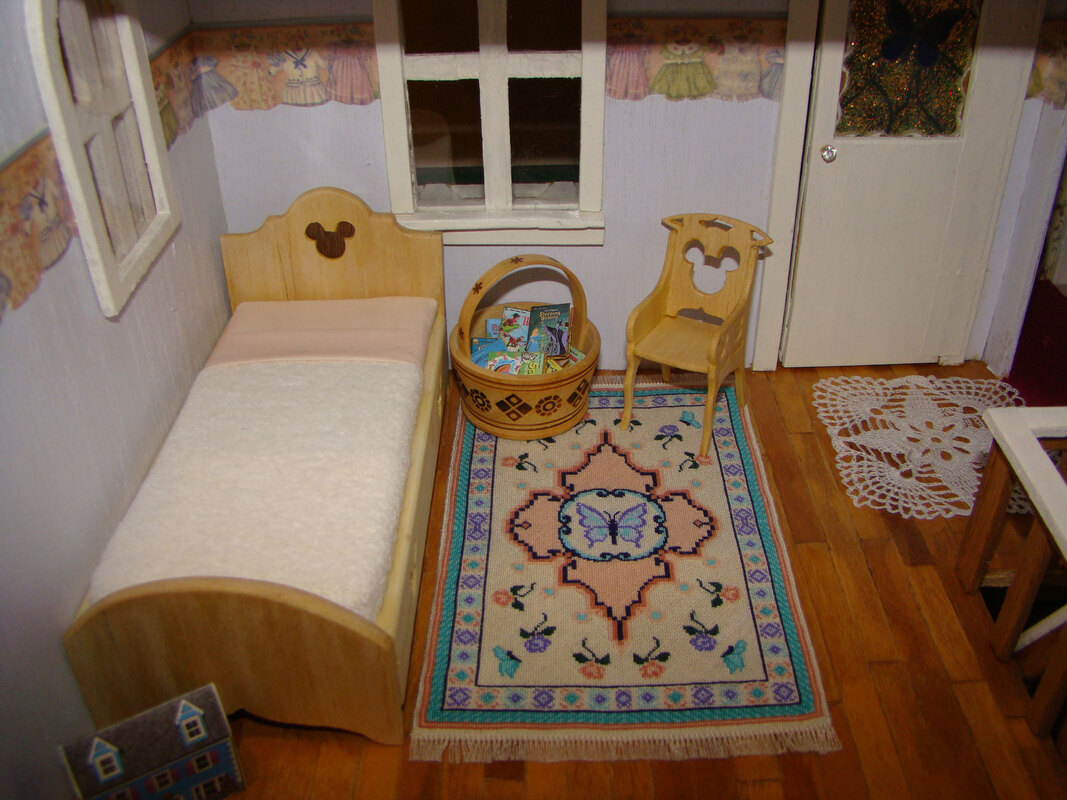
This rug was named after one of my daughters and she loved it when she saw it. She has asked me to make it again life-sized as a hooked rug but I am not sure I will have the patience to hook a rug in this pattern. Only time will tell... As part of my learning curve in miniature Petitpoint, I decided that this rug needed a fringe. Not all rugs have fringes and it is often at the discretion of the maker to decide if they wish to add a fringe or not. There is a wonderful tutorial on the website of a fellow [email protected] member and designer that I followed to create this fringe. It was easy to follow and my fringe turned out beautifully. Here is a link to the tutorial: petersonpetitpoint.com/index.php?main_page=document_general_info&cPath=10&products_id=129&zenid=b8d7522f81b57ccd4060d5c74de513e9 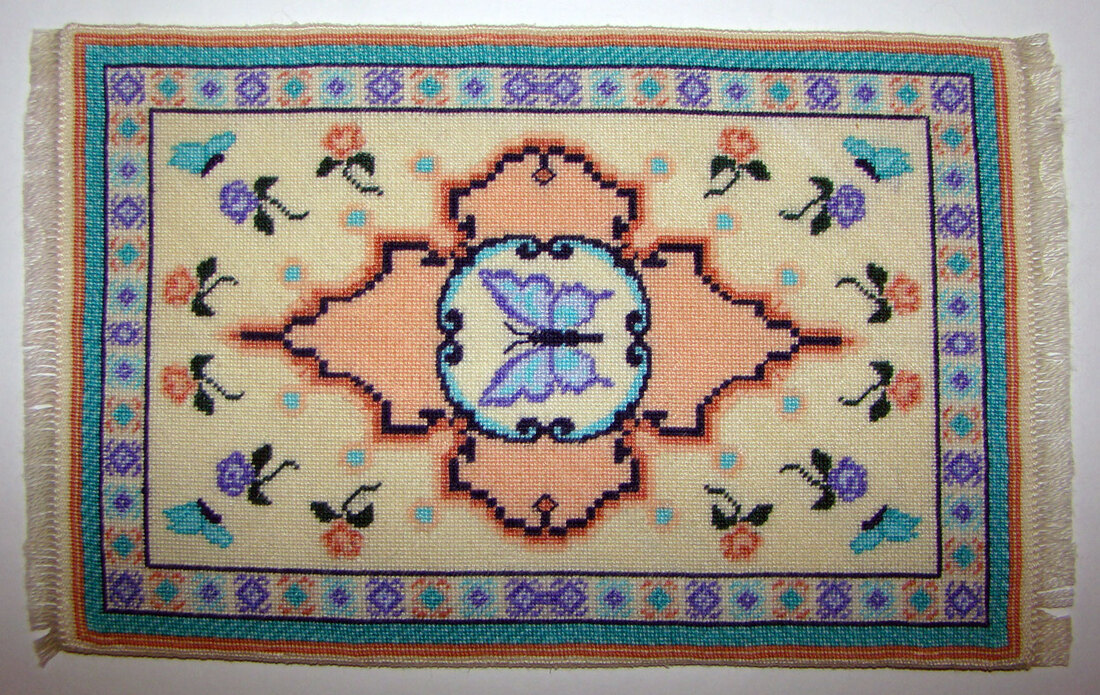 Here is the rug after the fringe was put on and it has been blocked. All rugs should be blocked once it is removed from the frame to help get it perfectly straight. As I look at the picture for this rug, I see that it isn't perfectly straight so I will block longer for my next rugs. A wonderful tutorial regarding blocking a rug is also available at the same website mentioned above. Here is the link: petersonpetitpoint.com/index.php?main_page=document_general_info&cPath=10&products_id=128&zenid=b8d7522f81b57ccd4060d5c74de513e9 After blocking, I finished off the sides of the rug by using an overcast stitch over two threads. Below is a photo of the rug completed and in its place of honor in my dollhouse. Not bad for a first attempt! The members of Petitpointers were very supportive of my learning attempts and were very happy to answer all of my questions. I am extremely grateful for their assistance. |
AuthorMy name is Yvette, and I will be writing this blog to tell you about the creative process that has gone into the creation of my Petitpoint patterns along with showing the stitching I have done of some of the rugs. Archives
July 2024
Categories
All
|
|
Thank you so much for visiting our site. We hope you come back soon!
|
We promise not to spam you with emails and will only send out the occasional email. We promise not to share your email address with anyone and it will only be used by Double the Fun Crafts for the purpose of promoting our products or letting you know of a sale.
|

 RSS Feed
