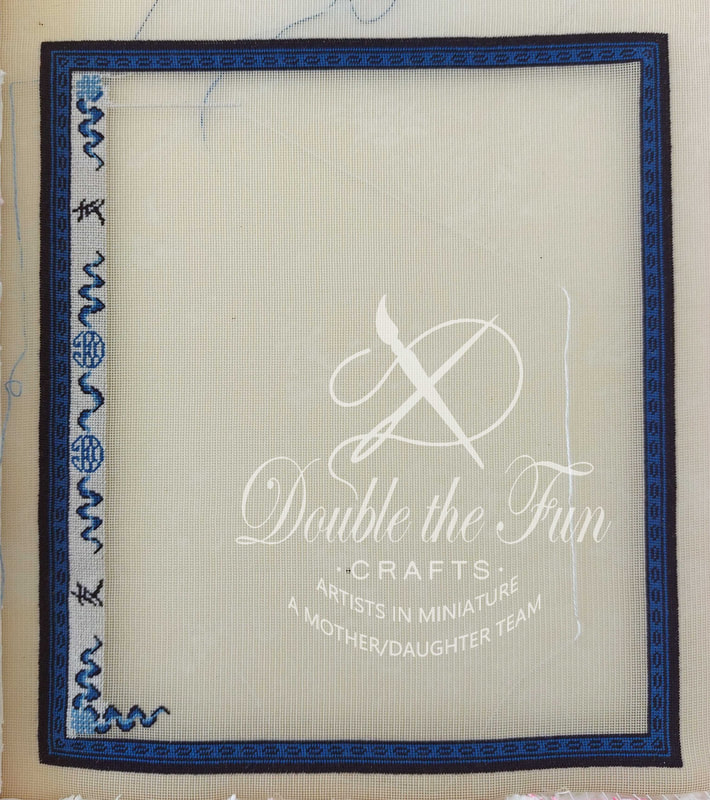
helping to make the symbols look more like the originals. This is by no means the only way to stitch this pattern. It is the way I have chosen to stitch it. There is noting wrong with keeping all of your stitches slanting in the same direction all of the time. (In fact, most people would tell you that you can't change the direction of your stitches - I choose to ignore that because I like the way this looks)
Most likely, this border will take me a while to finish, but you will see it sooner as I have been trying to catch up on my blog posts since being away, and a new post will be showing up once a week until I am caught up. For example, this post comes one week after the last one, but in reality it took me almost a month to get this far after the photo in the last post.
0 Comments
This would leave the opposite side of each motif empty. When I got all the way around, I did the same thing around the rug, stitching the other side of each motif and the unfinished single stitches. You can see some of the empty sections remaining on the bottom left side of the photo. As you can see, the empty sections are alternating down the side. This way of filling in these motifs has two advantages - 1) it uses less thread and 2) it doesn't make the rug thicker by carrying thread across the motif.
When I showed this photo on the online stitching group I belong to ([email protected]), someone asked me a very good question: Do you actually count the hundreds of stitches for the border? Not at all. That would be way too difficult. I usually place a few stitches in the corner of the outermost border, then count inwards diagonally from the corner to the first section that has a pattern. In this case it was 6 rows in from the outermost row. I then work the patterned section around the rug, using the pattern to count my way around and make sure there are the correct number of elements on each side before I get to a corner. I complete the patterned section so that I know everything is correct and then I stitch the outer, boring rows to get some of the boring parts out of the way before I start on another patterned section. The great thing about this approach is that I know every row I do from now on is smaller than the last, lol. The small patterned section on this rug is hard to see in the photo but shows up very well in real life. Do you sometimes get bored with sections of a rug when you are stitching? I know I do. I often find the plain rows on the outermost border and the background of a rug to be the most boring part. I decided long ago to try not to have a lot of that to do at the end of stitching one of my rugs because I would find it so difficult to finish. I would be thinking all the while of the new rug I want to start and would most likely put the current one aside so I could start a new one. In the beginning of stitching a rug, I am still excited about stitching it, so I try and complete some of the boring stitching right away. I still have a few rows of the dark blue to complete before I start the more interesting, inner border, but I am determined to be disciplined and do this before I start the next section!
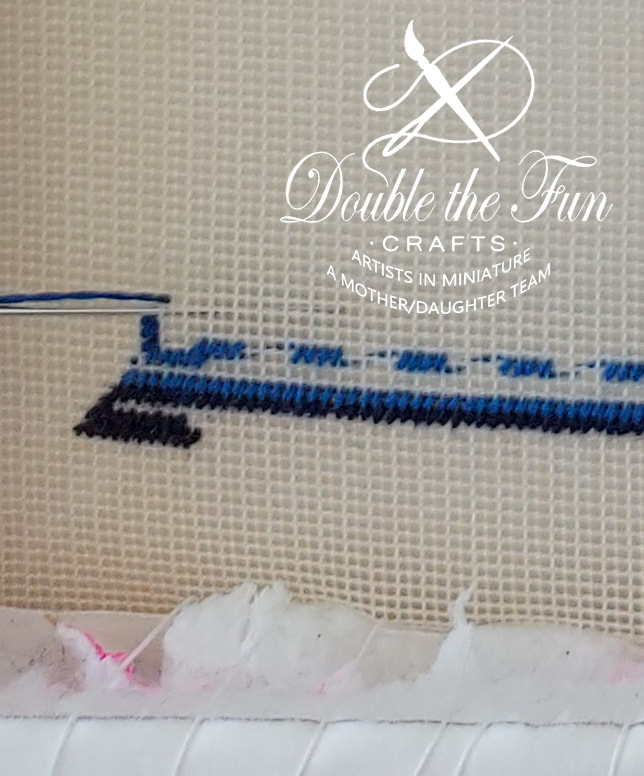
in from the corner.
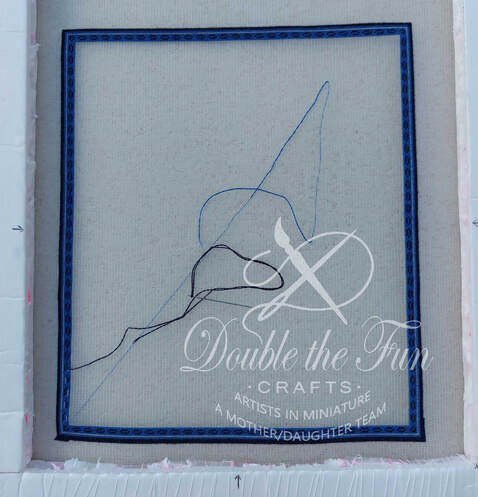
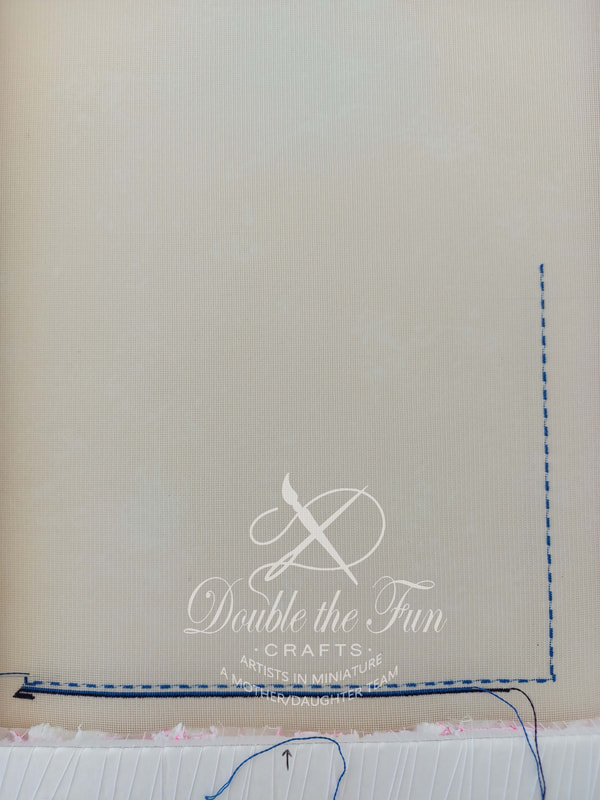
My first stitches were about 1/2" (1.25 cm) worth of stitches horizontally from the corner. (Bottom row in the picture). Then I return to the corner and finish one stitch before the end of the row. Then I stitched a stitch one stitch in from that and one row up to continue the diagonal I am forming. The outermost border is made up of 4 rows, so I stitched one more diagonal and continued the innermost row of that border across the canvas until I got within 1" (2.5 cm) from the right corner. I did not count, only measured with my measuring tape. I did not end the thread because I will be using it later to continue the stitching at that side of the rug. My next color brought me closer to the border I wanted to use to lay out my rug perimeter. As you can see, each row began 1 stitch up and over from the last row, to create a diagonal. I did not need to, but decided at this point to stitch across the rug again until I reached a similar point my last row did. You will see one blank row in the photo. This is to be dark blue, but I didn't want to start another thread, so I left it blank. Continuing on the diagonal, I finally reached the row where my pattern could begin. This row was very easy in that I stitched 4 stitches, left 4 blank and repeated across the row. At this point, I began counting the number of elements I had across the bottom row. In this case I had the corner element, 27 elements across the bottom, then another corner element. I find that I can easily count blank spaces (where the element will go) since I am not trying to count holes across the whole width of the rug. When I had the correct number of spaces, I stitched the corner element edges and continued vertically to reach the spot you see in the first photo before I ended my stitching for that day. I will continue in this fashion until my border has all four sides in place.
this one is no exception. I learned a lot while doing it and feel more confident that I can safely design more round (or oval) rugs and you can replicate them when you purchase the pattern. I hope you enjoyed this journey with me and will someday try your hand at creating a circular rug.
Now, I get to turn my attention to my next rug. It is one that I have been looking forward to stitching for quite a while now but kept putting it off. Now, I begin!
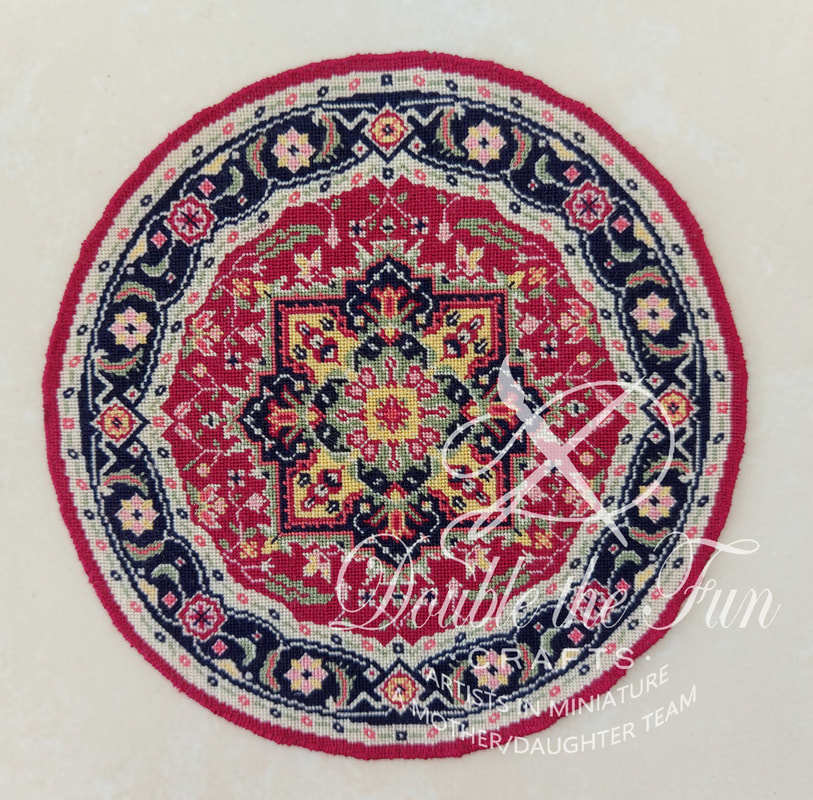
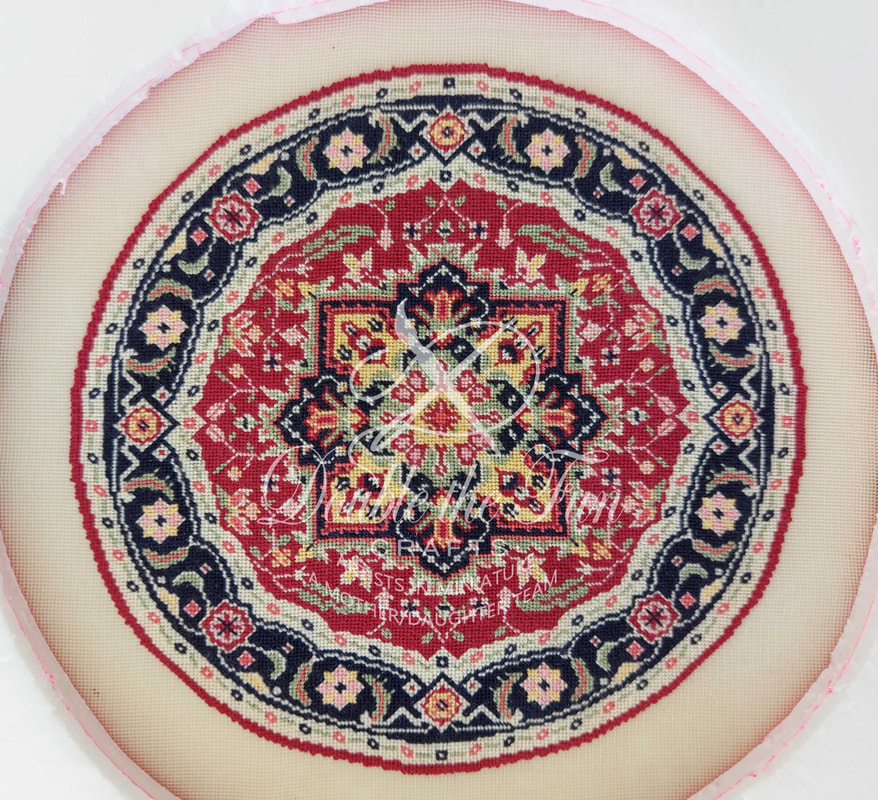
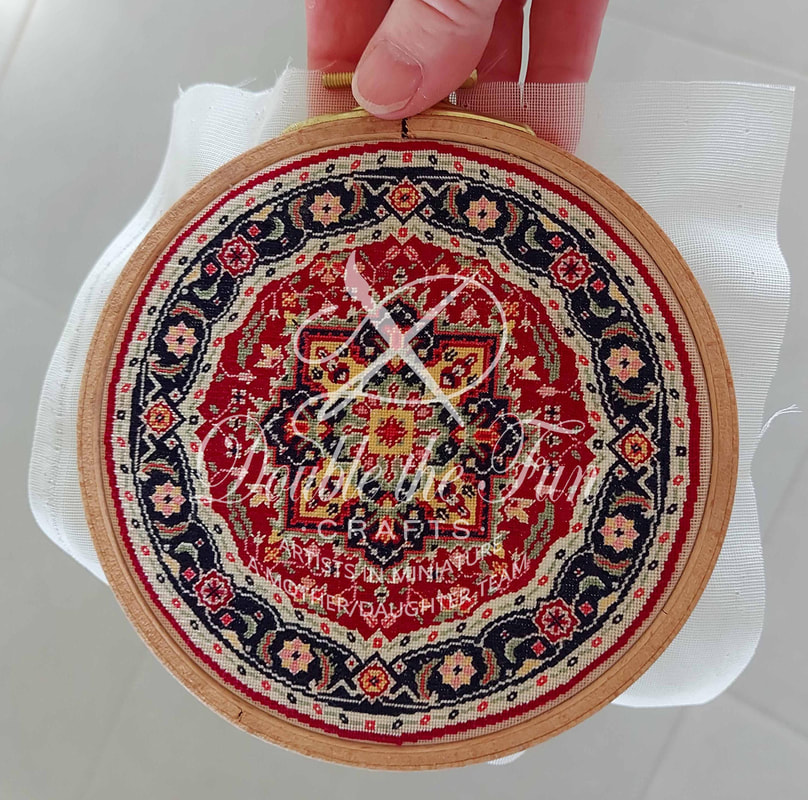
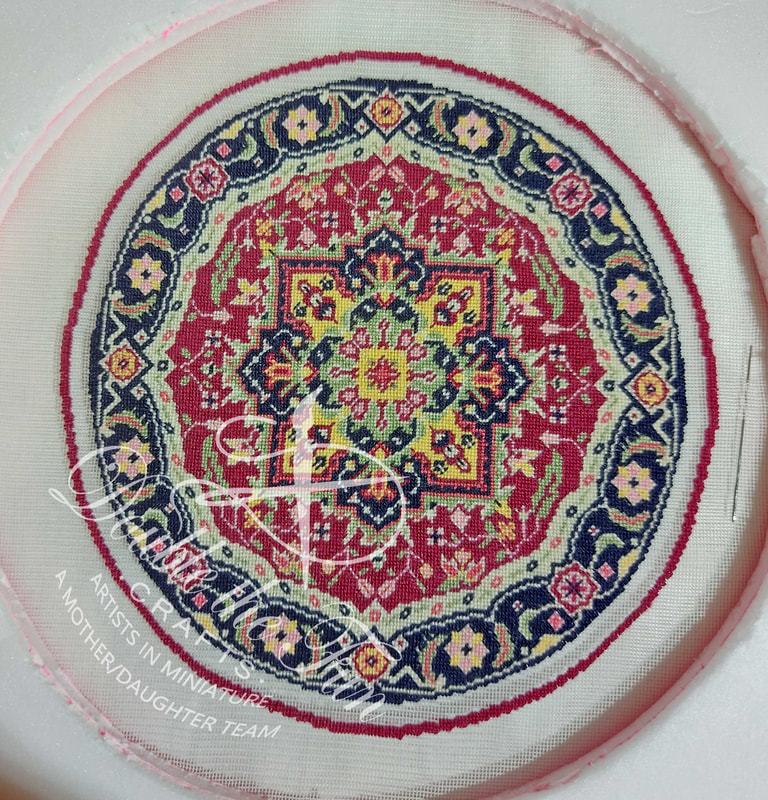
Interestingly enough, my completed rug was not a true circle. From top to bottom, it was 1/2 cm shorter than it was from side to side. I was amazed because it felt as if I had mounted the gauze completely square. I had cut the gauze exactly along one thread on each side and had drawn a square on the back of my frame that I used to make sure it was mounted perfectly. I did not, however count the number of squares on the gauze from top to bottom or from side to side to make sure I had the same amount of squares in each direction - why would I? That would be too difficult and I did as I always do, measured the gauze vertically and horizontally to make sure it was square. I have never noticed my gauze being out like this before, but I suspect it is because all of the rugs I have done before have been rectangles. My guess is that I would have seen it if doing a square rug as well. I had known for sure once I had completed the outer border, so I had a few days to decide how I would block the rug before I was finished. And here I had thought that I could get away without blocking because I didn't have to try and get perfectly straight edges! How wrong I was!!
The outer border went fairly smoothly and now I can concentrate on the last border needed to finish this rug. The end is in sight!
|
AuthorMy name is Yvette, and I will be writing this blog to tell you about the creative process that has gone into the creation of my Petitpoint patterns along with showing the stitching I have done of some of the rugs. Archives
July 2024
Categories
All
|
|
Thank you so much for visiting our site. We hope you come back soon!
|
We promise not to spam you with emails and will only send out the occasional email. We promise not to share your email address with anyone and it will only be used by Double the Fun Crafts for the purpose of promoting our products or letting you know of a sale.
|


 RSS Feed
