0 Comments
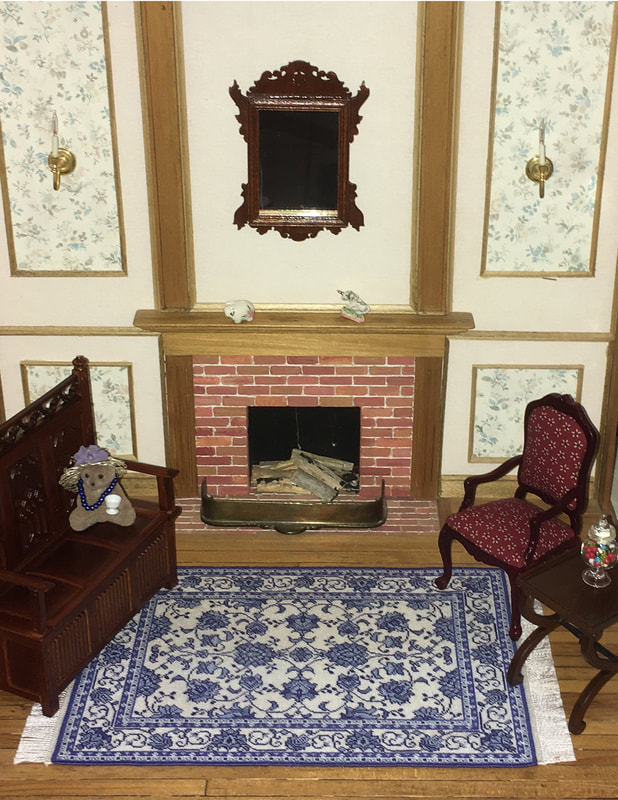
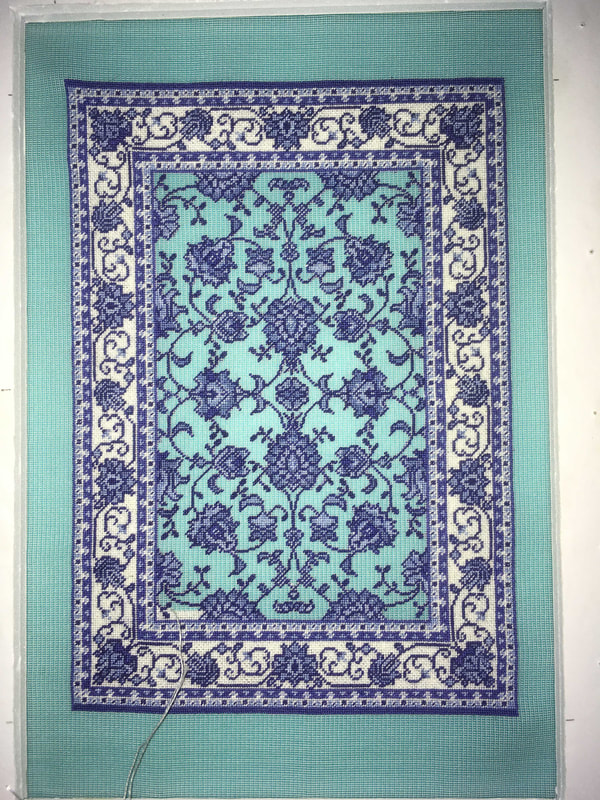
My Sonja rug is finally finished! Today, I was able to do the overcast stitch on the edges of the rug to finish it off. I am so pleased with how it turned out.
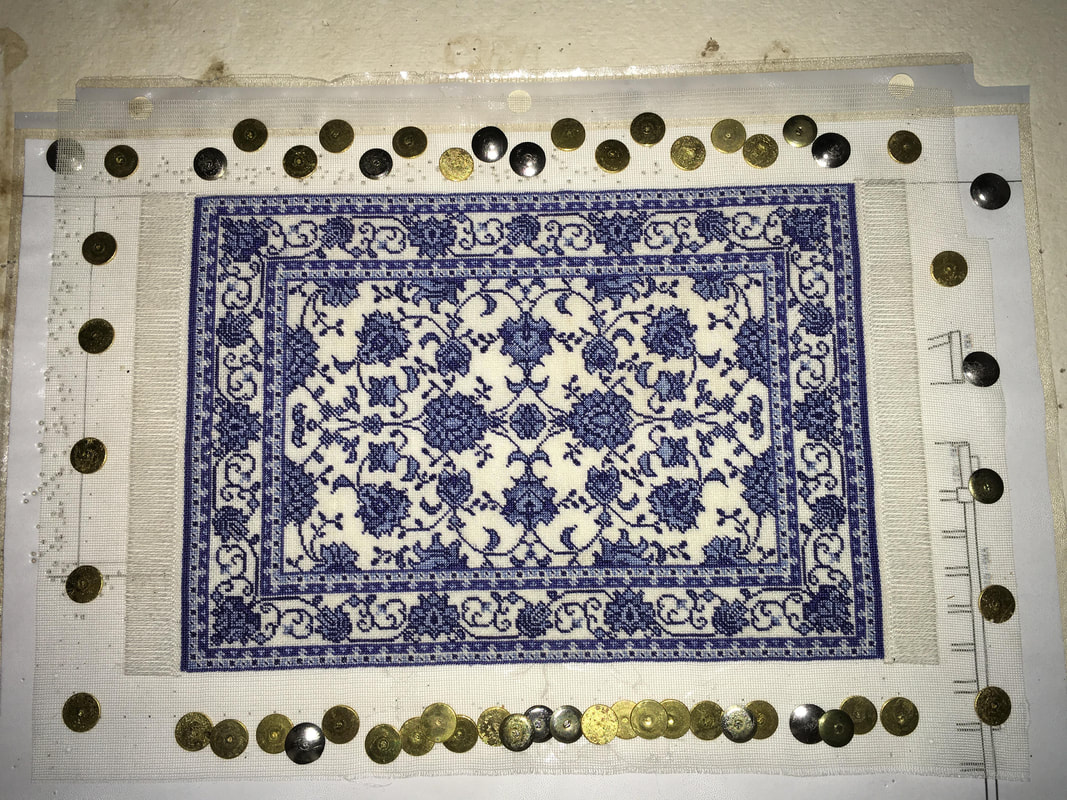
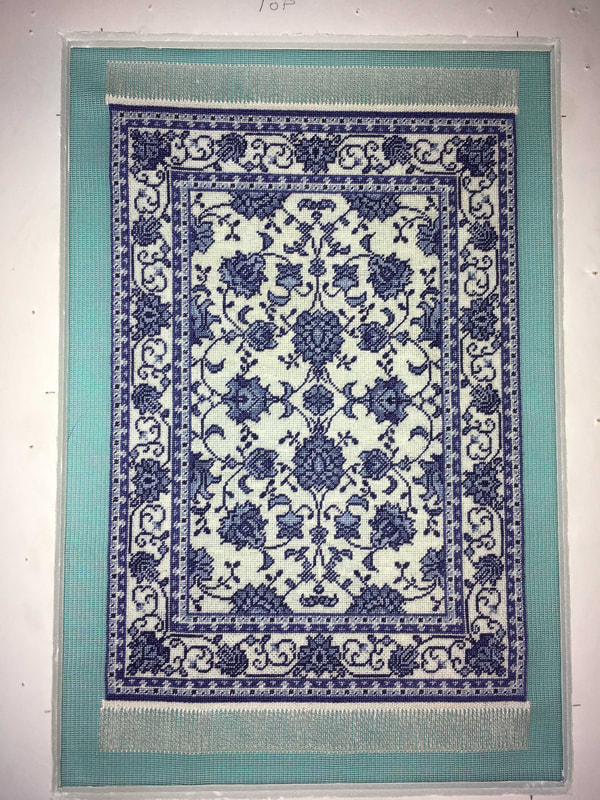
When the rug was finally finished blocking and held its shape, I removed it from the blocking board and carefully cut the gauze across the ends of the fringe to release the fringe. I cut as close to the end as possible so that the fringe stayed as long as I could get it. Once the fringes were cut, I turned the rug over and placed it on my ironing board. With the iron set on Silk, I carefully ironed the gauze on the fringe ends back so that the fringe was exposed without any gauze showing. I placed a piece of paper under the gauze - between the gauze and the rug - and carefully applied some clear fabric glue to the gauze, close to the tabby weave. Then I removed the paper and let the glue dry. I cut the gauze close to the tabby weave, leaving about 3 rows of gauze intact. The glue helps to seal the gauze so that it doesn't unravel. I then carefully folded the gauze on the sides towards the back leaving two rows of gauze visible and whip stitched ( also known as overcast stitch) the sides using two strands of my DMC floss. I have tried it with one strand but find that two strands covers better. Once the sides were done, I cut the gauze very close to the stitching on the back. I took the added precaution of stitching the gauze down on the ends of the rug as well, using the white floss and doing very small stitches to blend in with the tabby weave. I have created two files for you to download that have descriptions and detailed photos showing how I have stitched the tabby weave and fringe, and how I finish the sides of my rugs. Hopefully, these two files will help you create your own beautiful rugs. Here is a link to the files if interested: Tutorials Since I finished my Sonja rug, I have been working hard at getting it blocked. This one I found hard to block as it went slightly out of kilter when I removed the thumb tacks after four weeks of blocking. All of the edges were perfectly straight but, instead of a perfect rectangle, it skewed slightly to become a parallelogram. Very frustrating!
I eventually figured out that my iron wasn't steaming the piece well enough and I bought a small, hand-held steamer. I have now re-blocked the rug and steamed it several times to get the piece perfect and am letting it dry really well before I remove it from the blocking board. My fingers are crossed that the rug will hold its shape this time. Hopefully, my next picture of this rug will be of the completed piece!
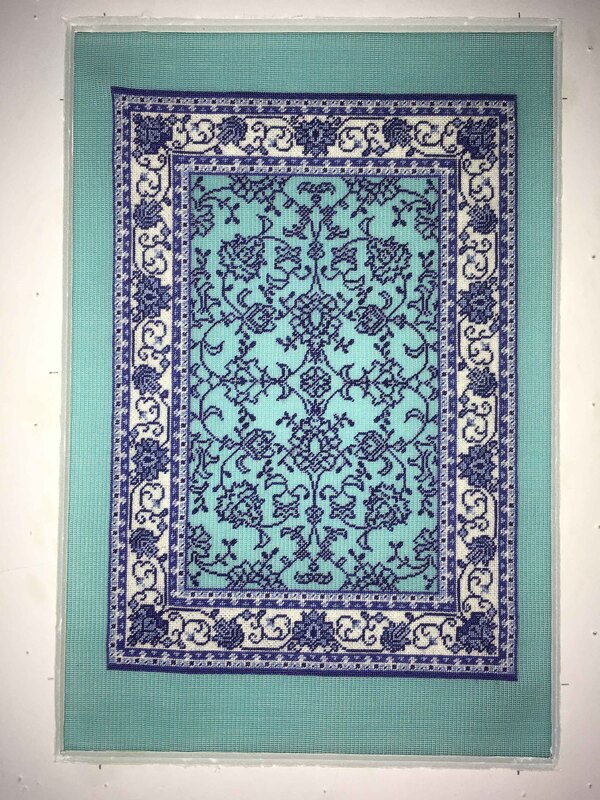
I have finally finished stitching the main part of the rug and am now moving on to stitch the fringe. I am so excited to finally be done the bulk of this rug! I have really enjoyed stitching this one and I think I may stitch it again sometime but in shades of green instead. While I am working on the fringe, I will take photos to show you how I add a fringe to my rugs. Until then, stay safe and enjoy your hobbies if you have one. 🙂
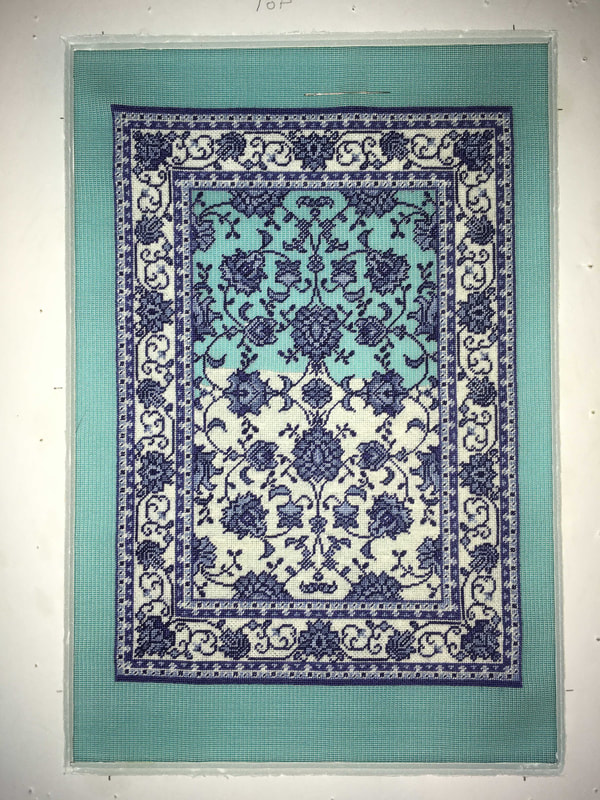
After a couple of weeks of stitching, my center is now half finished! Now that I don't have to look at the pattern, the stitching is going much more quickly. I find it very satisfying each time I get another segment completed and really feel like I have accomplished something each time I finish for the day.
In order to keep things interesting, I am going to switch and work on the stair runners for the next week. Now that the weather is finally getting nicer, I will not be stitching as much each day as I work in the garden, but I still hope to get some stitching time each evening. I have now finished filling in the different blues in the center motifs and was able to begin the background white. You can see a tiny bit done in the bottom left corner.
I have decided to do the background using Tent Stitch (also known as Continental Stitch) and work my way to fill each little section as bordered by motifs and lines. This way, I won't be crossing over the motifs or lines. Also, if I complete a small section, I will feel like I accomplished more than if I stitch all the way across the whole width of the center. (This is purely a psychological response but goes a long way toward keeping me interested and engaged in a project! 😉 ) Using this method of filling in sections, the finished rug won't be as thick as it would if I traveled across motifs and lines, and I will have the added bonus of using less floss, thus having to re-thread the needle less often. I find that silk gauze is very hard on DMC thread and I can only use shorter lengths when stitching, or the floss will fray and break. The longest I have been able to use at one time is about 19" - 20". Yesterday, I was able to finish the outlining of the motifs in the center. Now comes the fun of filling in the color and watching the pattern come to life! I have decided though, to take a little break from this rug and work on the stair runners for a bit to give me some variety. I like to have several projects on the go at the same time in order to keep it interesting. When I begin getting a bit tired of stitching one thing, I put it aside and work on another stitching project or something on my dollhouse. It definitely keeps my creative juices flowing.
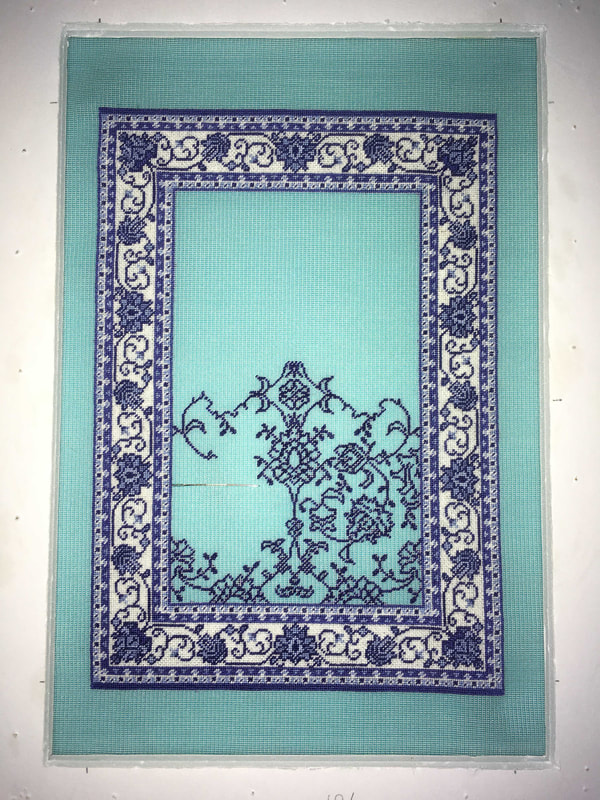
Also, this past week, I took some time to work on designing new rugs. I love creating new ones and every now and then I am struck with inspiration and I get to work. I have posted several new rugs this week that can be seen in my Etsy shop or at the bottom of the page here. Hope you all have a great week and I will be back next week with more progress to show you. This photo, taken this morning, shows how far I have gotten in one week. I have finished filling in the background for the border and am happily working on the motifs in the center. I absolutely love doing the outlines for the motifs and watching the pattern grow. As you can see, I am almost done one half of the design. Currently, I am trying to decide if I continue working all of the outlines for the entire middle, or, stop at halfway and fill that in before working on the other half. I am having so much fun doing the outlines that I will probably continue. Today I will have to decide as I hope to work most of the day on my stitching. The weather doesn't look too promising so it will be easy to stay inside and work on my stitching instead of going outside to garden. 😉
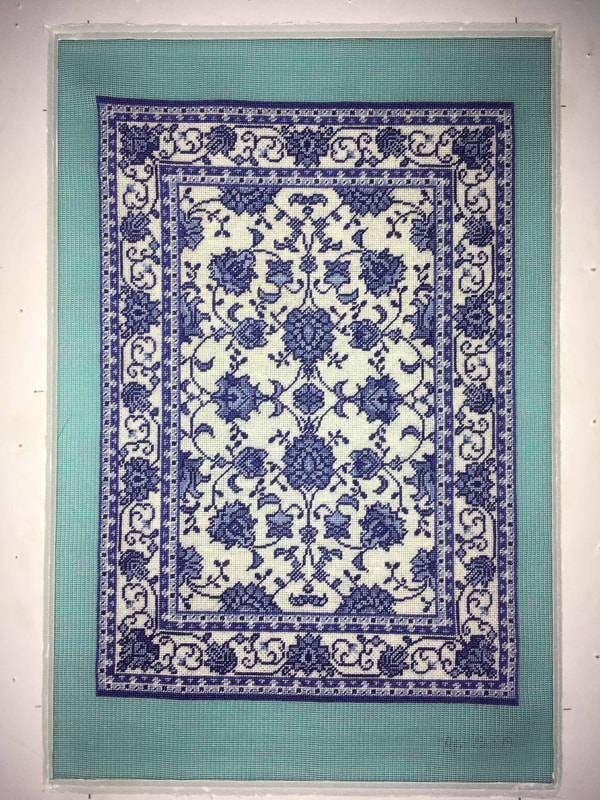
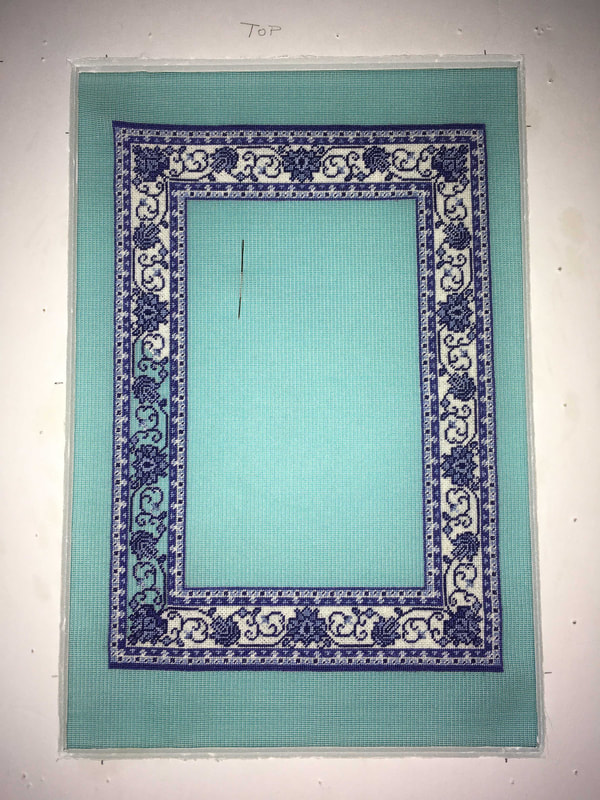
This week I decided to set the stair runners aside for the moment and work on my Sonja rug for a bit of a change. I have been able to get quite a bit done on the background for the border and, as you can see, am almost finished the border.
Once the border is done, I can begin the outlining of the motifs in the center of the rug. I am looking forward to doing this but am getting a bit worried as I am running out of the Winter White I am using for the background and may not be able to get any for a while due to the travel restrictions and store closures. Fingers crossed that Walmart stocks this color as they are still open. However, I have lots of motifs to do in the center so I can keep busy for a long time without having to do the background color. Hopefully next week I can show you some of the progress in the center... |
AuthorMy name is Yvette, and I will be writing this blog to tell you about the creative process that has gone into the creation of my Petitpoint patterns along with showing the stitching I have done of some of the rugs. Archives
July 2024
Categories
All
|
|
Thank you so much for visiting our site. We hope you come back soon!
|
We promise not to spam you with emails and will only send out the occasional email. We promise not to share your email address with anyone and it will only be used by Double the Fun Crafts for the purpose of promoting our products or letting you know of a sale.
|



 RSS Feed
